
Comprehensive thermal overcoating: a homeowner's & pro's guide
Comprehensive thermal overcoating is the process of wrapping an existing building envelope in a continuous blanket of high-performance insulation to eliminate thermal bridging and move the dew point safely outside the structural wall.
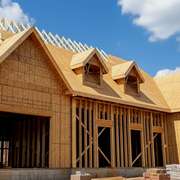
This guide provides a deep dive into the building science, material selection, and structural detailing required to achieve Passive House levels of efficiency and durability in 1970s bungalows and older stick-frame homes.
- The science of the dew point shift
- Aero-barrier vs. self-adhered membranes
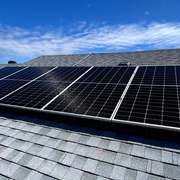
- Structural rainscreens and long-screw fastening
- Window buck transitions and out-setting frames
- Choosing the right insulation for overcoating
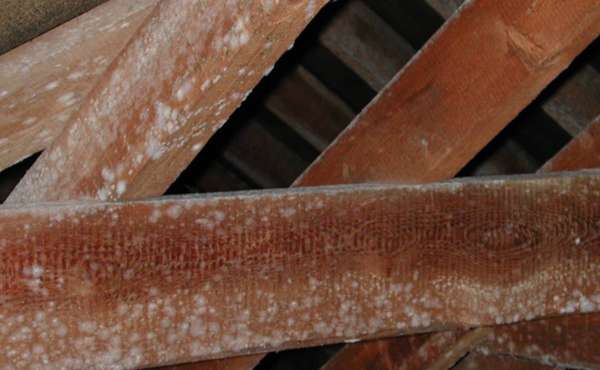
The science of the dew point shift
Understanding what the dew point means in home building is about understanding when the air will condense to the point that it leaves behind condensation. And relocating the dew point is the most critical technical goal of a thermal overcoat.
In a traditional 1970s wall with fiberglass batts, the dew point - the temperature at which air can no longer hold moisture - often occurs inside the stud cavity or on the interior face of the exterior sheathing. This leads to condensation, mold, and rot.
The math of outsulation
To ensure the existing wall cavity remains permanently dry, you must follow the 2/3 - 1/3 insulation rule for cold climates (specifically Climate Zones 5-7 in the US and Canada). The R-value of the exterior insulation must be high enough to keep the interior sheathing above the condensing temperature.
For example, if you have R-12 batts in a 2x4 wall, you should ideally add at least R-10 to R-15 of exterior insulation. This shifts the 0°C (32°F) line entirely into the new rigid insulation layer, protecting the wood structure from moisture damage indefinitely.
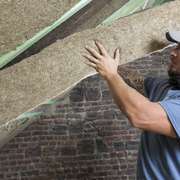
Advanced air barrier integration
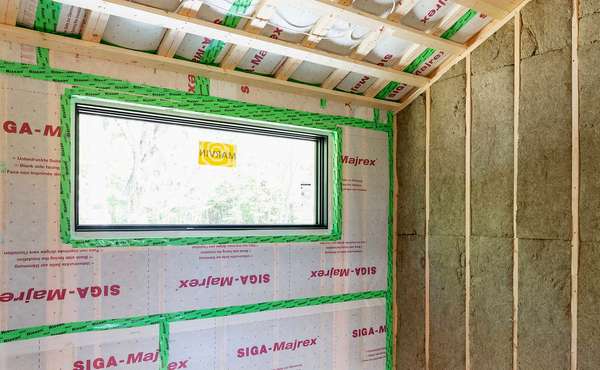
Airtightness in homes is far more important that most people realise for home durability and saving energy. Before the insulation is installed, the existing sheathing must be transformed into a continuous air barrier. In 1970s structures, this is often challenging due to irregular framing and decades of settling.
AeroBarrier vs. Self-Adhered Membranes
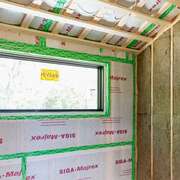
There are two primary professional pathways to achieving Passive House airtightness (0.6 ACH50) during a retrofit. A self-adhered vapor-permeable membrane (peel-and-stick) provides a robust, visually verifiable barrier that also acts as a weather barrier / water-Resistive Barrier (WRB).
Alternatively, AeroBarrier - a specialized spray-applied air barrier acrylic sealant - can be used to pressurize the home and automatically seal every micro-crack in the existing envelope. For the best results, many pros use a peel-and-stick membrane on the field of the wall and high-performance building tapes at EIFS or masonry transitions to ensure a redundant seal.
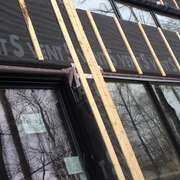
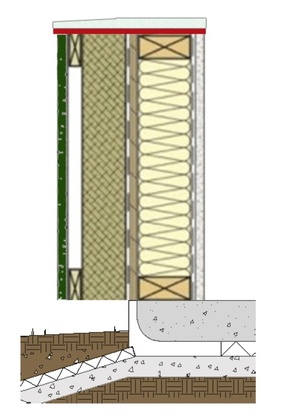
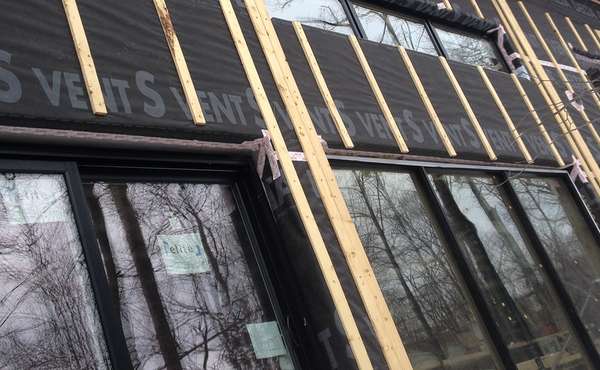
Structural rainscreen and long-screw fastening
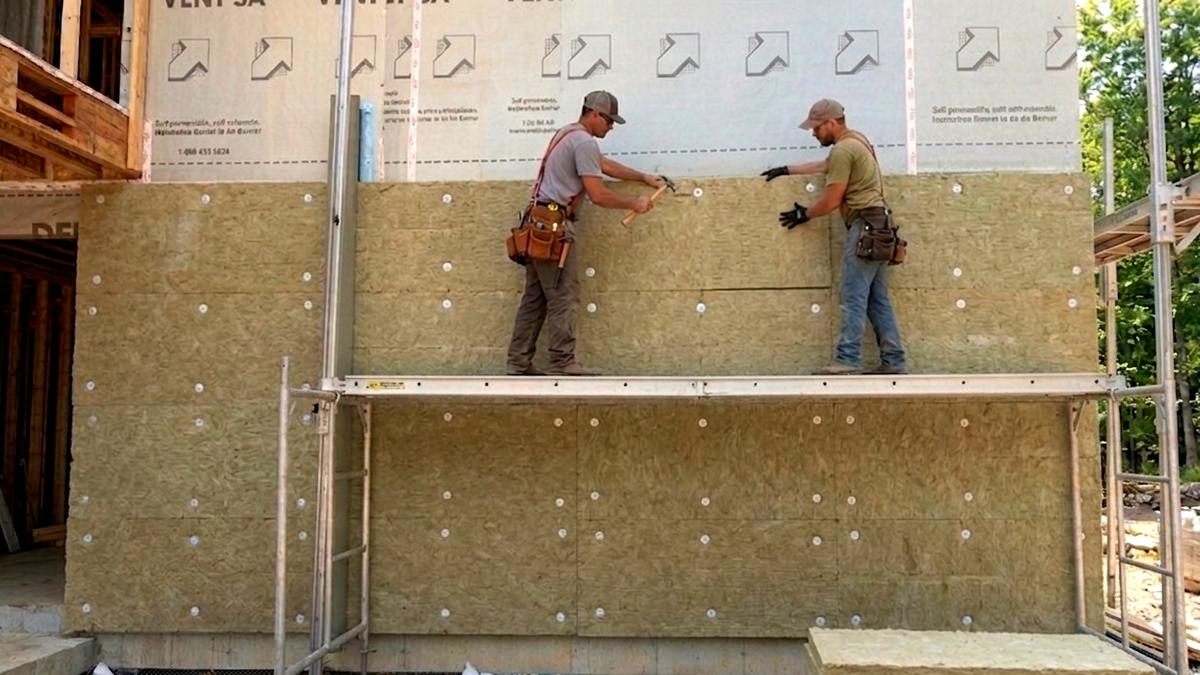
Supporting heavy cladding over 4 to 6 inches (10 to 15 cm) of exterior insulation requires a specialized structural rainscreen system. Traditional nails are insufficient, as the cantilever force of the cladding will compress the insulation and cause the siding to sag.
Long-Screw Fastening Systems
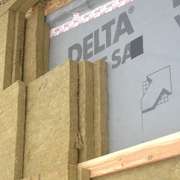
The standard solution involves timber screws or specialized structural screws (like those from GRK or Heco) driven through 1x3 or 1x4 strapping (furring strips), through the insulation, and deep into the wall studs. The strapping creates a ventilation gap - the rainscreen - that allows moisture to escape.
It is vital to use semi-rigid stone wool or high-density foam that can withstand the clamping pressure of the screws without deforming. For a 4-inch (10 cm) layer of insulation, a 7-inch (18 cm) screw is typically required to achieve the necessary 1.5 inches (3.8 cm) of structural embedment.
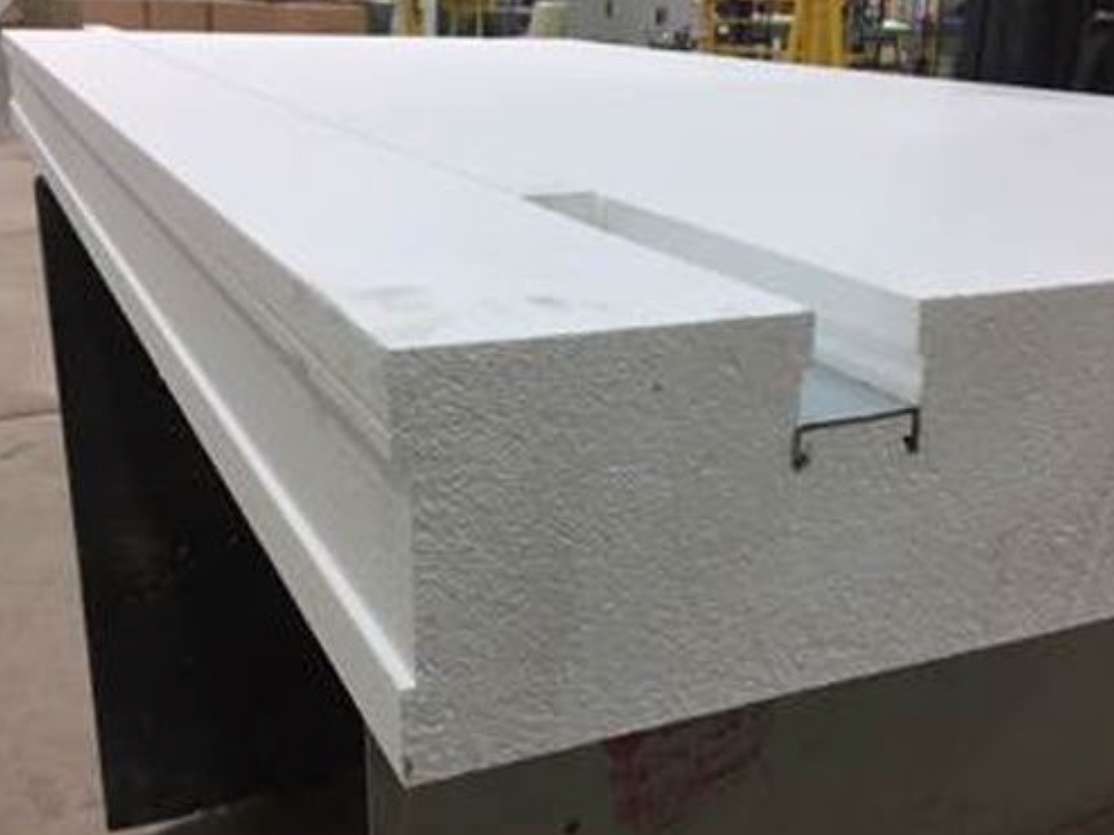
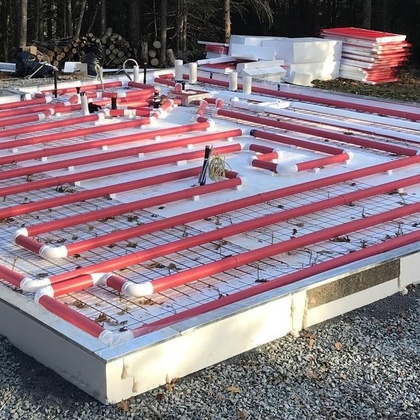
Short screw insulation fastening systems to stop thermal bridging
An alternative method for fastening exterior insulation would be a metal rail wire cut into EPS panels like this ThermalWall rigid insulation panel from Legalett. With a metal track embedded in the middle of the panel, it can be attached to walls using shorter and much more affordable screws that also provide a thermal break in the attachement system. We know of no other commercially available product such as this but if you do, please let us know in the comments.
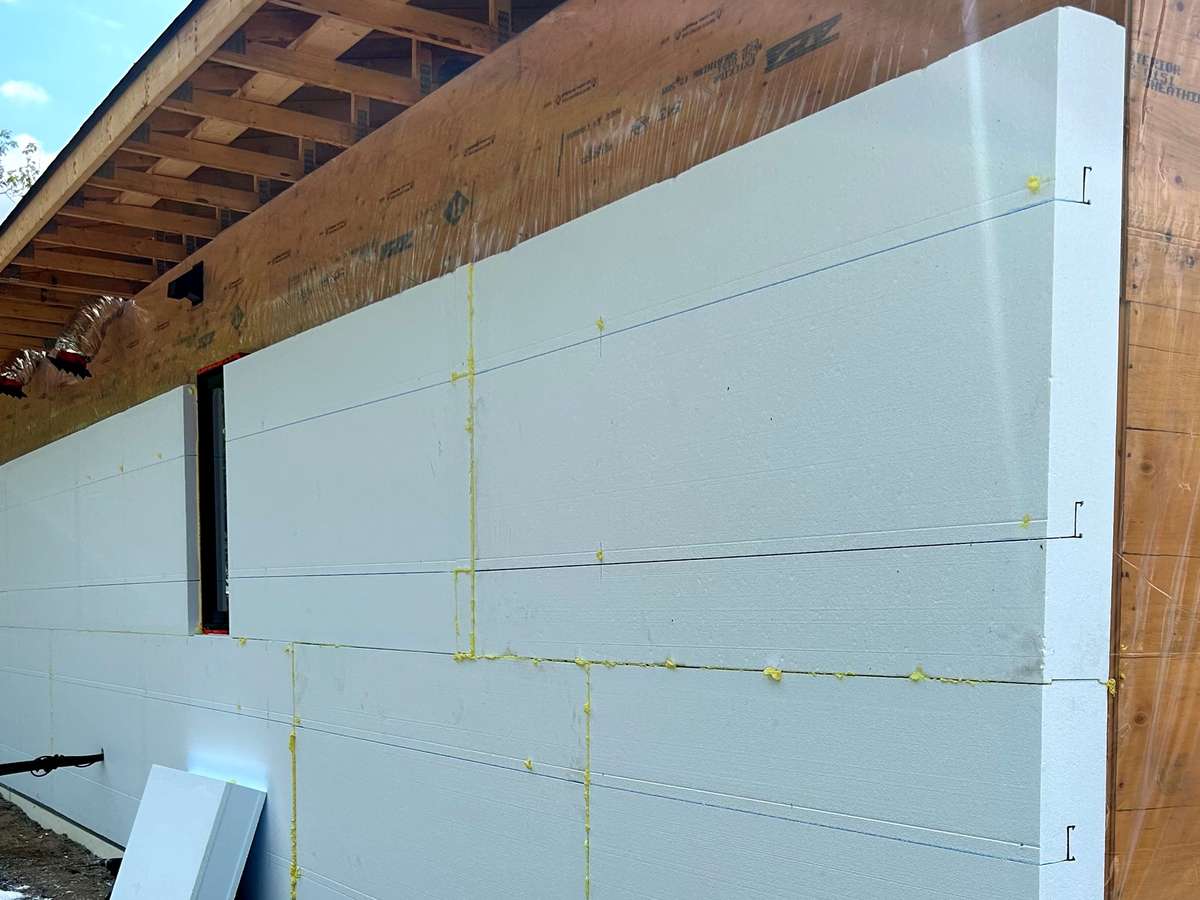
Assembly is done by screwing panels to the sheathing through the metal rail, then attaching exterior strapping or furring strips to the same metal rail to accomodate siding. The benefits to this system are that it is easily installed by one person, EPS foam can act as a vapor barrier so you don't need another dedicated vapor barrier membrane, it breaks the thermal bridge of longer screws, and short screws are an awful lot cheaper. Screw prices go through the roof at about 6 inches, this can be done with 5 inch screws or shorter.
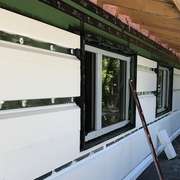
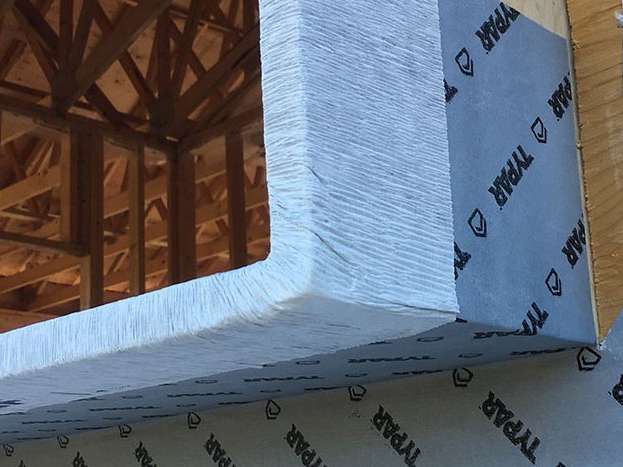
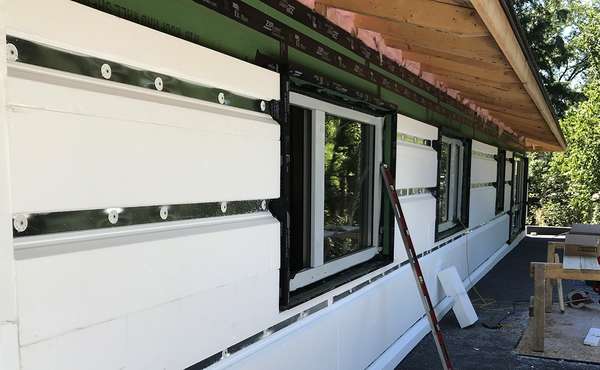
Window buck transitions and out-setting frames
Thermal overcoating adds significant thickness to the wall, which can leave existing windows looking like they are at the bottom of a dark tunnel. To solve this, windows should be 'out-set' into the new insulation layer using window bucks.
Out-Setting for Performance and Aesthetics
A window buck is a structural frame, usually made of plywood or LVL, that extends the rough opening to the face of the new insulation. By moving the window frame outward, you align the glazing unit with the thermal plane of the exterior insulation. (See insulated window bucks here)
This significantly reduces thermal bridging at the window perimeter and allows for a more traditional exterior finish. It is critical to use liquid-applied flashing or stretch tapes to connect the window buck back to the primary air barrier on the sheathing to prevent air and water leaks at the most vulnerable transition point.
A note about tape choices - typical red building tape has solvents in the adhesives. over time those solvents evaporate and leave the tape brittle, and its even worse when exposed to freezing. The added upgrade to a high performance home building air barrier tape is very much worth the added cost to protect your walls from moisture damage and to prevent heat loss.
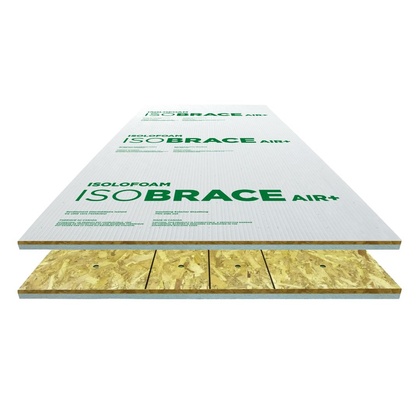
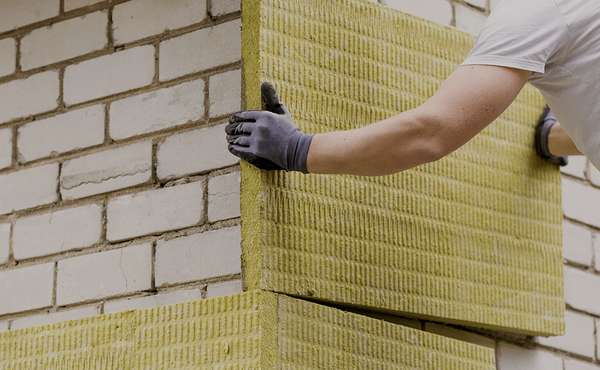
Choosing the right insulation for overcoating
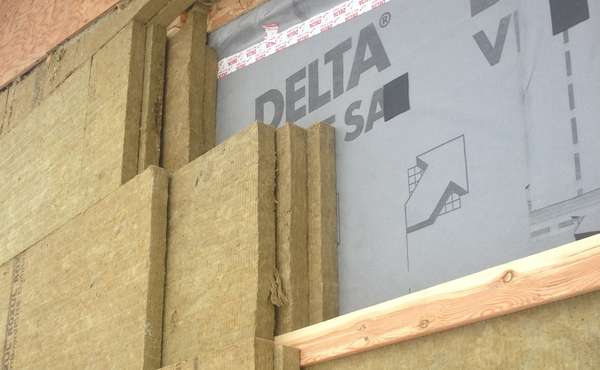
While many types of insulation can be used, vapor-permeability is a key factor to prevent trapping moisture. Using a 'breathable' material like stone wool (mineral wool) or rigid wood fiber board allows any moisture that does find its way into the wall to dry out toward the rainscreen gap.
If using EPS or GPS (graphite-polystyrene), ensure the thickness is sufficient to keep the sheathing warm, as these materials have lower vapor permeance and can trap moisture if the dew point shift is not calculated correctly.
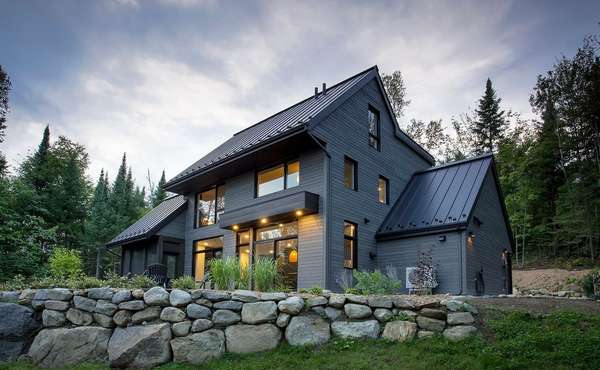
In brief
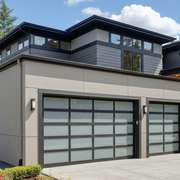
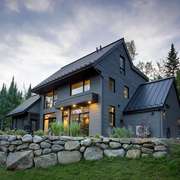
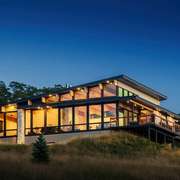
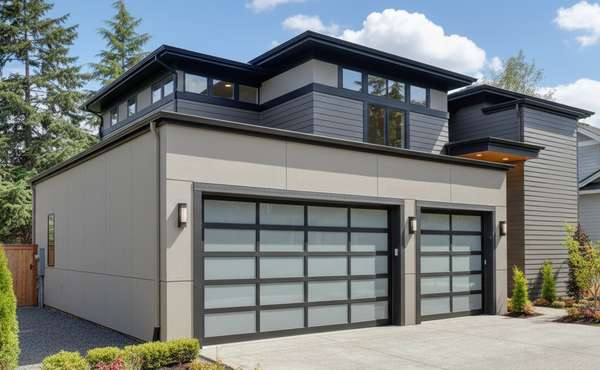
Exterior seamless insulation is an excellent way to insulate a home in a cold climate. Thermal overcoating is a transformative renovation strategy that protects a home's structure while slashing energy bills. By shifting the dew point to the exterior, integrating a high-performance air barrier, and using structural rainscreens with out-set window bucks, homeowners and pros can bring 20th-century homes into the Net-Zero era with durability and style.
Now that you know more about thermal overcoating, find more info about renovation techniques & green building techniques in the Ecohome Green Building Guide and these pages below:
-
How to insulate exterior walls of existing home from the outside
-
EIFS over brick: Installation guide & pros/cons for retrofitting
-
Add cellulose blown insulation to an attic without causing new problems
-
Which rigid insulation panel is the best? A guide to choosing insulation and best practices for installation
Sign up now and reap the benefits of a free Ecohome Network Membership!


Comments (0)
Sign Up to Comment