


Why your walls get wet: a 'building science made easy' guide to understanding the dew point
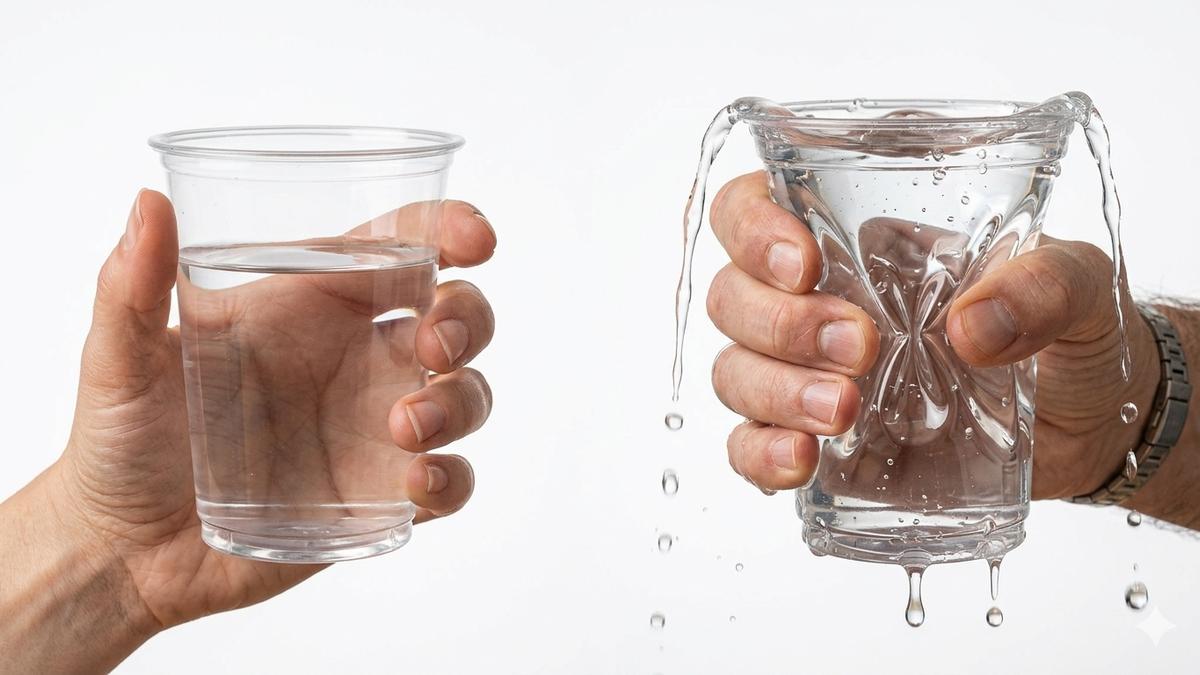
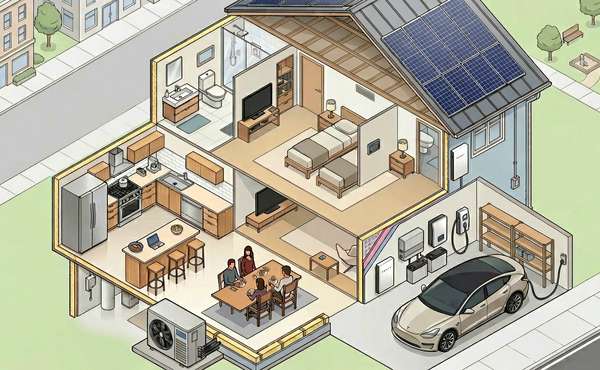
Understanding the dew point in a home is like knowing the exact moment a bucket is going to be too full to hold another drop of water. Or more accurately, it would be as if that bucket was shrinking (or being squeezed like that cup above) and you needed to know when the water was going to start to spill out. This happens because as air cools, it condenses and loses its capacity to hold moisture.
A point will come when the air in homes is saturated to the point where it starts to leave moisture behind on cold surfaces. That, in a nutshell, is what the dew point is all about. Understanding where and when that will happen is the key to designing durable, efficient and homes.
- What exactly is the dew point?
- Understanding relative humidity
- Where the water actually lands
- Why it matters for your house
- Managing humidity and condensation in homes
- The danger zones: how climate changes the rules
- Keep your home humidity level in the sweet spot
- In brief
What exactly is the dew point?
Think of the air inside your home like a giant damp sponge in your hand. As the air in your home cools, that is like your hand tightening around that sponge. Depending on how much moisture is contained in the sponge and how tight you squeeze, there can eventually come a point where you end up squeezing out water.
Knowing the dew point is about understanding the relationship between surface temperatures and the relative humidity level in the air, and when its capacity to hold moisture is maxed out. If the air cools any more after that point, it has to leave water someplace.
That is when a gas (vapor) turns into a liquid (condensation). You see this every time you take a cold drink out of the fridge on a hot day. The air hitting the glass cools down instantly, hits its dew point, and droplets of water form on the glass.
Understanding relative humidity
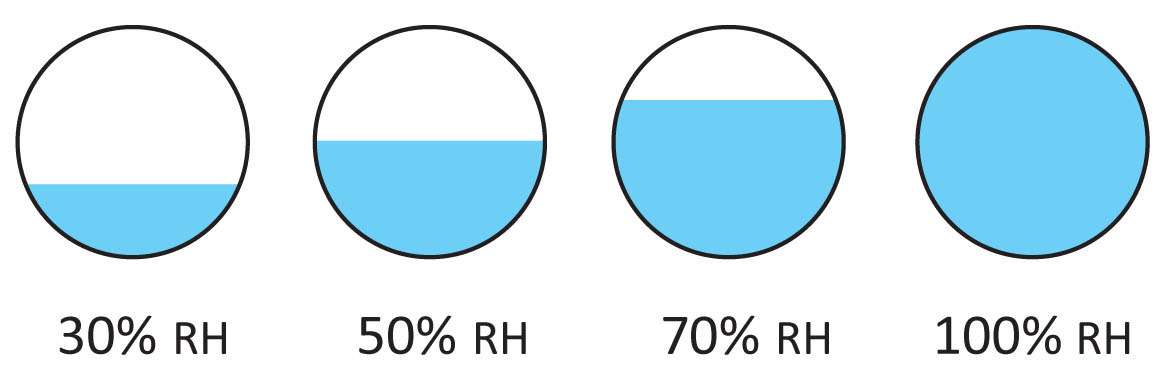
Relative humidity applies a number to the air's ability to hold moisture. When it is 50% RH, your glass half full (or half empty depending on your outlook on life). Air with a level of 25% RH is a lot more forgiving when it meets a cold surface than air that has 75% RH.
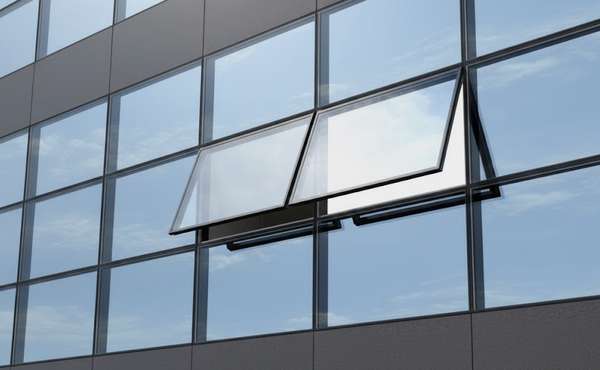
And that is why moisture levels and surface temperatures in homes are inextricably linked. For example, a home at 60% relative humidity on a cold day might very well leave condensation on a double pane window. Whereas it would not on a high performance triple pane window because the interior surface of the window is warmer.
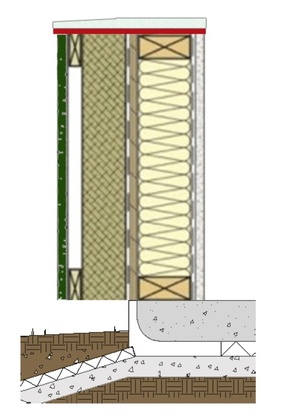
Where wall condensation usually shows up
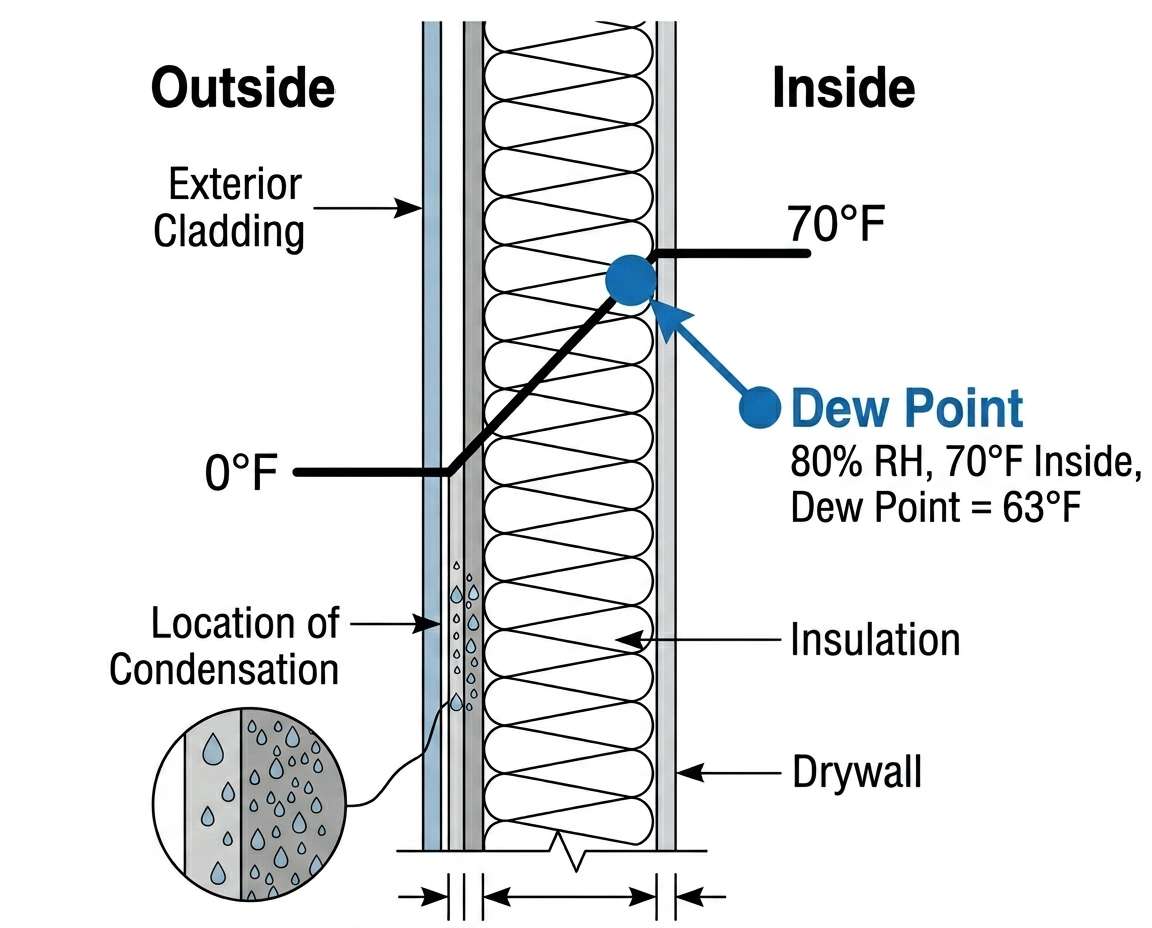
The image below is a sample of what I think is a somewhat confusing looking diagram for what it is trying to explain. At first glance, it makes it look like moisture is just going to freeze randomly in mid-air inside your wall, which is not the case.
But we can make use of this image to demystify the situation and understand exactly how condensation forms. In reality, water vapor is looking for a landing pad. It needs a solid object to touch before it can transition from a gas to a liquid.
In the world of building science, we call this a condensing surface. Much like a glass of ice water sitting in the sun on a summer day, the air around the can is warm, but the water only appears when it touches the cold metal surface.
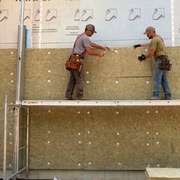
In a house, the type of insulation, it's thickness, and how well it is installed will determine where that condensing surface is located:
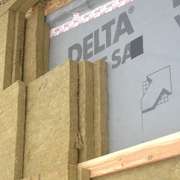
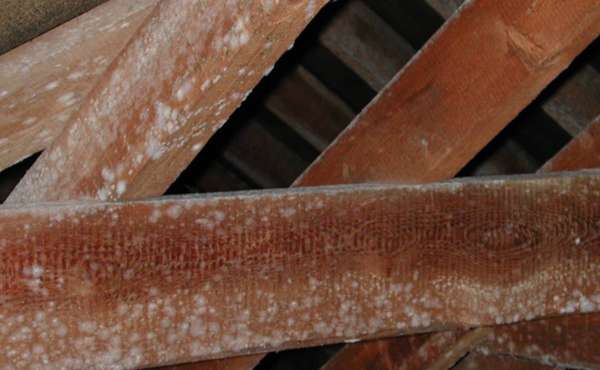
- Fiberglass and mineral wool: Because these materials are fluffy and full of air, they do not really have a surface that stops anything. Water vapor drifts right through the insulation like a ghost. It keeps moving until it hits the first cold, solid object it can find - which is usually the back of your exterior plywood sheathing. As you can see in the diagram, that plywood becomes the condensing surface where rot and mold can start.
- SIPs and spray foam: These materials are solid, so air cannot easily move through them. In a perfect world, the moisture never reaches a cold spot because there is no path to get there. However, if there is a gap or a crack between panels, that gap becomes a condensing surface. Because all the moisture is forced through that one tiny hole, the water builds up much faster in that one specific spot.
The secret to a durable wall is making sure that every condensing surface - every stud, screw, and sheet of plywood - is kept warm. If you keep those surfaces above the dew point, the water vapor can drift around all it wants, but it will never find a place cold enough to land and cause trouble.
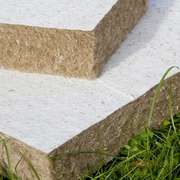
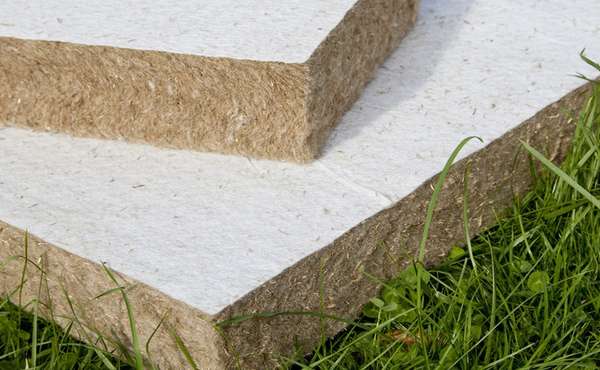
Different types of insulation materials have varying levels of sensitivity and risk in terms of moisture exposure. Some are higher risk than others like dense packed cellulose, or polyiso rigid insulation, and others such as hemp batt insulation can actually store a certain amount of moisture without causing harm and help prevent damage. Here you can see our definitive guide to choosing insulation and their proper installation methods.
Why it matters for your house
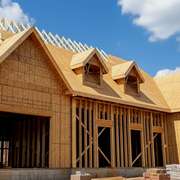
In a house, we have a constant battle between different temperatures. In the winter, it is warm and humid inside, but cold and dry outside. That warm, moist indoor air is constantly trying to push through your walls to get to the cold side.
The danger happens when that warm air hits its dew point temperature somewhere inside the middle of your wall. If it hits a cold surface - like the back of your plywood sheathing or a window frame - it turns into liquid water. If this happens inside your insulation, you won't see it until the mold starts growing or the wood starts to rot.
Managing humidity and condensation in homes
For homeowners and builders alike, the goal is to make sure the dew point happens in a place where it cannot do any damage. We usually do this by playing defense with three main strategies:
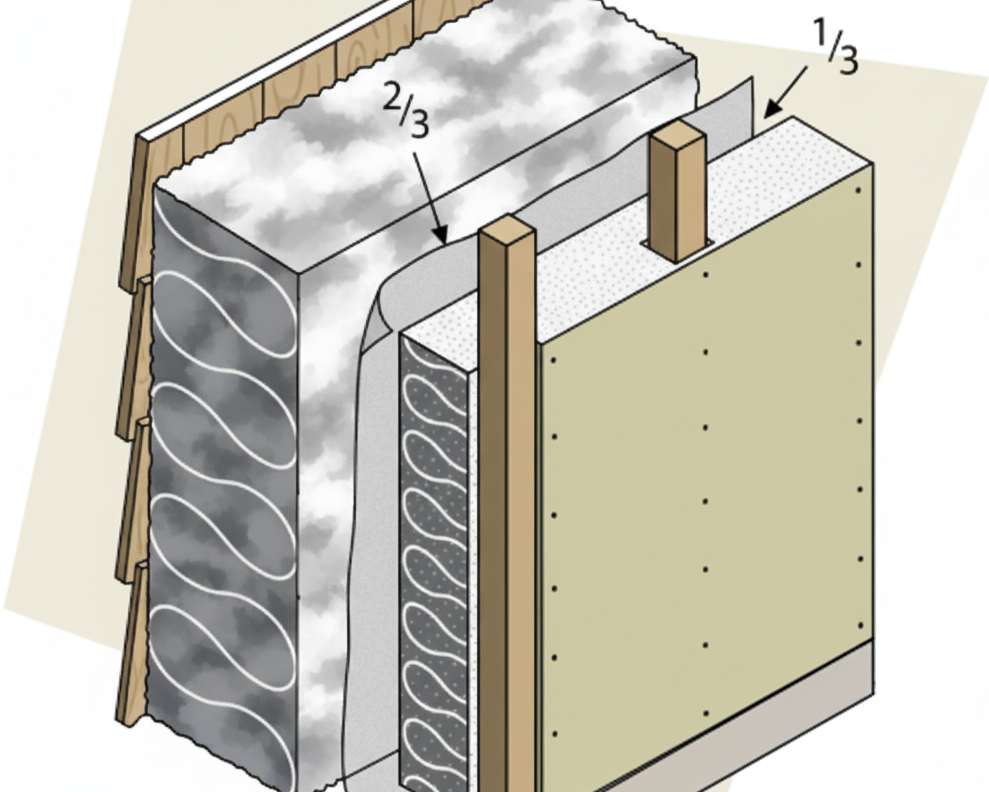
The two-thirds rule for insulation
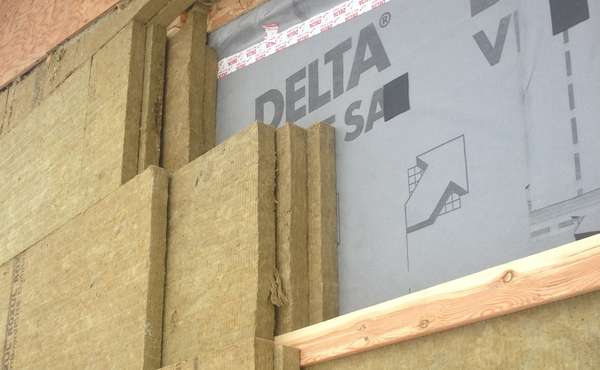
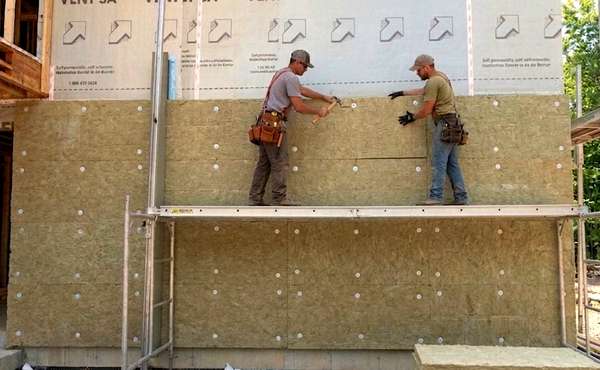
By putting enough insulation on the outside of your house (and retrofitting existing homes with exterior insulation) you keep the structural parts of the wall warm. By keeping the wood studs and plywood at indoor temperatures, the air never gets cold enough to reach its dew point inside the wall. To see the math on how this works, check out our guide on the two-thirds rule of insulation within wall assemblies.
Air barriers: stopping the conveyor belt of water
An air leak is like a conveyor belt that fast-tracks warm, humid air into your walls. While a vapor barrier stops moisture from slowly soaking through a solid material, an air leak moves about 100 times more water. If that air hits its dew point while passing through your insulation, it dumps liquid water exactly where you do not want it. To learn more, see the difference between air barriers and vapor barriers.
Breaking the thermal bridges
A thermal bridge is a heat highway that bypasses your insulation. Materials like steel and aluminum transmit heat roughly 400 to 1,000 times faster than insulation. Even wood studs act as bridges, moving heat through a wall much faster than the insulation between them. And in homes with high humidity, you can find condensation forming in certain spots on walls.
A very common location for condensation to form in old homes with low roof pitches is right around the top of the wall where the double top plate is, and particularly in kitchens where humidity levels are usually elevated.
The solution is to use thermal breaks - materials like high-density foam that restrict heat flow at trouble areas like concrete balconies, metal window frames, and steel lintels. Read here about thermal breaks - how to manage thermal bridges to prevent heat loss.
The danger zones: how climate changes the rules
Where you live changes everything. The dew point is not just about how cold it is; it is about the temperature difference between inside and out. Find what climate zone you live in here.
- Cold climates: In the winter, your indoor air is warm and loaded with moisture. As this air pushes outward, it hits the freezing exterior sheathing. This is why the vapor barrier traditionally goes on the inside.
- Hot and humid climates: The problem flips. It is 95°F (35°C) outside and 70°F (21°C) inside. The outdoor humidity is trying to push into your cold house. If you have a vapor barrier on the inside, moisture will condense on the back of your drywall.
- Mixed climates: These are the trickiest. You might have a freezing winter and a tropical summer. In these spots, smart vapor barriers that change how they breathe based on the season are often the safest bet.
Keep your home humidity level in the sweet spot
If you live in a hot, dry climate, you generally won't have to worry about these moisture issues. However, for those in high-risk environments like cold or humid regions, managing the moisture balance is a daily reality. The goal is to keep your interior relative humidity between 30% and 50% during the winter. This range is the sweet spot that protects both your house and your health.
Maintaining this balance is about controlling the source to prevent humidity levels in the air from rising too high, while ensuring they don't drop too low.
Managing high humidity
When humidity is too high, you risk hitting the dew point on your walls or windows. Here are the most effective ways to manage it:
-
Use your exhaust fans: Bathroom fans and stove hoods are your first line of defense. Always run them when showering or cooking to eject moisture-heavy air directly outside before it can spread through the house.
-
Put a lid on it: It sounds simple, but keeping lids on pots while boiling water prevents gallons of moisture from being dumped into your air every week.
-
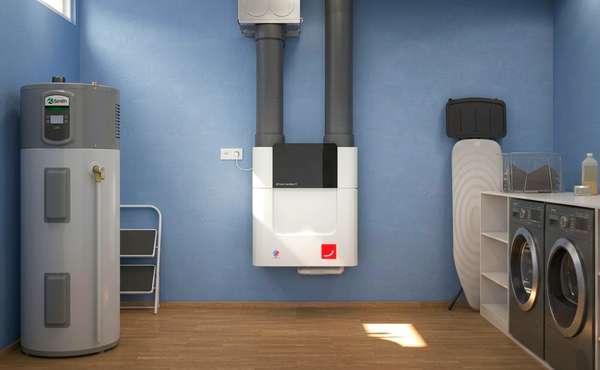
Check your ventilation system: Ensure your Heat Recovery Ventilator (HRV) or Energy Recovery Ventilator (ERV) is functioning properly and the filters are clean. These systems are designed to swap stale, humid indoor air with fresh, dry outdoor air while keeping the heat inside.
-
Deploy a dehumidifier: In basements or particularly damp zones, a properly sized dehumidifier will extract moisture from the air to maintain a safe RH level.
-
Monitor with a hygrometer: You can't manage what you don't measure. A simple, inexpensive hygrometer will tell you exactly what your RH levels are so you know when to take action.
The risks of air that is too dry
It is important to remember that air can also be too dry. If your RH levels drop below 30% for extended periods, you may start to notice problems:
-
Building damage: Wood flooring, cabinetry, and furniture can shrink, leading to permanent cracks and annoying squeaks.
-
Health concerns: Air that is too dry can cause nosebleeds, chapped lips, and flare-ups of skin conditions like eczema. Read here about how to maintain healthy indoor air quality
-
Dust and allergens: Extremely dry air can increase the amount of airborne dust, which can irritate your respiratory system.
By staying in that 30% to 50% range, you keep your home structural bones dry while keeping the occupants comfortable and healthy.
In brief
The dew point is the temperature at which air can no longer hold its water vapor and begins to create condensation. In building science, managing this point is the difference between a durable home and a structural failure. To understand the other components of a wall, we recommend our Building Science Made Easy Video to learn all about how heat, moisture and air move through walls, and how you can take control of those variables and build a superior wall and home.
By controlling humidity, sealing air leaks with a robust air barrier, and using thermal breaks to block heat highways, you ensure that moisture stays away from your home's structural bones.
Now that you know more about the dew point, find more info about green building techniques in the Ecohome Green Building Guide and these pages below:
-
What causes ice dams on roofs and how to fix them
-
Does plastic foam or Styrofoam insulation have a place in green building?
-
Why are basements moldy? How to fix or prevent a moldy basement
-
Balanced insulation levels in green home building- putting it where it does the most good


Comments (0)
Sign Up to Comment