


Basement and crawl space encapsulation: a homeowner's and pro's guide
Basement and crawl space encapsulation is a comprehensive moisture management strategy designed to seal the foundation from the damp earth. Whether you are dealing with a dirt floor crawl space or an older concrete basement floor lacking a vapor barrier, encapsulation creates a conditioned, dry environment that improves indoor air quality (IAQ) and prevents structural rot.
This process involves installing a high-performance membrane, managing drainage, and providing a thermal break to stop heat loss. By treating the foundation as part of the home's thermal envelope, you can transform a musty, underutilized area into a durable and resilient space for storage or living.
- Encapsulation vs traditional basement methods
- The mechanics of encapsulating dirt floor crawl spaces
- Solutions for older concrete floors without vapor barriers
- Insulation, drainage, and flood resilience
- Comprehensive flood prevention strategy
- Choosing a finished floor on top of encapsulation
- Spray foam in encapsulation: a strategic compromise
- Radon mitigation and soil gas control
- Step-by-step recap: the definitive encapsulation sequence
- In brief
Encapsulation vs traditional basement methods
In the past, basements and crawl spaces were often left to 'breathe' through the soil, leading to high humidity and mold growth. Modern building science favors encapsulation, which isolates the house from soil moisture and radon gas. This is an envelope-first approach that focuses on sealing the gaps before adding insulation.
By creating a continuous seal from the floor up the foundation walls, you eliminate the 'capillary rise' of water that often plagues older masonry and concrete structures. This shift in strategy not only protects the building structure but also significantly reduces the energy load required to heat and cool the home.
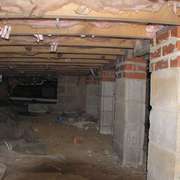
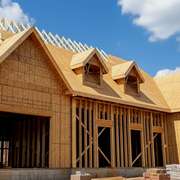
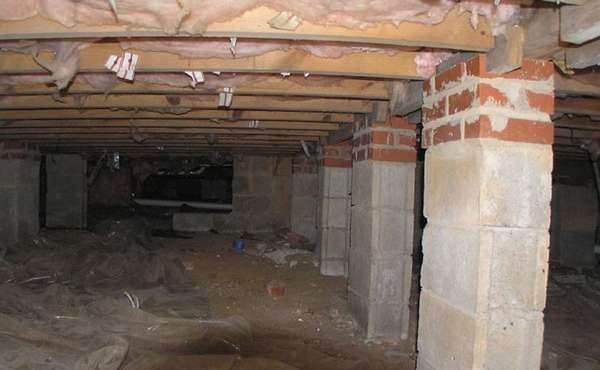
The mechanics of encapsulating dirt floor crawl spaces
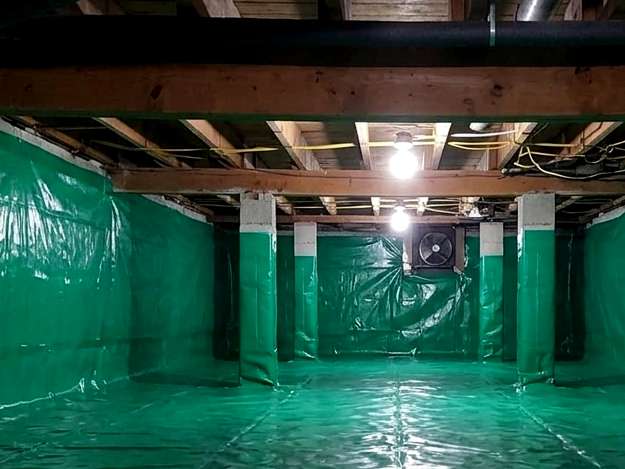
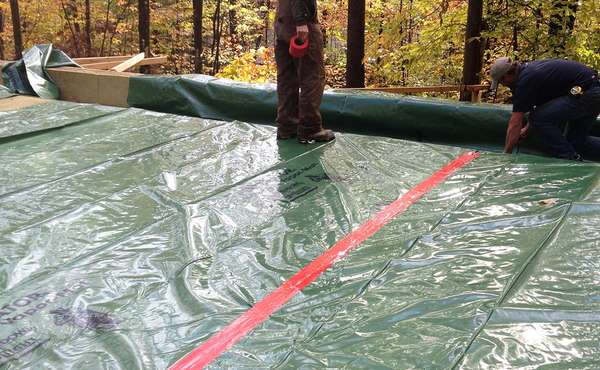
For a crawl space with a dirt floor, encapsulation is the most effective way to protect the wood framing above. Without a barrier, moisture constantly evaporates from the ground, causing joists to swell and rot. A pro-grade encapsulation involves laying a heavy-duty 20 mil reinforced liner directly over the earth.
This liner is mechanically fastened to the walls and all seams are sealed with high quality waterproof building tape. This process turns a damp, 'scary' crawl space into a clean, white, and moisture-proof storage area. It effectively stops the stack effect from pulling soil-scented air and moisture into the living quarters above.
Solutions for older concrete floors without vapor barriers
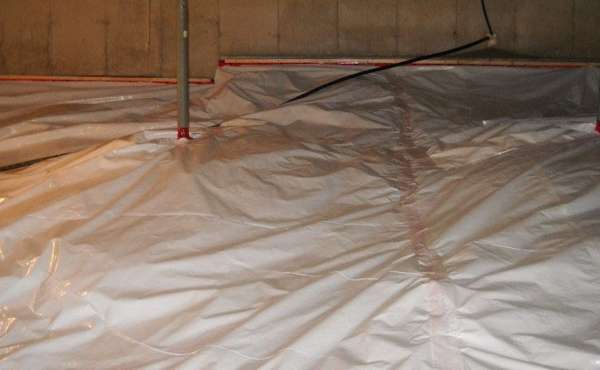
Many older basements have poured concrete floors that were installed without insulation or a poly vapor barrier underneath. These slabs are porous and remain permanently damp, leading to uncomfortable floors and high energy bills. Even with a concrete floor, encapsulation is used to stop moisture wicking through the slab.
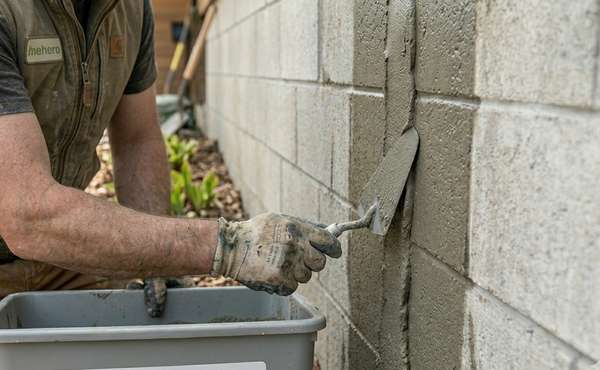
Crucially, this system seals the 'cove joint' - the gap where the wall meets the floor - which is a major entry point for water and radon. By extending the membrane across the floor and up the walls, you create a seamless basin that keeps the interior environment dry and separated from the damp concrete substrate.
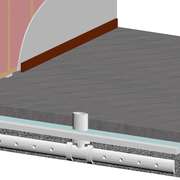
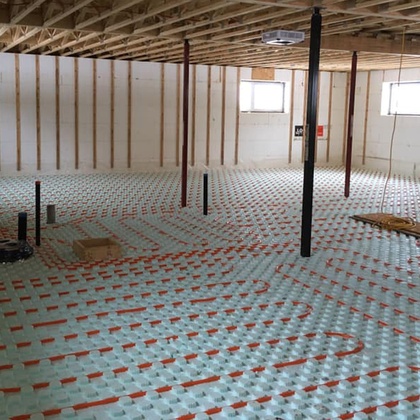
Insulation, vapor and radon control
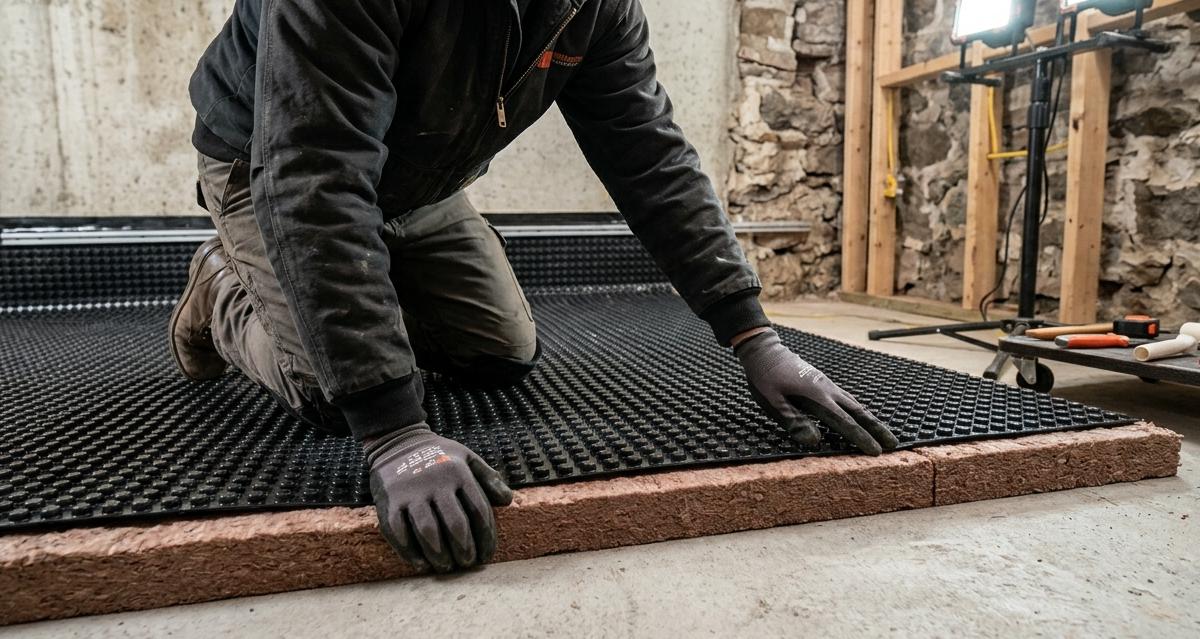
To reduce heat loss, you'll need to include insulation on the floor. We recommend using rigid mineral wool boards (1 to 2 inches) laid directly on the concrete or dirt, followed by a dimple mat and a vapor / radon barrier if needed. Mineral wool is our first choice as it is dimensionally stable and hydrophobic, so when it dries out it returns to it's full R value and insulating capabilities. EPS and XPS rigid boards are also commonly used, even spray foam.
A note about vapor control - a dimple membrane itself is waterproof, so in reality no additional barrier is needed, but it is very difficult to seal the seams. If you're counting on it as a radon barrier (see more below), then an additional properly sealed radon membrane would be required. Here is a 15-mil radon membrane installation video guide to learn about how to properly seal joints and around plumbing penetrations.
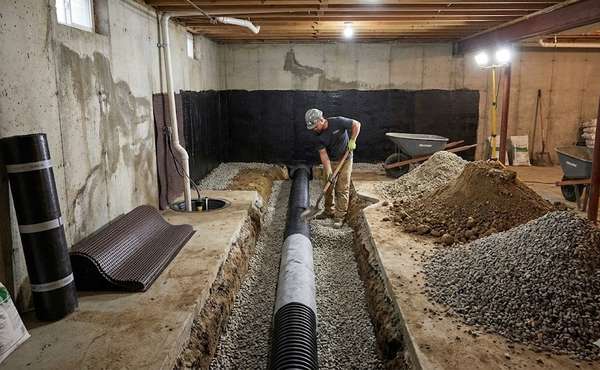
Comprehensive flood prevention strategy
A dimple membrane is a drainage plane, not a waterproofing seal; it cannot stop a rising water table. The most effective flood prevention begins outside by ensuring water never reaches the foundation. This involves maintaining clear eavestroughs, extending downspouts, and using proper grading or swales to direct runoff away from the house.
However, a truly resilient system assumes the worst-case scenario. For total peace of mind, always install a high-quality sump pump to manage any water that bypasses your exterior defenses. To ensure the system functions during a storm or power failure, we strongly recommend including a sump pump with battery backup.
By pairing exterior water management with interior mechanical backups and moisture-hardy materials like mineral wool, you create a tiered defense. This 'belt and suspenders' mindset protects your home even if the primary systems fail during extreme weather events.
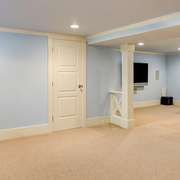
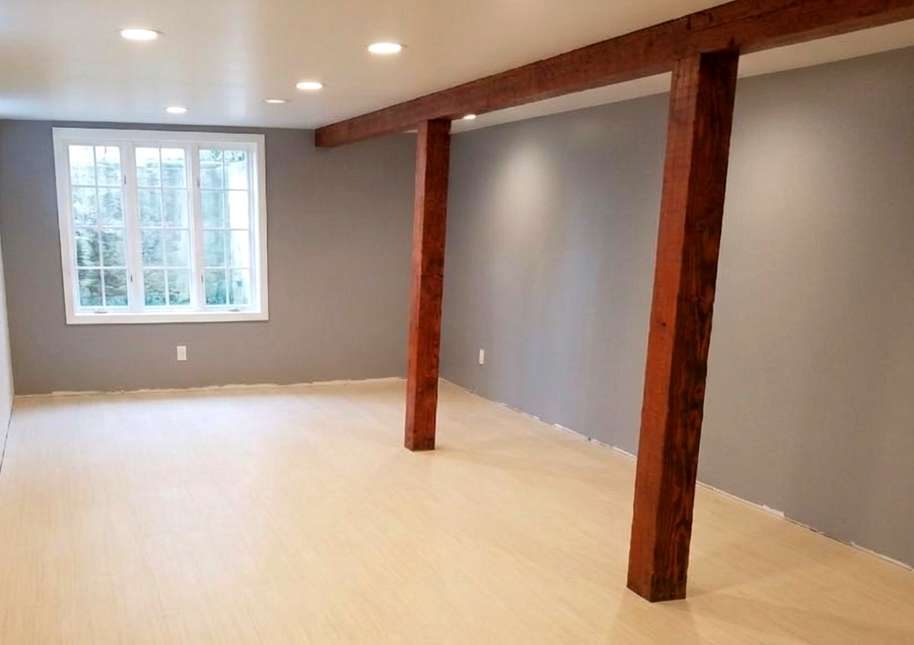
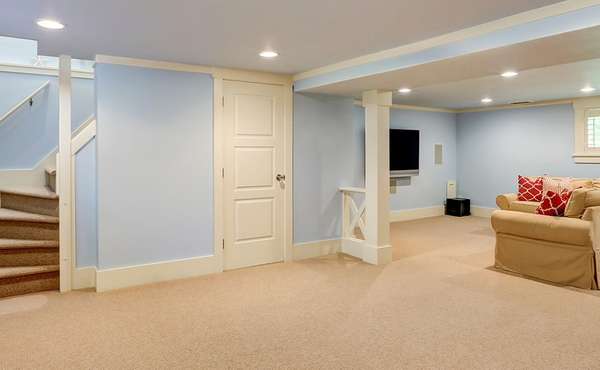
Choosing a finished floor on top of encapsulation
Once your drainage mat and vapor barrier are in place, you need a solid surface to protect the membrane and make the space usable. The right choice depends on your intended use for the space:
- Plywood subfloor: Lay 3/4 inch tongue-and-groove plywood directly over the dimple mat and fasten it through to the concrete to create a solid base for any flooring.
- Floating floors: Install a water-resistant flooring material on top, such as Linoleum click-tiles, recycled content rubber flooring, or marmoleum on top if the dimple mat is high-density.
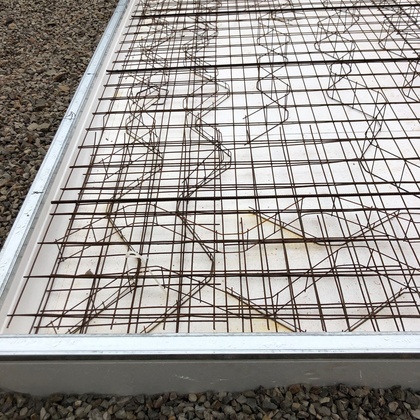
- Poured concrete: A 'rat slab' or thin layer of concrete can be poured over a 20 mil liner for a permanent, durable floor in mechanical rooms or heavy-use areas. Read here about water proof floor screeding.
- Exposed liner: For light storage or maintenance access, the 20 mil reinforced liner can be left exposed as a clean, durable walking surface.
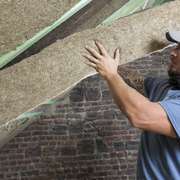
Spray foam in encapsulation: a strategic compromise
While we generally avoid large-scale foam due to IAQ concerns, closed-cell spray foam is occasionally a necessary compromise for sealing the rim joist. This is where the floor joists meet the foundation, creating irregular gaps that are difficult to seal with rigid boards.
Modern formulations now use low-GWP (global warming potential) blowing agents, which are less harmful to the environment. However, we remain cautious about the health aspects of off-gassing from spray foam and recommend using foam only in small, targeted amounts while maintaining high-quality mechanical ventilation to protect indoor air quality.
Radon mitigation and soil gas control
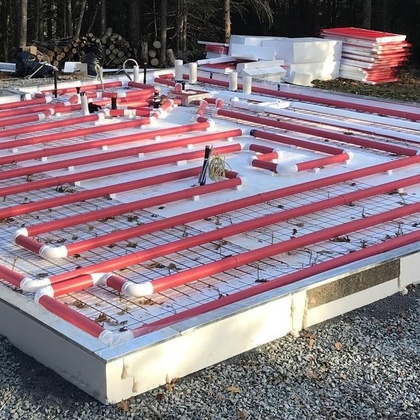
Before starting, it is wise to test your home for radon to determine your baseline risk. If you live in an area known for high radon exposure, the safest approach is to assume elevated levels and prevent radon infiltration from the start. For the most reliable protection, we recommend a dedicated heavy-duty 15 mil or 20 mil radon membrane with flat, overlapping seams.
If you decide not to install a secondary radon-specific membrane, you should at the very least apply a thick bead of acoustic sealant in the joints of your dimple mat. While this is a 'budget' upgrade and can be somewhat unreliable due to the dimples, a few tubes of acoustic seal is a very cheap and smart insurance move to reduce soil gas infiltration.
Learn more here about radon gas detection and radon mitigation for basements.
Step-by-step recap: the definitive encapsulation sequence
- Test and repair: have your home tested for radon and fix any active foundation leaks or drainage issues. For additional peace of mind, buy a continuous radon detector so you know if levels rise above recommended safe levels
- Clean and prep: Remove all debris from the floor to prevent punctures in your barrier.
- Insulate for resilience: Lay high-density mineral wool rigid boards directly on the substrate for a rot-proof thermal break.
- Create a drainage plane: Install a dimpled mat over the insulation to allow water to move toward the sump pit.
- Seal the joints: Apply a thick bead of acoustic sealant between the layers of the dimple mat (or your secondary membrane) and finish with professional building tape.
- Vertical termination: Fasten the liner up the foundation wall and seal the top edge to the masonry.
- Protect with flooring: Install a plywood subfloor or floating vinyl to protect the system and finish the space.
In brief
Basement and crawl space encapsulation is a powerful tool for improving home durability and health. By selecting moisture-resilient materials like mineral wool and radon gas-rated membranes, you can protect your foundation from the ground up.
Whether you are fixing a damp crawl space or retrofitting an old concrete basement, the goal remains the same: simplify the design, seal out soil gases, and ensure the space can dry out if the worst happens. Proper planning today prevents costly remediation in the future.
Now that you know more about basement encapsulation, find more info about moisture management & green building techniques in the Ecohome Green Building Guide and these pages below:
-
Can you waterproof basements from the inside?
-
Smart vapor barriers and variable membranes guide
-
How to rebuild a basement after a flood
-
Top tips for caulking and sealing air leaks


Comments (0)
Sign Up to Comment