


How to waterproof a basement from the inside: An experienced contractor's opinion!
Before you spend thousands on 'sales-pitch' waterproofing or panic-driven measures because you found a puddle of water or some mold in your basement, understand the relationship between your home's age, your soil type, the weather conditions and the structural reality of your foundation and basement and it's ability to keep the water out.
At Ecohome, we are famously skeptical of full in-ground basements. Why? Because you are essentially living in a hole in the ground that is constantly fighting the laws of physics. Or in other words, your basement really wants to transform itself into a swimming pool. We're also skeptical of basement quick-fixes, or "miracle systems," especially when they come with an elevated price tag that is hard to justify for a length of plastic pipe, some gravel and a basic sump pump.
Also, one other word of caution. Any basement can be a dangerous source of contact with a silent killer, Radon Gas. If your home has a basement (or crawl space), getting informed about Radon and testing for radon gas is an absolute essential - and especially before you spend any money on basement remediation!
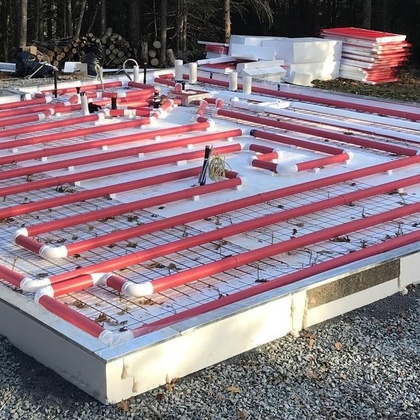
If you have the choice when building new, we recommend a Slab-on-Grade foundation. But if you already own a home with a basement, you need to know how to manage it without compromising the structural integrity of your house or wasting a lot of time and money. You can also find some useful insights before buying a home with a basement, here.
This guide moves beyond the typical contractor "scare tactics" to look at the real engineering and environmental factors at play. It's long, but the subject can be complex, so we've put the following menu so you can navigate to the most relevant section directly or please, if you're sitting comfortable, read on.
- Finding the source of water in basements (the hard way)
- Age and condition of the basement: What are you starting with?
- Location: Frost heave and regional stresses on basements
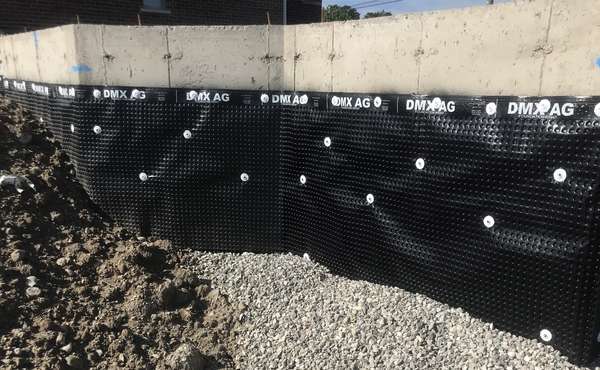
- The First Defense: Exterior water handling
- The truth about Hydrostatic Pressure in basements
- Tanking a basement: The "Swimming Pool" approach
- Internal French Drains: Structural risks and clay soil
- The Ecohome Basement Waterproofing Checklist
- Insurance and the "Strata Trap"
- Glossary of Basement Terms
- In brief: The Ecohome verdict for keeping basements dry
Finding the source of water in basements (the hard way)
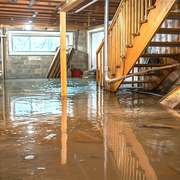
If you buy a home with a finished basement and discover a leak, prepare for a long road of trial, error, expense and incremental improvements. Water is a master of deception: it can enter in one corner, travel along a sill plate or a floor crack, and emerge as a puddle 30 feet away. Anticipate the unexpected: don't assume the source is right where the wet spot is and don't listen to a contractor that thinks that way either.
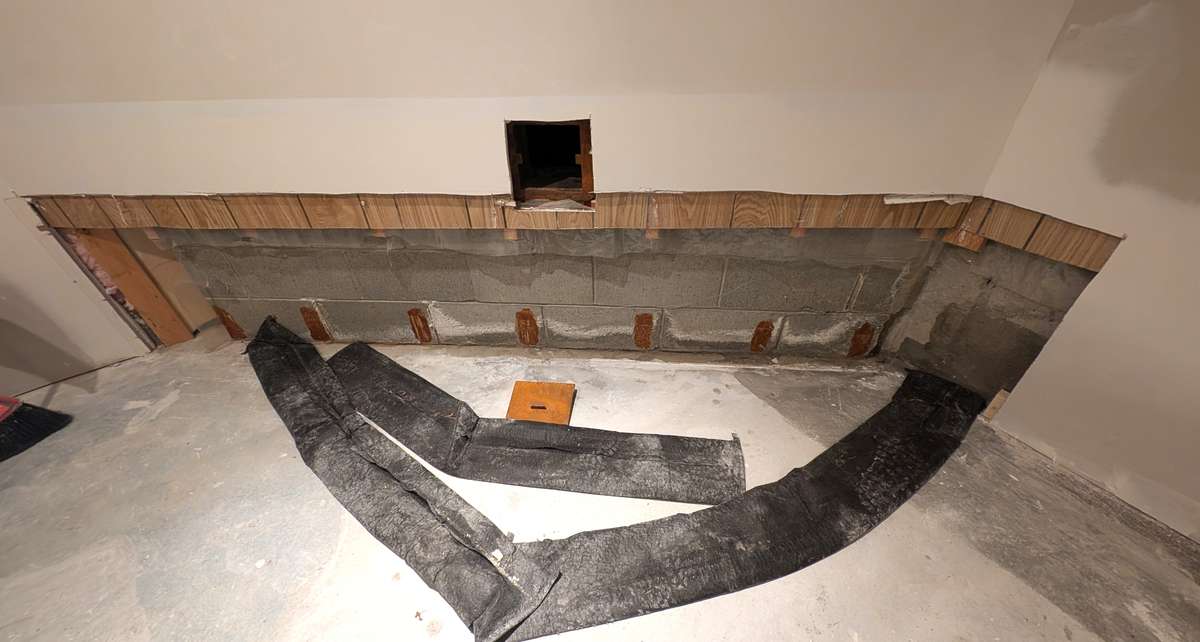
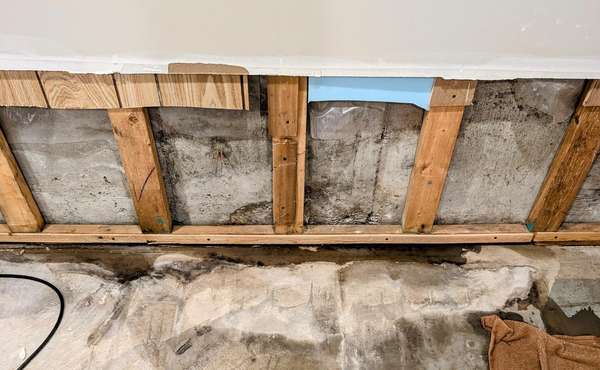
To have any real success in fixing a basement leak, you must be willing to strip the interior back to the bare basement walls. Half-measures lead to half-solutions. You need to see the "skeleton" of the basement and wait for the next heavy rain or spring thaw to witness exactly where the water is making its entrance.
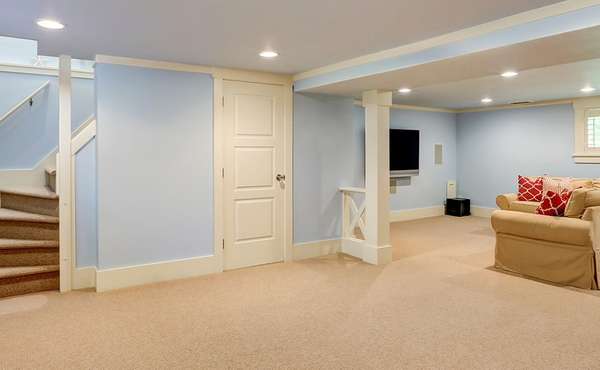
And, if your reaction to the above is a panicky "but it's ruining my flooring" - then repectfully, you chose the wrong flooring for the basement! I'm going to repeat this often during this article, expect your basement to get some water or humidity in and design everything you put down there around this. Or, prepare for the expense of extensive reno's every few years - because your insurance may pay up the first time it happens, but trust me when I say they won't keep on paying out if it keeps happening!
A case in point: We once dealt with a basement that developed a persistent puddle in the back corner next to the electrical room. The "miracle basement solutions" brigade was already trying to pressure the elderly homeowner into a $19,000 perimeter drain system. However, the puddle was simply at the lowest point of the floor. The actual leak? A rabbit warren on the opposite side of the house, a blocked downpipe, and a poorly sealed soil stack.
Total cost of the fix: two hours of labor, a ladder, a bucket to clear the gutter, and a $10 tub of hydraulic cement. It's 5 years later and the puddle never returned, remember, always start with the simple, logical and low cost fixes before signing a contract for major excavation or basement repairs.
Age and condition of the basement: What are you starting with?
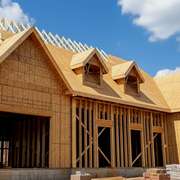
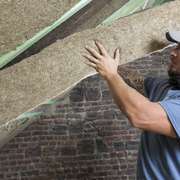
The age of your home dictates the porosity of your basement and how high you should set your expectations for a model home finish. In older homes (pre-1950s), you may find rubble stone foundations or brick, which are naturally leaky and were never intended to be bone-dry. In mid-century homes, concrete blocks (CMU) were common; these are notorious for holding water in their hollow cores and they are also porous - so they let water through.
Modern homes use poured concrete, which is structurally superior but prone to vertical shrinkage cracks, or if you're really fortunate, an ICF basement is the best way to go. Regardless of type, no basement is naturally waterproof: there is always a level of water vapor migration occurring - even if you can't see it. Buy a cheap hygrometer and check - most basements before additional work will show a 60% to 80% hunidity reading while a space you're going to use should be in the "ideal" range for a healthy basement which is between a 30% and 50% level of humidity.
Look for these indicators of humidity or water ingress on bare basement walls:
- Efflorescence: White, salty crust caused by moisture migrating through the wall and evaporating.
- Unsealed tie-rod holes: Common in poured walls; we've even seen wood battens left in strip foundations that rot away over time and let the water flow in.
- Spalling: When the surface flakes off concrete basement walls due to moisture pressure or rusting internal rebar reinforcement.
- Mold/Condensation on walls: Be careful here. A damp patch isn't always a leak; it could be poor insulation creating a dew point where interior humidity condenses on a cold wall.
- Mold/Condensation on your furniture or stuff: Also be careful - some people have severe reactions to mold. Mold exposure poses a significant biological threat by releasing airborne spores that can trigger acute allergic reactions, persistent respiratory irritation, and severe asthma complications, while potentially exposing vulnerable individuals to toxic mycotoxins or invasive fungal infections.
Location: Frost heave and regional stresses
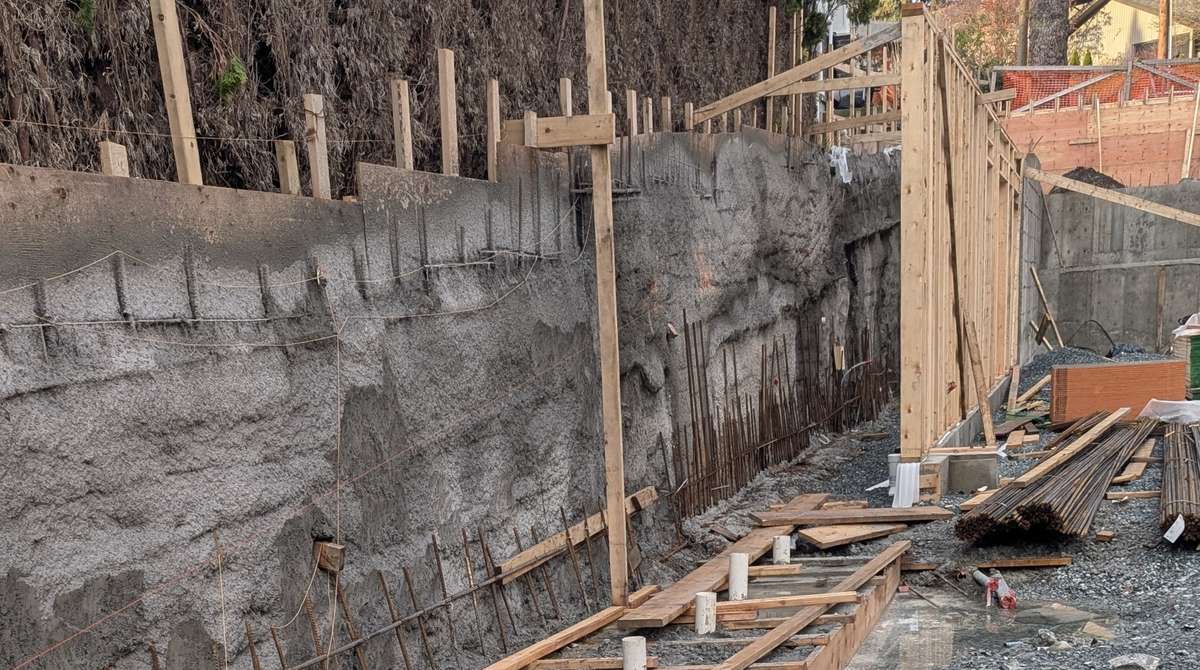
In cold climates, you’re fighting ice as much as water when it comes to basements and foundations. Frost heave exerts massive lateral pressure on basement walls. Horizontal cracking is a major red flag that your wall is bowing under the stress of freezing soil.
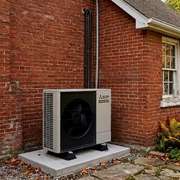
Interior "band-aids" won't fix this; you need the right exterior insulation to move the frost line away from the house and to prevent freezing next to your basement walls. Also, removing as much of the water that might freeze can help, both with the frost heave and damage part, but also with the "flowing through the cracks" part.
The first defense: Exterior water and basements
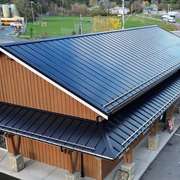
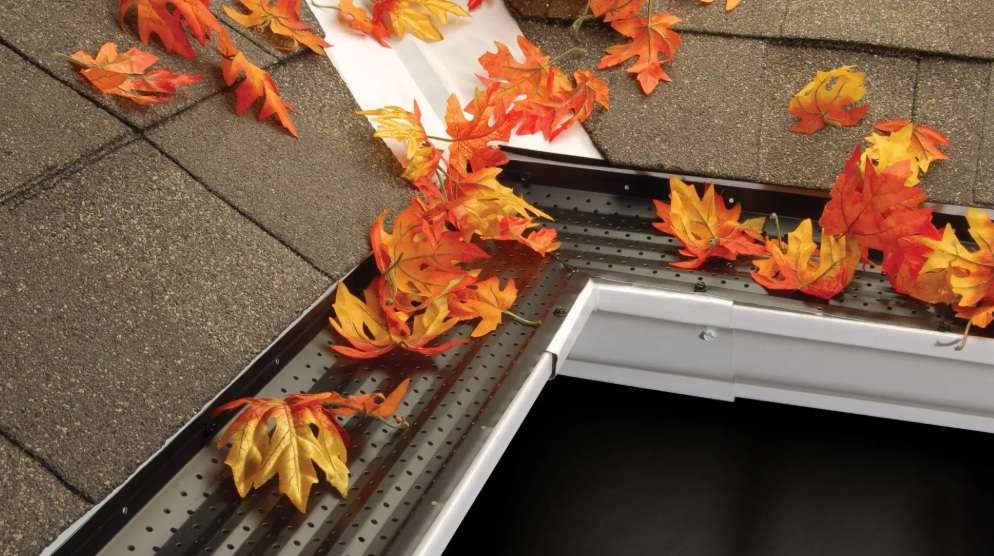
A standard roof can shed thousands of gallons in a storm. If your gutters are full of leaves, your downpipes dump water at the base of the wall, or your soil grading slopes toward the house, interior work is a waste of money.
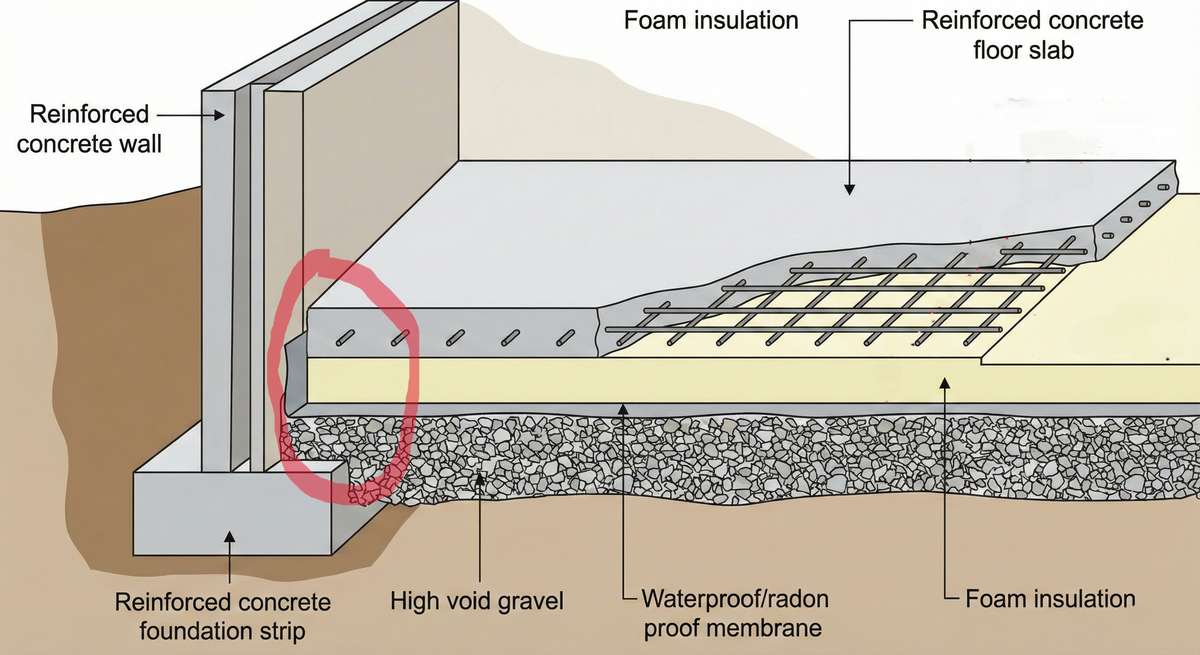
Fixing the grade with high-void gravel that slopes away from the home and basement and extending downspouts or making sure that the drains they go into are evacuating the water successfully is your most cost-effective "waterproofing" strategy.
Throwing a "digging our yard over BBQ" on a summers' day, followed by throwing in some bags of clean high-void gravel over a french drain arrangement close to the basement walls to fix the grade, will do more towards a leaky basement solution than a $20,000 interior drainage system.
The truth about "Hydrostatic Pressure" in basements
Waterproofing salespeople love to use the term "hydrostatic pressure" to sound like a pro and to strike fear into homeowners. Let’s be clear: hydrostatic pressure simply refers to the pressure exerted by a fluid at rest due to gravity. If the soil outside is damp, there is hydrostatic pressure. The real question is: is the pressure high enough to overcome the water resistance of your wall? In sandy, well-draining soils, this pressure is negligible. In heavy "fat" clays, the pressure can be immense. It is all relative. If your wall is sound and the water is managed, hydrostatic pressure is just a variable of physics, not a ghostly force destined to implode your home.
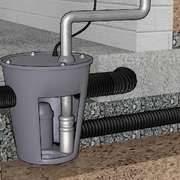
If an expert from the construction industry tells you that the problem is hydrostatic pressure, then the only solution to high hydrostatic pressure is to make certain that the water outside is drained away, outside, quickly and efficiently. Letting the water into a basement, then collecting it and pumping it back out is not a solution, it's a bandaid. A cheaper bandaid is to waterproof the interior of the basement, often referred to as "tanking" - which is pretty much like a reverse swimming pool where you're trying to keep the water in.
Tanking: The "swimming pool" approach
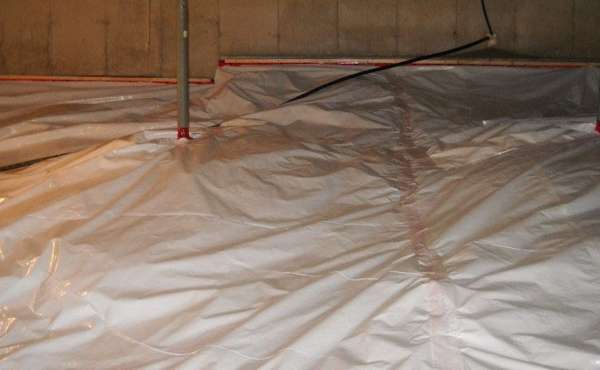
One option is to 'tank' the interior of a leaky basement: applying a continuous, high-performance waterproof membrane to the walls and floor. Much like a swimming pool liner keeps water in, tanking aims to keep water out.
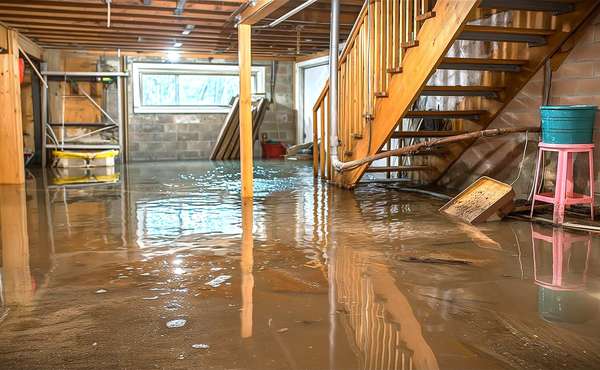
While effective at creating a dry surface for finishing, it has to be perfect or nearly perfect to sufficiently solve the water ingress problem: and on it's own as a basement leak mitigation policy, it carries a hidden risk: the unintended indoor pool. If you do tank the inside of a basement, if you ever have a plumbing leak or a burst pipe inside a tanked basement, that water has nowhere to go.
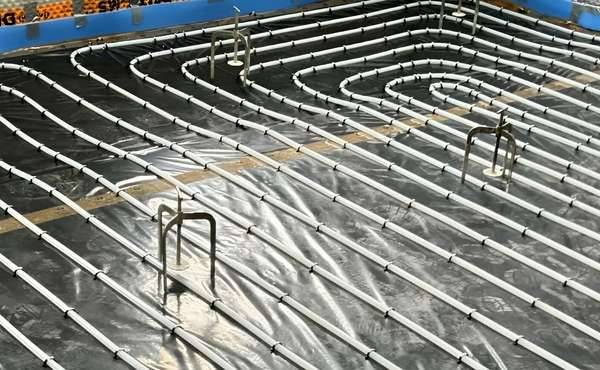
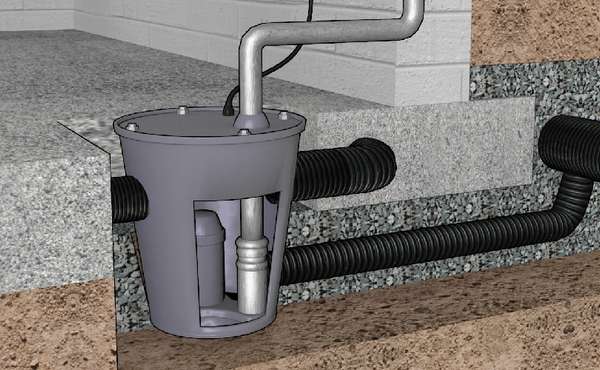
It won't drain through the floor or seep into the walls; it will simply fill the basement. This is why we advocate for floor drains and sump pits done properly, even in "waterproof" setups - which is easy when you are building a new home, but harder to retrofit in an existing basement without potentially causing other problems.
Internal French Drains: Structural risks and clay soil
Installing an internal drain by jackhammering the floor perimeter is a common "pro" fix for a leaking basement, but it carries two major risks:
1. The Clay Soil Danger
If your home is built on heavy clay or expansive clay soils, "drying out" the soil under your footings with an aggressive drainage system can be disastrous. Clay shrinks when it loses moisture. I have seen foundations crack and walls settle because an interior drain removed too much moisture, causing the ground to pull away from the footings. If you have clay soil and are building a new home, use a pre-engineered slab form. Otherwise, understand your soil type before you change the drainage profile on an existing home and basement.
2. The Structural Load Problem
In many homes, the basement floor slab sits on a small "lip" of the foundation footing. If you cut out a 12-inch wide trench around the perimeter to fit a pipe and gravel, you may be removing the very ledge that supports the edge of your reinforced concrete floor. If the pipe is wider or taller than the available footing space, and is able to evacuate material from this area over time, you are essentially "undermining" the slab.
Without that support, the slab can crack or sink, leading to a nightmare of structural instability in the future. Ensure any "miracle solution" comes with a guarantee that specifically covers future slab failure caused by the installation of the drain system: and buyer beware, most warranties we've seen aren't worth the paper they're written on! If the contractor doesn't understand the direct question "what precautions do you take to ensure that the floor slab doesn't become weakened or undermined?" then find another contractor.
The Ecohome basement waterproofing checklist
When dealing with a leaky basement, don't jump to the most expensive solution first. Use this checklist to troubleshoot and fix your basement moisture issues in a logical, cost-effective order. As tables can be tricky for both desktop and mobile phone viewing, if you can't see or read it properly, please be sure to check on desktop or laptop.
| Priority Phase | Action Items | Est. Cost |
|---|---|---|
| 1. Exterior (High Up) | Clear leaves from gutters/valleys. Ensure downspouts discharge 6-10 feet from wall. Check for overflows during rain. | $ |
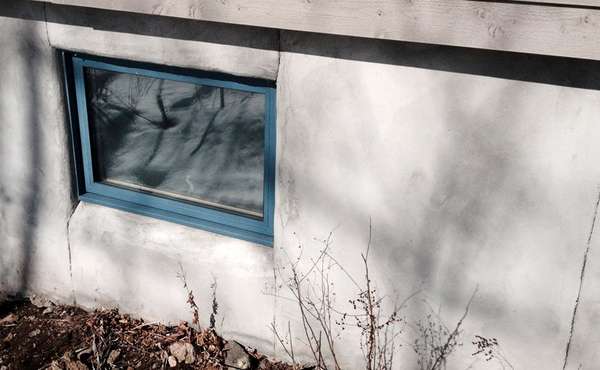
| 2. Exterior (Ground) | Grade soil to slope 1"/foot away for 10 ft away from the property. Add high-void gravel near walls in a frech drain arrangement that goes to checked low-level drains. Clear debris from window wells and drain entrances like gratings. | $$ |
| 3. Interior (Diagnosis) | Strip drywall to see bare walls if leaking persists. Identify active leaks vs. condensation. Run dehumidifier. | $ to $$$ |
| 4. Interior (Repairs) | Inject cracks/tie-rod holes with flexible Polyurethane/Epoxy designed for sealing. Service sump pump/battery backup and fit alarm. | $$ to $$$ |
| 5. Structural (Last Resort) | Interior perimeter drainage (French Drain) and sump pump system installation. Tanking/Membrane systems for weeping walls. Bowing wall reinforcement. Exterior excavation to below footings and installing effective exterior drainage and waterproofing. | $$$$ |
Insurance and the "Strata Trap" for basements
If you have a basement, ensure you have full insurance coverage and have fully disclosed the "finished" status of your basement to your broker. Take photos and get written acknowledgment of what is covered. This is vital in a Strata/Condo scenario. If the Strata originally supplied a bare basement that you later finished, there is a 99% probability that you are responsible for the costs of a leak.

Even if the leak is caused by a Strata-owned common asset, such as a cracked exterior wall, the "consequential loss": the cost of ripping out and replacing your ruined drywall, flooring, and theater system: will likely fall on you. See our guide on rebuilding a basement after a flood here.
Glossary of basement waterproofing terms
- Capillary Action: The ability of water to "wick" upward through porous materials like concrete, even against gravity.
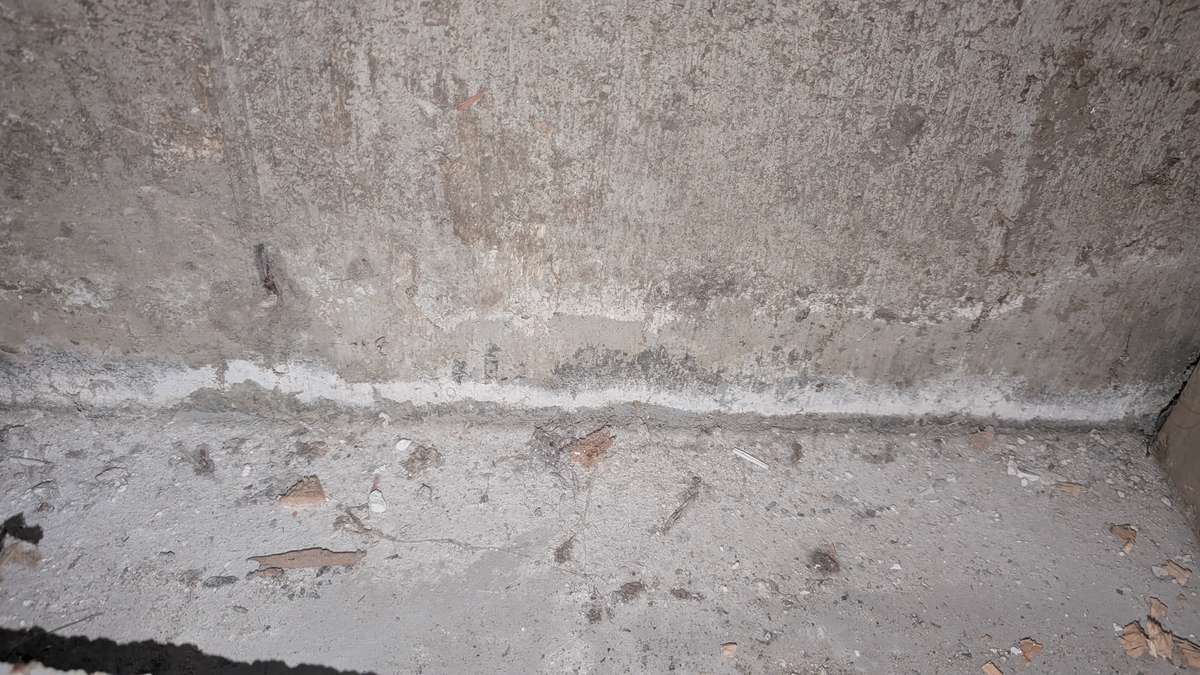
- Cove Joint: The seam where the basement wall meets the floor slab. This is a frequent point of water entry but it is also problematic to identify where the water is coming in, as what you can see is where it overflows onto the basement floor.
- Efflorescence: Crystalline salt deposits left on a concrete surface after water evaporates.
- Hydrostatic Pressure: The pressure exerted by water in the soil pushing against your basement walls.
- Mold or Mould: Exposure to mold spores poses a significant threat and can trigger acute allergic reactions, persistent respiratory irritation, and severe asthma complications, while potentially exposing residents to toxic mycotoxins or fungal infections.
- Tanking: Applying an impermeable membrane to the interior surface to "seal" it like a pool.
In brief: The Ecohome verdict on interior waterproofing of basements
Interior waterproofing basements is a game of trade-offs. This is part of the reason we really don't like or recommend fully in-ground basements unless there is no other solution to get the home volume you need on the land you're building on. When you have water in your basement, always fix the simple and low-cost exterior water problems first.
If you must work inside the basement to solve your problems, be ready to strip out the interior finishes first, then wait for the basement to leak again while they are off so that an accurate diagnosis of where the water is actually getting in is possible. Then use vapor-open and water resistant assemblies combined intelligently and never compromise the structural footprint of your foundation for an expensive plastic "miracle" pipe to resolve your basement water issues. Also - expect to not be using the basement for at least 6-12 months. There, I said it, if you rely on the space your basement provides then make 100% sure that it is 100% reliable and watertight - something that in our experience is <2% of the basements we inspect.
Also, if you absolutely have to work outside to solve your basement water woes, be prepared to sign a blank check (or cheque) to your contractor who will be digging the 10ft+ deep holes and hope that they know what they're doing, that they're going to do it safely, and that they're honest! (Or that you feel confident enough to supervise them every step of the way...)
Deepen your understanding of building science and waterproofing basements in the Ecohome sustainable construction guides and here:
-
Why we prefer Slab-on-Grade over Basements
-
How to rebuild or finish a basement to resist water ingress or a flood
-
How to manage Radon gas when sealing a basement floor
-
The ultimate guide to Sump Pump maintenance


Comments (0)
Sign Up to Comment