


The importance of installing doors and windows correctly:
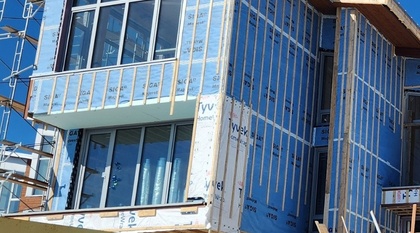
Window and door openings are breaches in a building envelope that need to be carefully managed in order to prevent moisture damage and air leakage in homes as well as to save energy. Water leaks from around windows and doors are the visible result of a poor installation.
If there are air leaks from around windows and doors, not only is a home inefficient and wasting energy, it's susceptible to damage. Condensation can form in these areas and deposit moisture insde the walls and damage both insulation and framing structures.
Moisture and more specifically humidity, is the number one cause of degredation in North American homes. Timber is a hygroscopic material, and once the lumber in a typical wall reaches a humidity level greater than 15%, the chances increase significantly for insect infiltration and/or mold problems.
This should be kept in mind when installing windows and doors in stud walls, and it's a little more complicated than simply applying silicone sealants or foam.
When installing windows and doors in a home, it's essential to put comprehensive strategies in place to manage moisture in all forms being air leakage. That may be condensation on windows which can be hard to stop, wind-driven rain and snow, or just a straight forward downpour.
Preventing water leaks from windows & doors
One thing is certain, water only runs downhill unless that is it has a reason to do otherwise. When installing windows and doors, the first basic rule is to 'think like a drop of water'. This means - ensure that all openings are flashed and taped appropriately, and that water that wants to run downhill can do so, rather than accumulate and find its way inside the wall assembly.
Depending on local climatic conditions, you have to seal around openings to allow for capillary action combined with wind pressure, or by sealing for wind driven snow. What we've generally found is that if a homes structure has been successfully air-sealed, then it is likely sealed against water infiltration as well.
For the best tips on water-sealing windows and doors see below, and be sure to watch the Ecohome 'How to seal windows and doors correctly' video guide at the bottom of the page.
Stopping air leakage around doors & windows
High efficiency buildings like Passive House, Zero Net Energy or those that are LEED certified, all rely on the building envelope having a high level of insulation and being airtight.
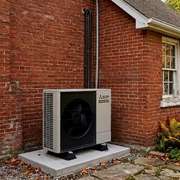
In a sealed building, moisture is removed and fresh air injected via an HRV or ERV unit to control the energy losses from essential ventilation. To put it simply, the US Department of Energy states that when you add up all the small holes, "the average US home has the equivalent of a 2ft square hole in it."
The next time someone in your home complains of feeling a draught or if your utility bill is burning a hole in your pocket, if your doors and windows weren't properly sealed, remember that 2 x 2 foot hole in your outside wall!
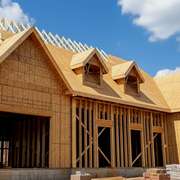
It doesn't help that in North America most homes are stick-built, and as wood is an organic material, its moisture content changes and it can expand, contract and shift with changes in the weather.
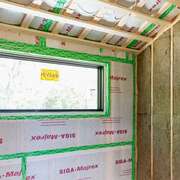
Succesfully sealing windows against air-leaks relies on flexible seals being fitted between the frames and the framing, often called air sealing system tapes, which are part of an effective exterior insulation and finish system (EIFS).
We should also remember that doors and windows by their very nature move if not fitted tightly, though that doesn't necessarily mean fastened tightly. Some level of flexibility is essential, and many products on the market also help with water sealing while sealing it against air leakage.
But as with most building materials it's important to be using the right product in the right application. Most specifically, the moment you install high performance windows and doors, then you really need to budget sufficient rolls of vapor open, exterior air sealing fleece-backed tape with full-surface adhesive into the equation.
See the Top Tips and video below for specific details, and consider subscribing to Ecohome as a free member as we often have member-only offers on eco-friendly EIFS products.
How to install windows and doors correctly
The following window and door installation tips will improve any building structure, whether a new home build, or a DIY home renovation.
- Angled bottom sills: by building your sills on a slight angle out, any water that finds its way in will be directed to the exterior.
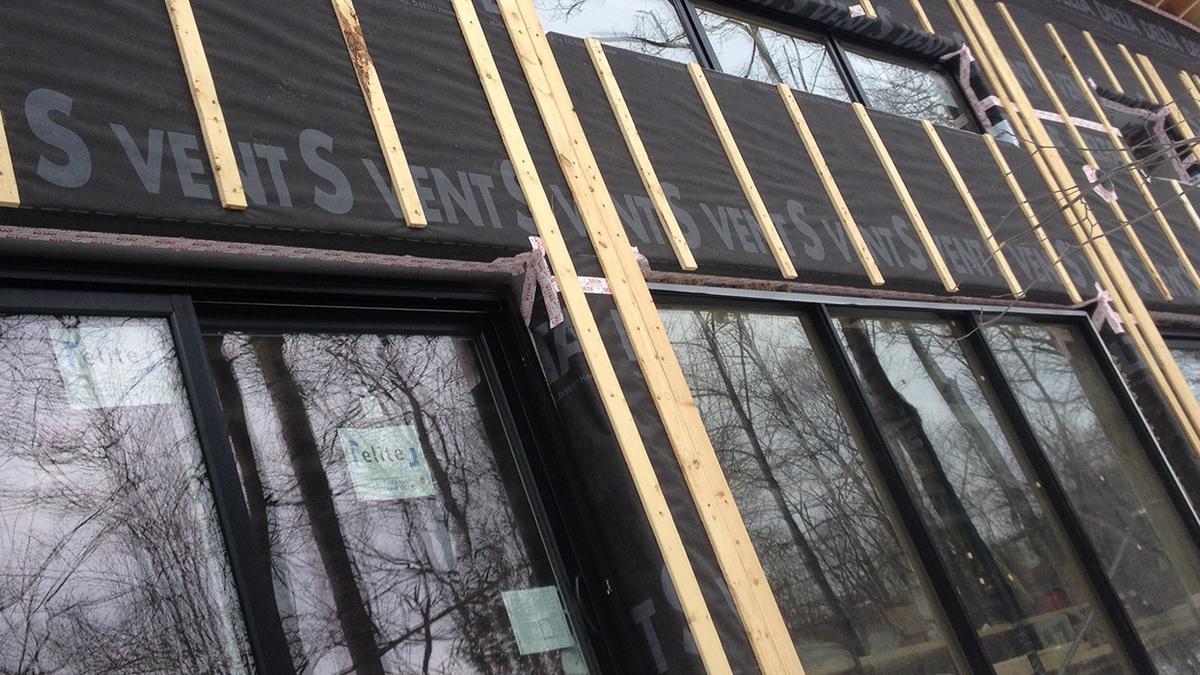
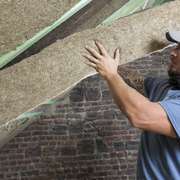
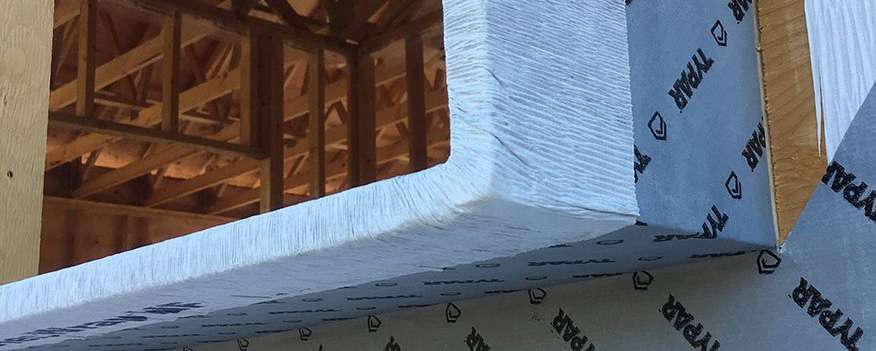
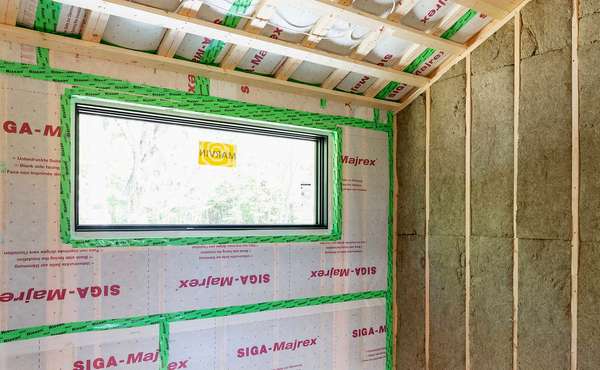
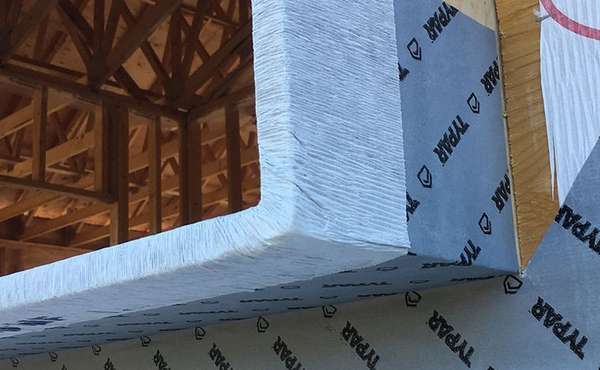
- Window flashings: after wrapping weather barriers into place and taping them down, install window flashings that will safely direct any incidental water safely onto your weather barrier/drainage plane.
- Don't attach windows by putting screws through the shims. Put the screw either just above or below, then remove the shims when the window is secured. Shims will offer little insulation value, and are most likely wet when purchased and installed, so as they dry they will shrink and allow air to leak out and in.
- Block supports: windows will often come with wooden support blocks on the bottom, or they are usually added in the form of shims or small blocks of plywood or OSB sheathing. They are necessary to allow a bottom space for insulation. But they are only necessary during installation - once windows are screwed in place, they are supported and the blocks can be removed. Wooden blocks will create a thermal bridge under your window, and a cold spot that will create condensation. Instead you can use blocks of ffoam or rigid mineral wool and eliminate the problem all together. We have found using mineral wool insulation makes leveling and placing windows quite easy. It is somewhat compressible and it holds its R-value when compressed, and it isn't harmed by moisture the way fiberglass insulation can be.
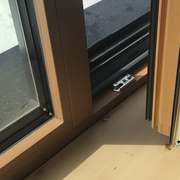
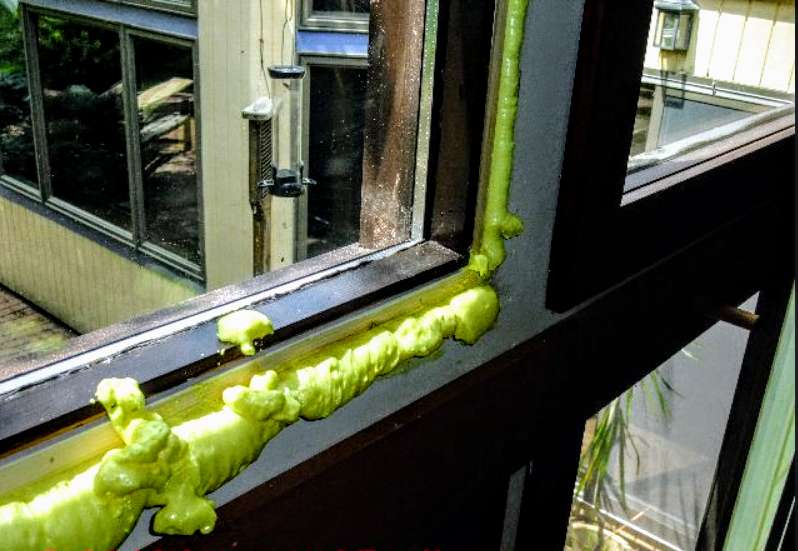
- Create a durable air seal: low-expanding spray foam is commonly used around windows, which works fine for its insulation value but it is not flexible enough to withstand the normal shifting and still provide an air seal. Adding a bead of acoustic seal, caulking or taping window frames to rough openings can be a quick and easy step that will further reduce any risk of air leakage between window frames and rough openings.
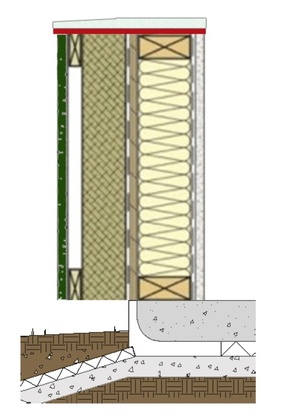
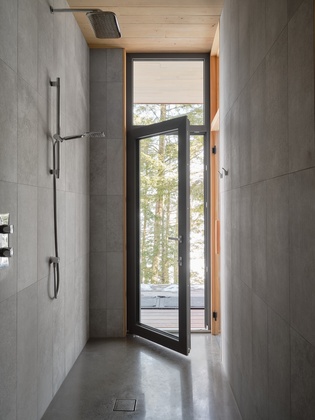
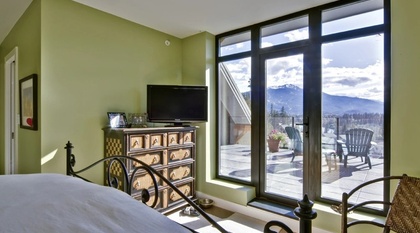
- Inset windows: position windows towards the center of the rough opening rather than installing them flush to the outside. Windows that are installed at the exterior point of openings have a lot more thermal bridging around the frames. Windows in the centre of the opening reduce the risk of condensation by keeping window perimeters warmer. The added benefit that isn't always considered is comfort. Thermal bridging and poor quality windows can make it quite unpleasant to be near exterior walls on the really cold days.
- Use high performance insulating window bucks instead of regular window bucks made of ordinary lumber - especially when the wall assembly includes a continuous external rigid insulation layer.
How window placement effects thermal bridging
Thermal bridging around windows and doors results in loss of energy, cold spots, condensation points and potential wall damage. To demonstrate the importance of window and door placement relative to the wall's exterior, we ran some thermal transmission tests with the following results.
Images like the following can often be hard to read without knowing what you're looking for, but the short story is this - when coloured lines are closer together the heat flow is more dramatic.
A thicker coloured line indicates a longer time taken for heat to move through it. Or in layman terms - in cold climates this translates to more heat in your house and more money in your pocket, or in warm climates, more unwanted heat outside and a lower load on the aircon unit, also saving money.
The images below simulate an exterior temperature of 0 °C and an interior temperature of 20 °C, with a triple pane window. In the first diagram the window is installed flush to the exterior of the insulated wall, with a heat flow of 7.9W. The second diagram indicates the same conditions but with the window inset into the rough opening, leading to a heat flow of 7.6W.


The above simulation is of just one part of one window, and with an assumed heat differential between inside and out of only 20 degrees Celsius.
What this means in real terms: multiply that amount of heat loss to match the average house size with the average amount of windows over the average North American or Canadian winter and you could be looking at something like an additional $20-$30 on your heating bill, not because of the windows you purchased but simply because of where you placed them.
So for fun, keep multiplying - if you can find 10 more places in your design where a slight modification can eliminate a seemingly insignificant thermal bridge, you just trimmed hundreds off of your annual heating bill. Unchecked thermal bridging in a building envelope is like death by a thousand cuts. One won't kill you but they start to add up.
Correct choice and installation of doors and windows makes a measurable difference
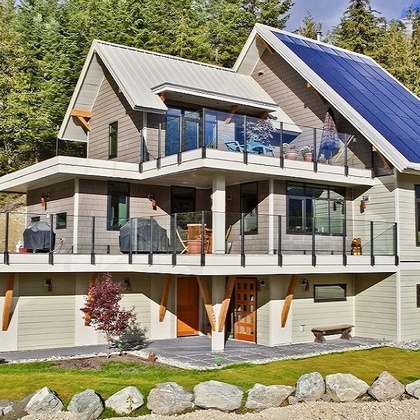
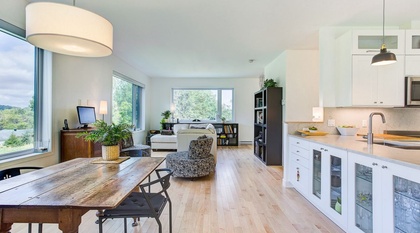
Windows can really make or break the comfort and efficiency of your home. Choosing the right windows and installing them for maximum performance and durability (on the south side as much as possible in cold climates, or north side in warm climates) can make life in your home noticeably more pleasant, save you money and keep wall structures in better condition, longer.

Now you know more about finding the best windows and top tips for window installation. Find more pages about sustainable construction below and in the Ecohome Green Building Guide pages.
Find more about green home construction and discover the benefits of a free Ecohome Network Membership here. |


Interesting article. I think that I will be building an exterior wall 2x6 with 4" exterior roxul or foam. I like the details of the WRB & flashing. I also want to position the window towards the interior of the wall. I would like the exterior glass even with the exterior of the OSB. If I do that how do I finish the exterior trim from the edge of the window frame to past the wood siding
Hi Bob,
Placing windows in the middle of the wall assembly reduces thermal bridging but it can mean a bit more finishing work. You can finish the outside yourself with painted wood, or aluminum, but as an alternative you could source windows from company that offers interior and exterior window jam extensions. Not all companies offer that feature and if you do find some you at first find the price a bit prohibitive, but when you factor the need for other materials and the time required to install them it tends to balances out.
As for exterior insulation - With 4 inches of insulation and strapping you would need to use screws at least 6 inches long, and that's the length where they start to get really expensive. Both Rockwool and foam can be attached using Cascadia clips as an alternative, and there is another product we have since discovered and tried called ThermalWall that has a metal rail in the interior of the foam that is used to attach it to the stud wall. A 'snap track' of foam then covers the metal, and your strapping attaches directly to the metal. This technique greatly reduces thermal bridging and allows you to install the panels with shorter and much cheaper screws.
The article emphasizes the crucial role of proper window and door installation in maintaining a home's energy efficiency and preventing moisture damage. Incorrectly installed doors and windows can lead to air leaks, water infiltration, and increased humidity inside the walls, which can cause mold, structural damage, and higher energy costs. The article details practical steps like flashing, using the right sealants, and managing thermal bridging. It highlights that building materials, installation techniques, and air-sealing systems should be carefully chosen to ensure durability and insulation performance. Proper installation reduces energy loss and protects against long-term damage.