


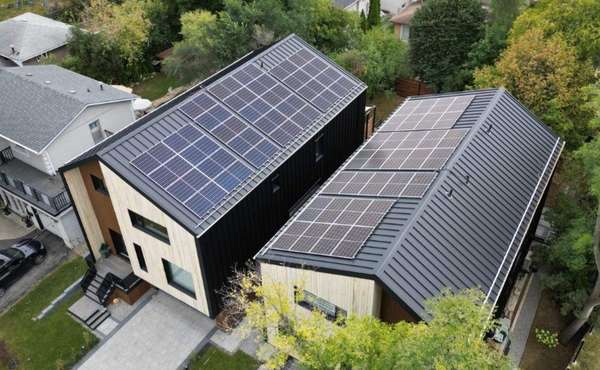
This is the fourth piece in a blog series written by Craig Anderson as he documents the design and construction of an off-grid LEED Gold passively-heated home. See post 1 of the off-grid homes blog here, the overview . or post 2 in the off-grid homes blog here covering design and construction choices. or here see post 3 in the off grid homes blog about off grid power generation
Being a newcomer to living off of the grid, I did not make the best initial choice for our heating system. In order to help others to not make the same mistakes, I'll both lay out what we did and how it was problematic, as well as how we went about fixing the problems for the future.
What we installed initially
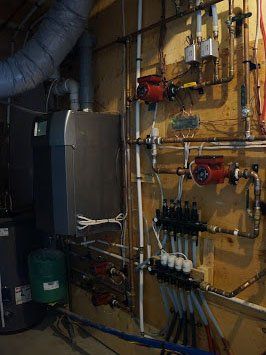
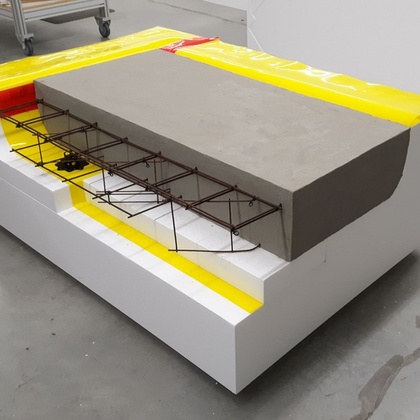
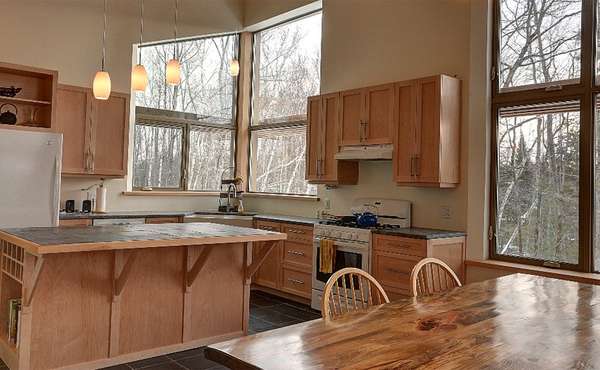
We installed a hydronic heating system powered by a propane fired boiler (a Trinity LX150). The system has a heated concrete floor in the lower level with four zones (one for each bedroom and one for the bathroom), and two hydronic baseboard registers upstairs. This system provides amazingly warm and comfy floors in the bedrooms when we run the heating system. Some people with heated floors don't get to have the warm foot experience that often with high efficiency homes, but this has not been the case for us. As the house is used primarily as a weekend retreat in the winter, we turn up the heat considerably when we first arrive. We have to wear warm sweaters when we first get in the door, but then have a full day where the floor is toasty warm.
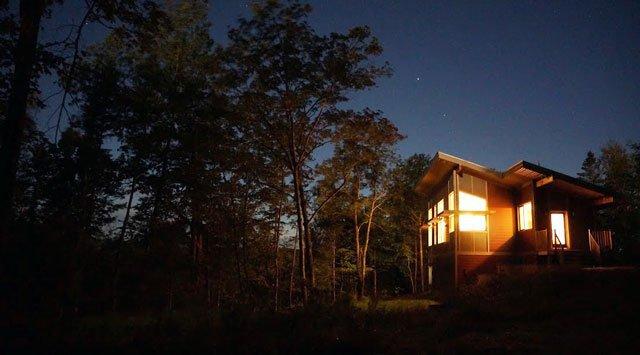
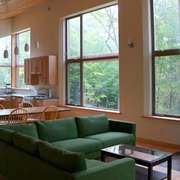
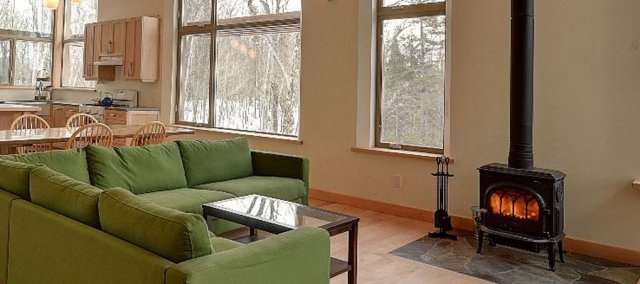
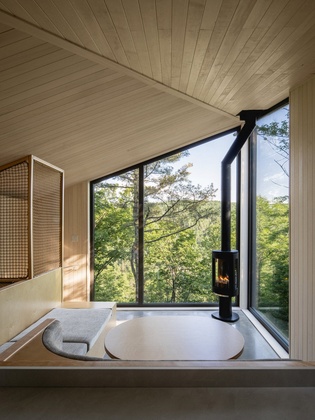
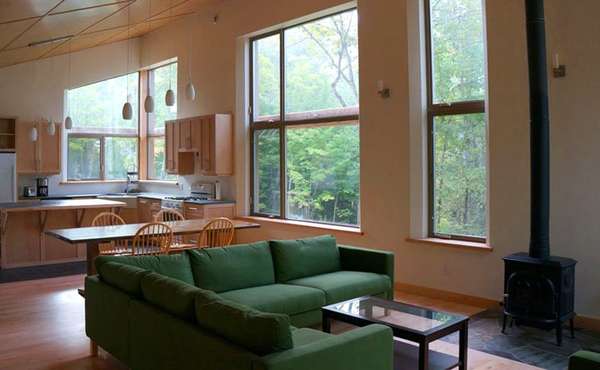
The secondary heating system, and the one that I enjoy using much more, is a free-standing wood stove, a Jotul F3CB to be precise. It is a relatively small (42,000 btu) high-efficiency stove out of Norway, but it is more than sufficient for our well-insulated home. The stove is located in the open concept upstairs, and in just a few hours it can take the 1000 square foot high ceiling space from sweater temperatures to shorts weather.
We have two winters of usage to measure our consumption of propane and wood, and the usage was roughly what was expected. In the 12 months up to November of 2015, we burned 400 gallons of propane across all uses, primarily for heating the house, but also for domestic hot water, the backup generator, and a propane range in the kitchen.
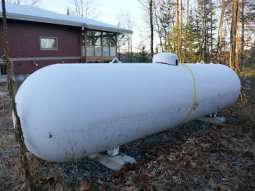
My best guess is that 75% of that, perhaps 300 gallons of propane, went to space heating. For the wood stove, we burned just a bit less than a cord of wood the winter of 2014-15, and had a fire in the stove during at least part of the day during most every day that we were there last winter. For the year of 2015-16, propane use was reduced slightly at 350 gallons, and we again burned nearly 1 full cord of firewood.
The problems associated with the first effort
The big problem with our heating system was that it was relatively complex and brittle. We aren't there all the time to run the wood stove, meaning that the boiler system really needed to carry the load. The issue is that the system requires a constant, and quite significant, supply of electricity at the time of year when it is most difficult to generate power from the PV system.
Running full power, the heating system requires approximately 400W for the boiler and circulation pumps, meaning that if it runs for 10 hours per day (which can happen on the coldest days of winter), the heating system alone needs 4 kWh/day, which is almost the full amount of our target daily electricity budget. The other problem is that the hydronic system is sensitive to freezing, which occurred early in 2013 (our first full winter).
We lost power that winter and had a few frozen water pipes, as well as a break in one of the hydronic heating lines. There was glycol in the mix as an antifreeze, but apparently the installer did not put enough. It did take a very serious set of combined circumstances to bring down the house, consisting of it being the coldest week of the year, we were away for a week visiting family at Christmas, there were several snowy days covering the solar panels and preventing power generation, and the final straw of the backup generator breaking down.
Steps taken to make the house more resilient going forward:
So we have no desire to repeat the emergency situation that we found ourselves in for a good chunk of that first winter, and have taken quite a number of steps in service of making our home more resilient in the face of future mechanical problems. I plan to discuss some of these steps more thoroughly in a future post, so I'll just highlight briefly here those that aren't heat related. What did we do?
-Set the house to send daily emailed status reports giving conditions of the solar system, including power generated, power used, generator run time, battery temperature. These daily reminders tell me how the system is functioning, and I know that if I fail to receive one, that there is a problem with either the power or internet systems.
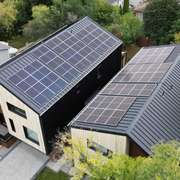
-Increase the amount of solar panels. During the first winter, the generator was needed relatively frequently over a 6 month period from the fall through the spring, and it was far too often for my taste. Therefore, we doubled the capacity of the solar system.
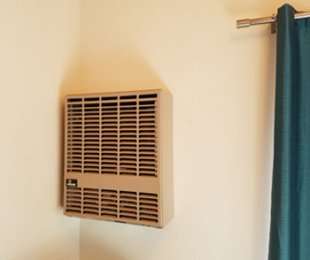
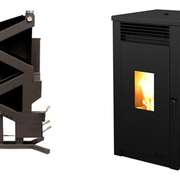
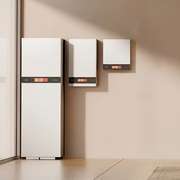
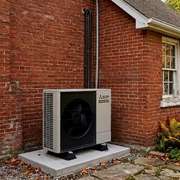
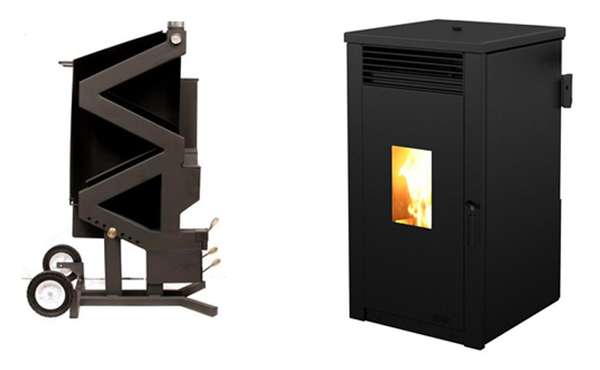
Finally, we added a new backup heat source that would not be dependent on either our being there every day or electricity. We did this by using an older, simpler technology - a direct vent propane wall heater. These have been used for many years in garages, workshops, cabins in the woods, as well as in quite a number of off grid homes.
If I had done more research about off-grid heating, or if I had received better advice, I may have decided to handle all of our heating needs with a couple of these heaters from the beginning. The biggest advantage of these units is that they require no electricity at all to function. They have a pilot light and a milli-volt thermopile thermostat, which uses a temperature gradient to produce the small amount of current needed for the thermostat, and they rely on convection to circulate air past the heating elements. We have installed one to provide much of the base load of heating, as well as to ensure that the house would never freeze again regardless of any issues with the electrical system.
How to size this new heater? I relied on the boiler company to help make this decision with the original heating system, but this new installation was a much more hands on endeavor for me. We have the good fortune of already having a good energy model of our house, as it was needed for the LEED certification (to be discussed in a future post).
The model gives an estimate of 33,200,000 BTUs of heat needed per year for the whole house, which is about a 70% reduction over a similar sized house built only to code. Heaters are generally rated as per the BTUs/hour that they produce. To get a first approximation of our heating needs, I took the heating load for the year, divided by 100 days to account for the heaviest part of the heating season, divided by 24 hours in a day to account for a heater running full time, which gives:

This calculation would be assuming that we heat the entire house to 70° Fahrenheit (20° Celsius) with just the wall unit for the entire winter. In actuality, we keep a lower set-point, and this unit will instead keep just a local area of the house at about 65 to 70° F, while allowing the rest of the house to be cooler when we aren't there, and continuing to be heated by the hydronic system.
This calculation is just an estimate of the average heating load, so this amount of heat wouldn't quite be able to keep up with heating the whole house on the coldest days of winter. We selected the Empire DV215 heater, a 15,000 BTU unit, which sits in the central bedroom, radiating heat out to the rest of the lower level.
After installing the wall heater, I found that our energy modeling also included a calculation of peak heating loads for the home and boiler system, which actually matches quite closely the calculation I did above. The HERS calculation of peak heating load for our house is 23,400 BTU/hour. This 23,400 number is the amount of heat that would be needed to keep up on the coldest days of the year, not the typical winter day that I tried to estimate for. This peak load calculation also showed our actual boiler specification, with a max heat output of 136,000 BTU. This is nearly 6 times our maximum heating load and is majorly overkill, but I have heard time and again that heating and cooling contractors usually overbuild these systems, and our house does require a much smaller heating load than the standard home.
After a full winter of use, I can report that the wall heater was an amazing success in terms of reliability and reducing the use of electricity with our heating. The heater was able to carry essentially all of the heating load for the house during the weekdays when we were away in the city. The heater was placed in the kids' bedroom, and set to around 67° F. Upon our arrival after a few days away, the adjacent rooms were always 60° F or warmer, and the upstairs was always warmer than 50° F. From a starting point like this it was quite easy to turn up the boiler, start a fire in the woodstove, and be down to shirtsleeves within no more than 2 hours.
For homeowners looking to maximize every log of wood, exploring the mechanics of high-efficiency rocket stoves reveals how secondary combustion can double your heating output.
- Off-grid living homes blog post 1: Concept Overview
- Off-grid living homes blog post 2: Design & Construction Choices
- Off-grid living homes blog post 3: All about off grid power generation
-
NEXT PAGE Off-Grid living homes blog post 5: Appliances, mechanicals & systems


I'm curious what prevented you from going 100% electric, reducing propane consumption entirely? Was it that initially, you had a smaller solar system (which you then doubled)?
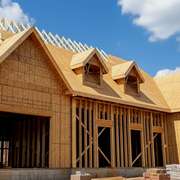
The house is still being framed. The plan is for a 100% electric HVAC but the solar system was sized at 30 KW to accommodate the energy required by a heat pump/mini split system. We can't afford or have space for a solar that size.
An all solar-electric system just can't keep up with the heating loads of early to mid-winter. Even with the expanded 6 kW system there are gray and stormy weeks from November to January with very little solar generation. Our house needs something like 50 kWh per day of heat on the coldest days, and the current system produces an average of only 10-15 kWh per day in the dreariest part of winter. Limited battery storage is a whole other issue, with current costs of around $500 per usable kWh.
The takeaway is that to go solar only on a house like this in a climate like Ottawa's, one needs a much bigger solar array and battery bank. Current costs for the system one would need are ridiculous, but with technology advances and price decreases this may enter the realm of feasibility in a decade or two.
I hope your heating system works ok. My house off the Mississippi river in Iowa is ALOT like your house. It was built in the 1970s. Main windows like the corner your of your house faces the river for view. Although mine is only partly off grid, doing more to be self sufficient. Has a well but very hard water. Got whole house water fitration system with potible water (RO). Well worth it.
Also house was all electric but replaced both furnace and AC unit. Went from Electric furnace to propane. Cost 4K but payed for itself in energy savings in less then 4 years. (about $200 a month savings on average). Got courner of house rebuilt as water damage from age ruined windows and frame. Like new house now. Get great passive heat in winter and windows open up in summer.
Can send a pic if you like. Looking at replacing wood stove. I was told the new ones put out 4X the heat and burn half the wood. House is 2000 square feet. Yours look about the same size.
Big difference is I have decks that wrap around the house. Mine is a fixer upper.
Thus does a propane on demand heater use a lot of electricity? We have a Navien and live full time in our off grid int he Canadian winter. I'm wondering how much electricity we are using to heat up our floors. I thought they did not use that much.
Hi Mary, generating heat of any kind consumes an awful lot of energy and will be the biggest consumer of energy in your home whether that is heating water, baseboard radiators, forced air furances or radiant floors. We are not fans of fossil fuels, but if you have propane anyway and you are maxed-out with solar consumption then it could make sense to have a propane water heater instead of adding solar panels, but that is a very subjective decision.
Thank you for the nice discussion. I was feeling lost after the contractor for the HVAC system for our new 2,500 sq ft home (2 floors of 1,250, open floorplan) said that he would not work with us because we can't heat a home off-grid. The Santa Barbara county (CA) would not allow us to use propane heating because of Title 24. The electric heat pump HVAC system proposed was estimated to use 11KW! I am hoping to keep the whole house under 8KW. What do you think about a hybrid system with a wood-burning stove for the open areas, a small mini split in the bedroom, and maybe a propane forced air heating system as a backup.
Thank you for the helpful points to do and to avoid!