


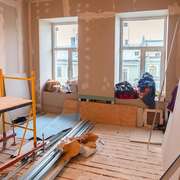


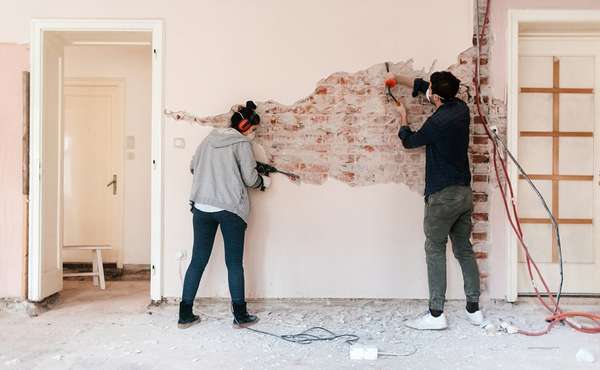
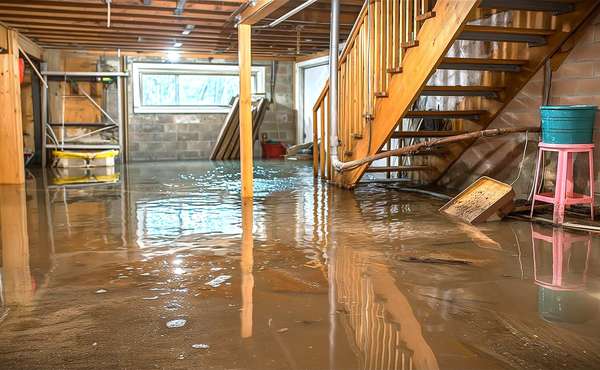
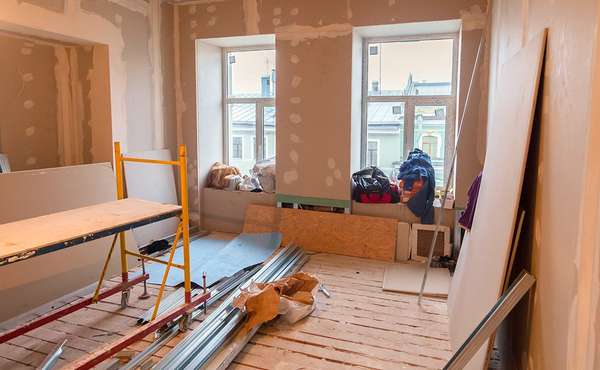
DIY drywall repairs are an easy home improvement that pretty much anyone can handle. Cracks and dents in drywall are cosmetic only, so if you completely screw up a drywall repair job, the only real problem would be a fresh dent in your ego. The most common damage to drywall consists of dents, minor cracks and popped nail heads. There are a lot of strains on houses from snow loads, wind pressure, materials drying out, and just shifting in general. All of this can easily lead to cracks in drywall, so don’t panic at the sight of a crack, thinking it’s something catastrophic.
The first thing to know if you want to do drywall mudding like a pro, is that a pro will do 3 coats of mud. They will not try to do it in two coats, because they likely know that if they try to do it in 2 coats it will take at least 4. So do it in three.
Tools needed for minor drywall repairs:
Here is a list of the basic tools you will need for drywall repairs can be easily found at home building box stores, though you may not need all of them depending on the job at hand:
- Premixed drywall compound
- A trowel, or possibly a few trowels of different sizes
- Drywall screws
- Cordless driver with drywall bit or screw driver (a screw driver is a fine but slower subsitute)
- Utility knife
- Drywall sanding block (you can fashion one with regular sandpaper over a balled up soft material)
- Metal straight edge or ruler
How to repair small drywall cracks:
If what you are repairing is just a hairline crack, it is best to first widen it a bit with a knife, and brush away any dust. This will allow you to get the mud right into the crack rather than just coating the top.
Apply a thin coat of mud into the crack and allow it to dry.
Once it has dried, add a second layer if needed. When you have brought the mud out flush to the wall on either side of the crack, and it’s fully dry, sand the area smooth.
Brush the dust off, and you can wipe it clean with a VERY lightly damp cloth.
Your crack is now repaired and ready for primer and touch up paint.
How to repair wide drywall cracks
If the crack you are repairing is wider than a half inch, first cover it with drywall tape. Drywall tape comes with two options – either paper, or a self-adhesive mesh. Pros use the paper, but pros aren’t here reading this, so… get the self-adhesive kind. Paper tape adheres to the drywall with the mudding compound itself and is then smoothed with a trowel.
First, you apply mud to a joint, add tape, then smooth it and add more mud. With the mesh tape, you simply rip off and stick on, so it’s a very easy quick fix for rookies.
Once the joint tape is covered, spread the compound over it. If you have gone with paper instead, follow the instructions above.
Allow the compound time to dry thoroughly and do a second coat if necessary, then sand it smooth once it has dried.
You can sand between coats of mud, but you will quickly find - if you’re repairing more than one spot - that it’s a lot quicker to do a thin smooth first coat which will either shorten your sanding job, or even better, avoid it altogether.
How to repair popped nail heads in drywall:
Sometimes a framing nail will come loose from the wall studs and pop through the drywall and paint. You could try knocking it back in with a hammer but if it doesn’t hold, pull it out and drive it in very close but not in the same hole as it will hold better. If the nail has forced the drywall loose, be sure to use a screw to secure the drywall tightly to the stud before mudding.
Make sure drywall is secure before starting a mudding repair job, so have some drywall screws at the ready in case. Cured drywall compound has no flexibility, so if there is any movement in the drywall afterwards you will see the cracks appear in pretty short order.
Drywall screws are best driven in just barely below the paper face of the drywall so that a very thin mudding will cover the head. If you drive it in too deep, you will have a deeper screw hole to fill with mud; so the mud may settle in that indentation and require sanding and another coat. Deeper screw holes that rip the paper don’t hold as well, and it will also take a lot longer to cure, and possibly a second coat of mud.
How to fix a hole in drywall
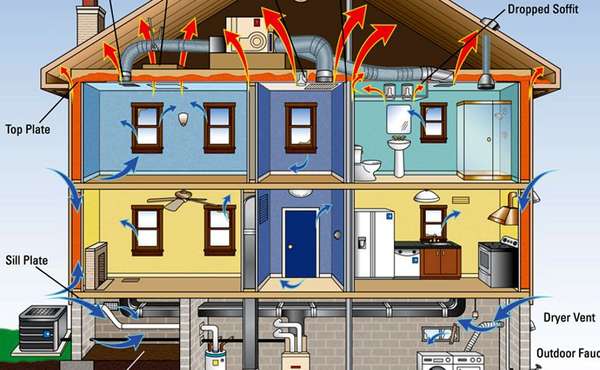
Some dents or holes in drywall are too big to fill just with drywall mud compound and will need an actual piece of drywall to fill the hole. This is also a very easy fix, and particularly on interior division walls as there is no insulation or vapor. The only thing at stake is your pride, so don’t hesitate to try! When any drywall repair is being done on walls around the exterior of the building, be careful not to damage the poly vapor barrier / air barrier, if you live in a cold climate and have one.
Mudding over exterior walls is no problem, but for repairing larger holes as described in the paragraphs below, be sure not to cut into the poly.
To repair the hole, first cut out a bit beyond the perimeter of the hole. Round, triangle, square, it doesn’t matter. Then take that piece and lay it on top of a new piece of drywall and draw a pencil line around it. See where we’re going with this yet? Then take a utility knife and cut that new section out, but ever so slightly smaller than your pencil line so it fits in the hole.


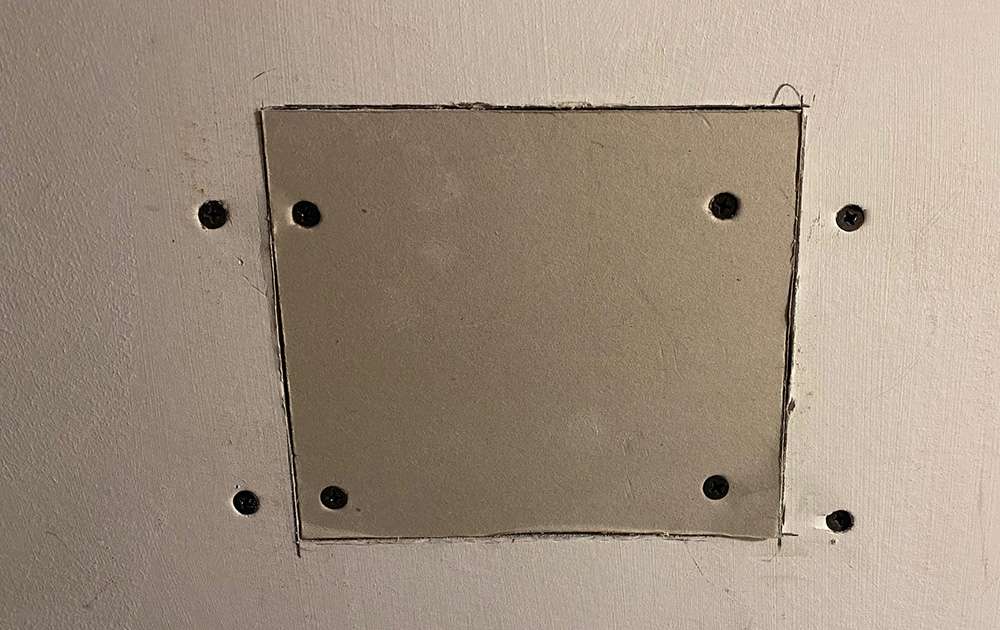


How to do a drywall patch
You can then put one (or two, or more if needed) pieces of wood as backing into the hole, and screw it to the drywall on either side. The wood should be long enough that once you slip it in and slide it across the space, there is room left to attach it with screws to the sides of the hole you just cut. You now have backing to attach your new piece of drywall with screws. Shave any bits of paper so its smooth and fill the cracks and screw heads as per the above instructions.
What is the difference between drywall spackle and mud compound?
For drywall repair jobs you will see two mudding options - dyrwall compound and Spackle. Spackle is intended for smaller repair jobs on drywall, where the compound is intended for larger jobs.
Spackel is thicker than joint compound and harder to spread than compound and it dries quicker. Spackle has a binding agent mixed in with the gypsum powder, so it is more elastic than drywall compound and less likely to crack or shrink once it has dried. Spackle will be more expensive than joint compound, but 'cheaper' for small jobs in the sense that it comes in very small containers, while compound is intended for larger jobs so it will usually be found in more expensive and larger tubs.
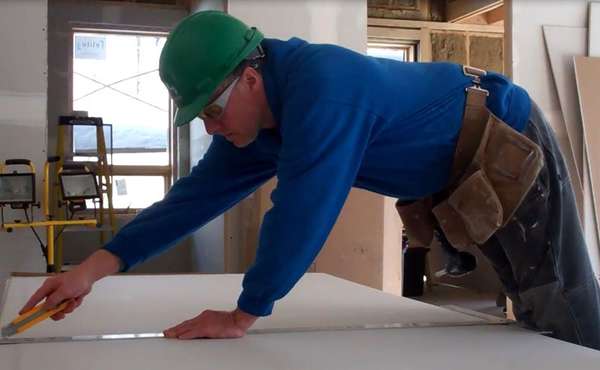
How to sand drywall
You will find special sanding blocks, or ‘sanding sponges’ really, in that same aisle where you will find drywall trowels and such. They will likely have some minor options for grit – possibly different on either side of the block, and maybe even a different profile on one edge to make it easier to get into cracks. The grit you choose is important; be sure its fine enough that it won’t leave its own scratches. The rougher grits speed up material removal at the start if you are sanding big ridges, then you over the finer grit papers. You may not need the rough grit, but you will certainly want one with a fine grit.

When sanding drywall, go in a circular motion so you don’t create new ridges in the process. Having a bright light at a sharp angle to the wall (as opposed to facing it directly) will help as it could help show shadows you might not see otherwise. That, and running your hands across it, will help you know when your job is done.
Now it’s time to paint, unless you are so proud of your repair job that you want to leave it raw to show off to your friends. Choose safe and non toxic paint!
Now you know how to repair small dents and holes in drywall. Find more pages about home repairs and renovations and sustainable construction, below and in the Ecohome Green Building Guide pages.
Find more about green home construction and discover the benefits of a free Ecohome Network Membership here. |


Comments (0)
Sign Up to Comment