

Backyard composting: create your own rich garden soil from kitchen food scraps
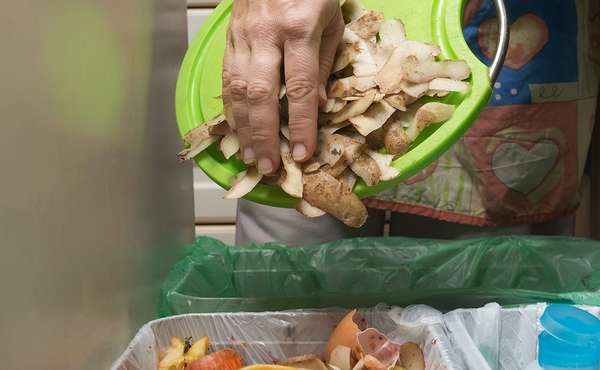
Composting is nature's ultimate recycling system, turning your kitchen scraps and yard waste into a nutrient-dense, soil-building material. For the eco-conscious homeowner, it's a direct way to reduce waste and landfill methane emissions.
For the landscaper or building professional, finished compost is often called 'black gold' and is an essential, high-performance soil amendment that improves drainage, water retention, and overall site sustainability. This definitive guide will walk you through the essential science, practical systems, and necessary troubleshooting to produce high-quality compost consistently.
In this guide, you will learn:
- The essential science of composting
- Choosing the right composting system for your needs
- Mastering the C:N ratio (Carbon to Nitrogen): mixing greens and browns
- What to compost and what to avoid
- Hot composting versus cold composting
- Common composting problems and fixes
- Using your finished compost for maximum benefit
The essential science of composting
The composting process relies on a complex community of microorganisms, including bacteria, fungi, and actinomycetes, that break down organic matter in an aerobic (oxygen-rich) environment. These tiny workers require four critical ingredients to do their job effectively and efficiently:
- Carbon (C): Provides the energy source for the microbes, supplied by 'brown' materials.
- Nitrogen (N): Provides the protein source, essential for microbe growth and reproduction, supplied by 'green' materials.
- Oxygen: Necessary for aerobic decomposition; without it, the process turns anaerobic, leading to foul odors.
- Water: The medium for all biological processes; the pile should feel like a wrung-out sponge - damp but not saturated.
Choosing the right composting system for your needs
The best composting system for you - whether you are a city homeowner or a professional managing large landscaping projects - depends on the volume of waste you produce, the space you have available, and how quickly you need finished compost.
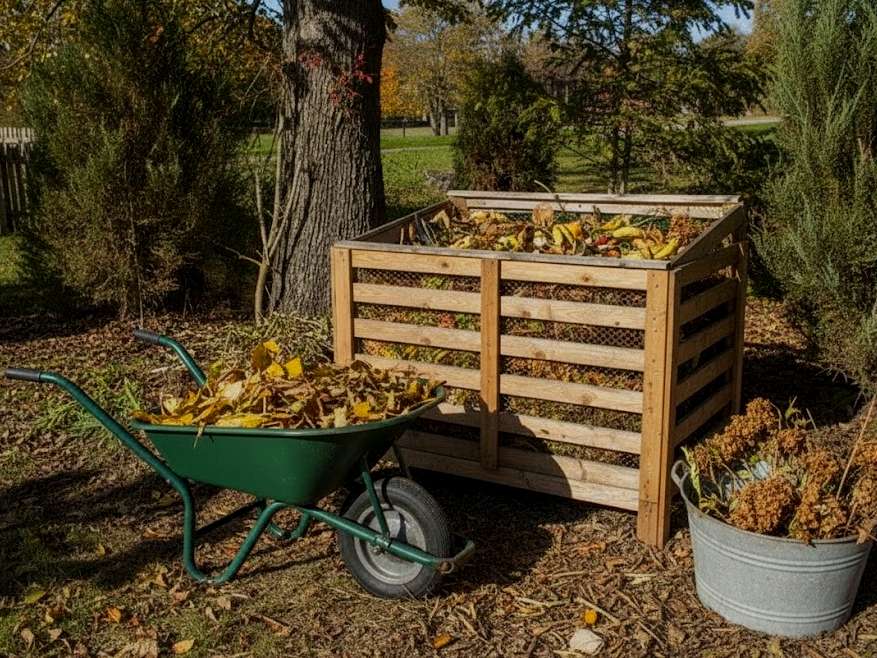
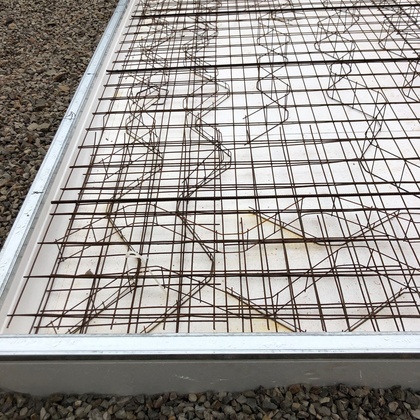
Compost piles and open bins
The simplest method is a freestanding pile, but most people use an open-bottom bin made of wire mesh, recycled pallets, or plastic. These systems are ideal for large volumes of yard waste and can be built to a size that promotes hot composting (at least 3 feet x 3 feet x 3 feet or 0.9 meters x 0.9 meters x 0.9 meters).
Note: Building with shipping pallets is a very attractive idea for outdoor construction projects like this, but some shipping pallets that have been used to ship chemicals or othet hazardous materials can be contaminated, and risk contaminating soil. See here to learn how to find shipping pallets that are safe to build with.
- Homeowner focus: Requires the most effort to turn and is best placed in a discrete area of the garden.
- Professional focus: Three-bay systems are common on large sites, allowing for batch composting (one bay for adding, one for cooking, and one for curing).
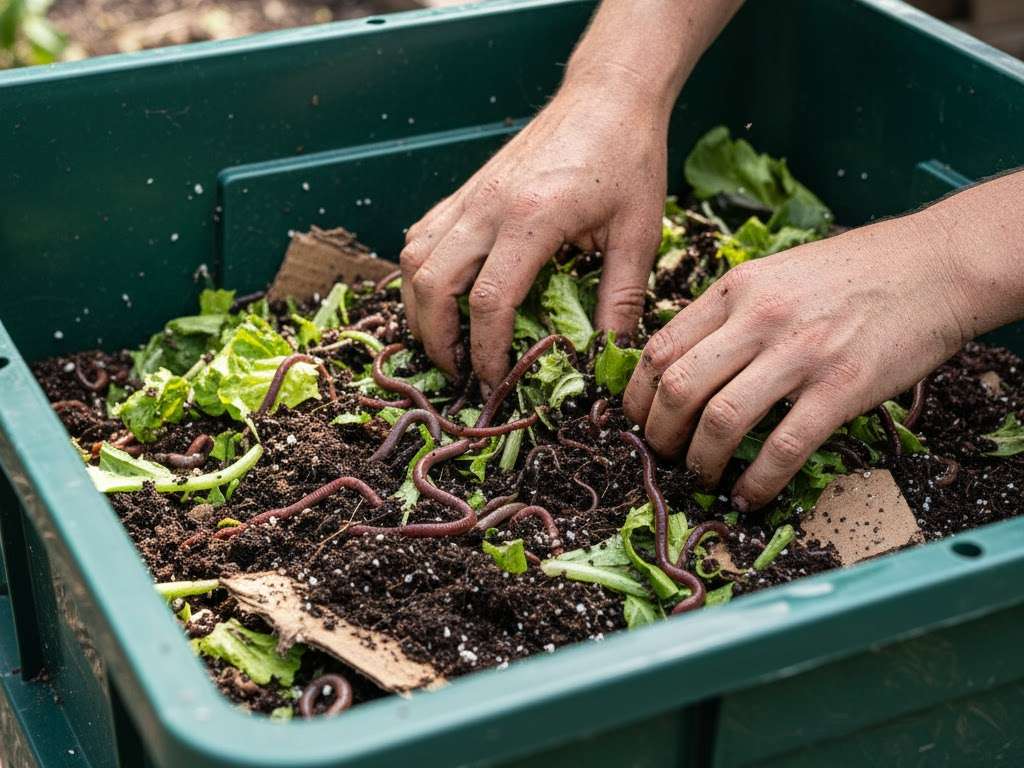
Vermicomposting (worm composting)
This is a specialized form of composting that uses specific species of worms - most commonly Red Wigglers - to process food scraps into high-quality castings (worm manure) and nutrient-rich liquid. Vermicomposting can be done indoors in small bins or outdoors.
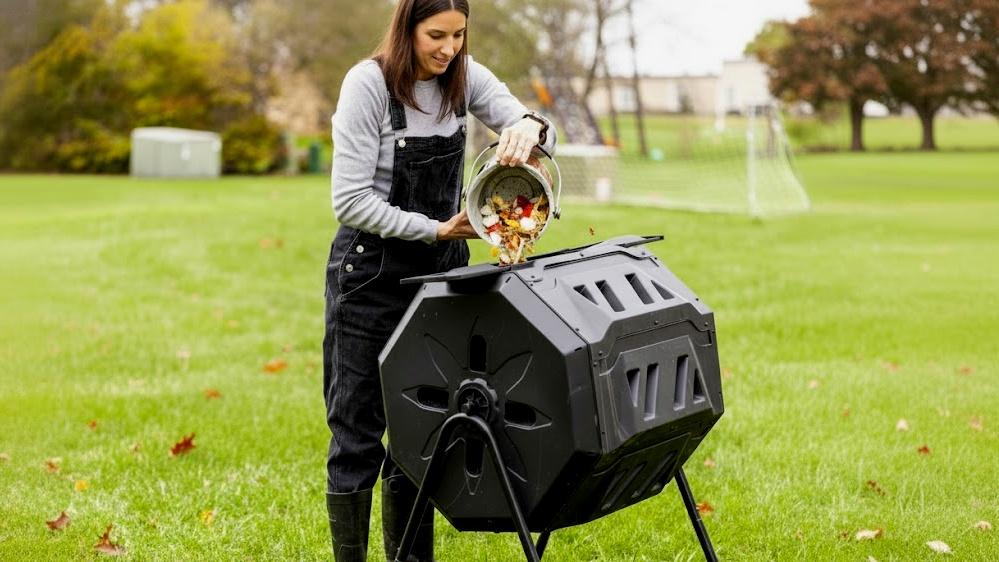
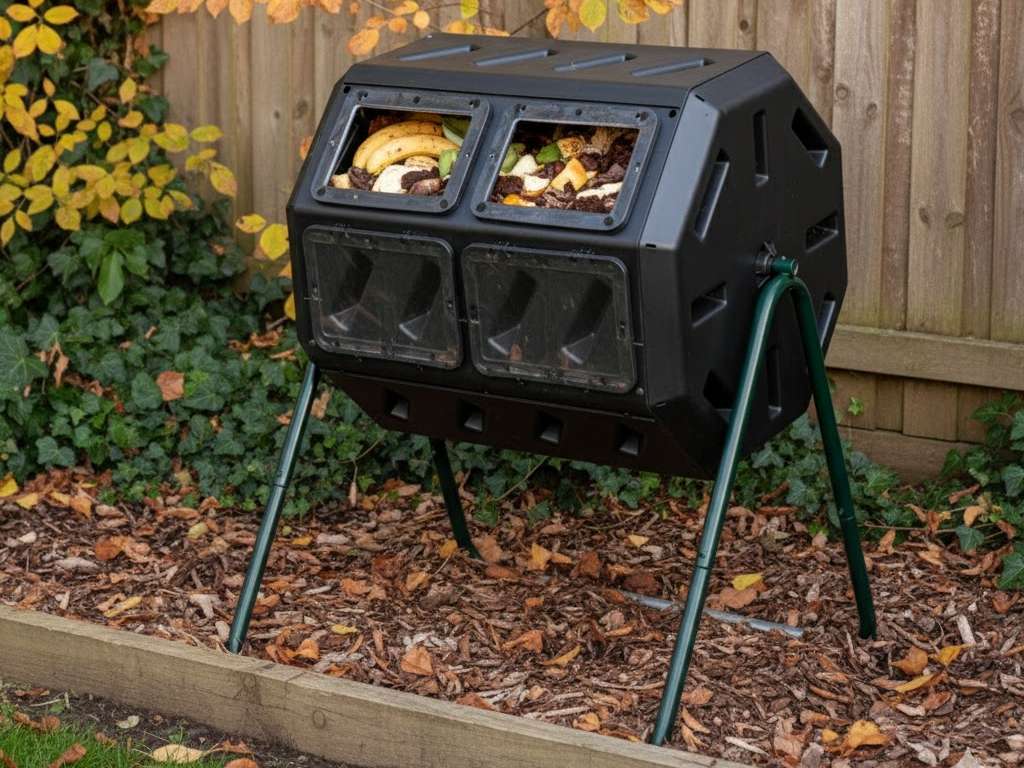
Compost tumblers
Tumblers are sealed, elevated barrels that make aeration easy, you just need to give them a spin a few times a week. Their contained nature also helps deter scavengers like raccoons, skunks, and rodents, which are a significant factor in urban and suburban areas across North America, the UK, and Australia.
- Homeowner focus: Excellent for small spaces and for those who want a low-maintenance, pest-resistant option.
- Professional focus: Tumblers are generally too small for professional volume, but they can be useful on smaller residential projects for managing site lunch scraps.
Mastering the C:N ratio: greens and browns
The ideal carbon-to-nitrogen ratio (C:N) is between 25:1 and 30:1 by weight, which roughly translates to a 2:1 or 3:1 ratio by volume - that is, two or three parts 'browns' for every one part 'greens.' Getting this balance right is the secret to fast, odor-free decomposition.
Nitrogen-rich materials ('greens')
These materials are typically moist and break down quickly, providing the protein for the microorganisms. Too many greens lead to a slimy, smelly pile because the excess nitrogen converts to ammonia gas.
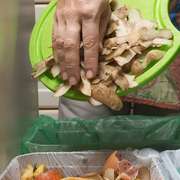
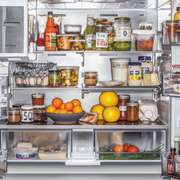
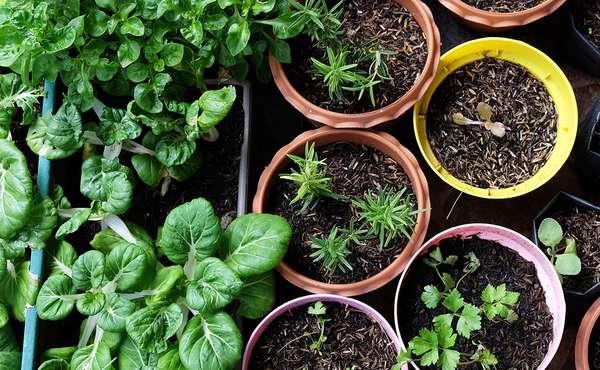
- Fruit and vegetable scraps (kitchen waste)
- Fresh grass clippings (use sparingly; they compact easily)
- Coffee grounds and tea bags / leaves (read here why to never put coffee grounds directly in gardens)
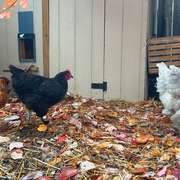
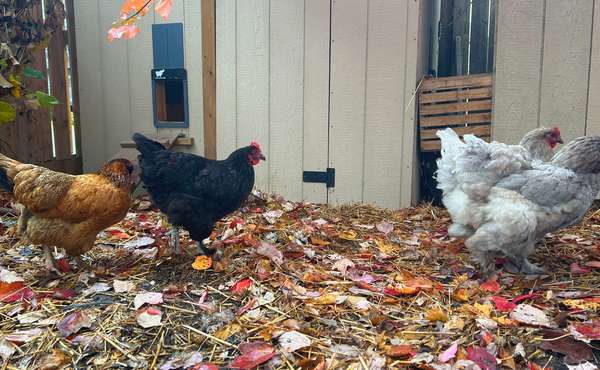
- Fresh manure (from herbivores like horses, chickens, or rabbits)
- Spent brewing grains or yeast (in moderation)
Carbon-rich materials ('browns')
These materials are typically dry and bulky, providing the energy, structure, and critical air pockets for the pile. They act like a sponge to absorb excess moisture from the greens.
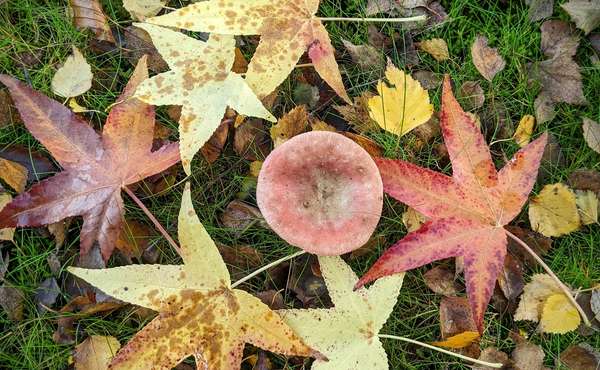
- Dry leaves and pine needles (stockpile in autumn-fall!)
- Shredded cardboard (unwaxed and non-glossy) and newspaper
- Wood chips and sawdust (use sparingly; they break down slowly)
- Straw or hay (check for herbicides before use)
- Paper towels and napkins (as long as they are not greasy)
Note for regional pros: In North America, vast amounts of fall leaves provide an excellent, free source of browns. In New Zealand and Australia, access to woody mulch and dried sugarcane stalks may be more common, so adapt your brown material source accordingly.
What to compost and what to avoid
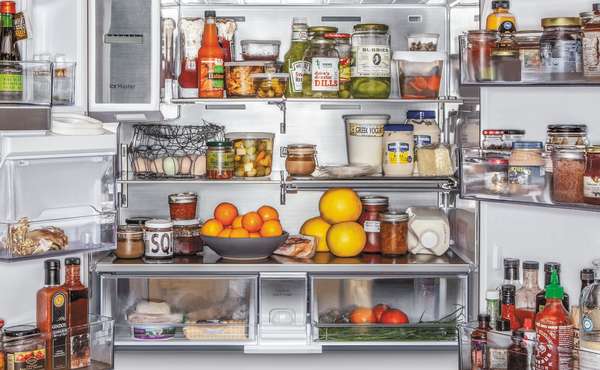
While most organic material can decompose, a backyard system - especially a cold pile - must avoid materials that pose odor, pest, or disease risks. For this reason, a general rule for homeowners is: never add anything from an animal.
- DO NOT compost (high risk):
- Meat, fish, and bones.
- Dairy products (milk, cheese, butter, yogurt).
- Fats, grease, and cooking oils.
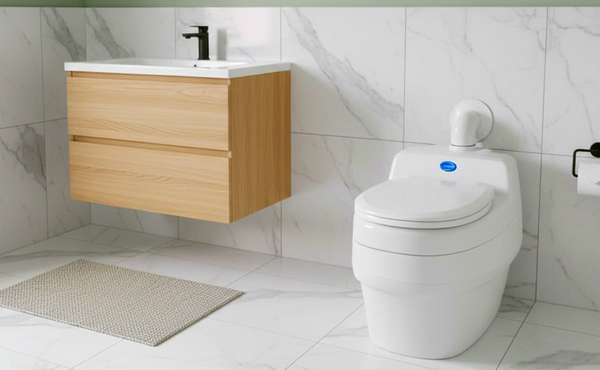
- Human or pet waste (feces).
- Diseased or insect-infested plants (to prevent spreading pathogens).
- Weeds that have gone to seed (unless using a validated hot composting method).
- ACCEPTABLE to compost (low risk):
- All fruit and vegetable scraps.
- Eggshells (crushed).
- Coffee grounds and filters.
- Plain paper and cardboard.
- Lawn clippings and yard trimmings.
- Wood ash (in very small quantities to avoid raising pH).
Hot composting versus cold composting
The speed and quality of your final product depend on the method you choose.
Cold composting (passive)
This is the simplest, most passive method. You simply add materials to the pile over time and leave it to decompose. The pile never reaches the necessary high temperatures for pasteurization.
- Pros: Virtually no maintenance, very easy for beginners.
- Cons: Takes a year or more to finish, will not kill weed seeds or pathogens, and can attract pests if not managed properly.
Hot composting (active)
This method involves building the pile all at once with the correct C:N ratio and size, and then actively managing the aeration and moisture. The pile must reach temperatures between 130°F and 160°F (55°C and 71°C) for three days, followed by turning and a second heat cycle.
- Pros: Produces finished compost in as little as four to eight weeks, kills most weed seeds and harmful pathogens.
- Cons: Requires more labor, a compost thermometer, and a large volume of materials to start the pile.
Common composting problems and fixes
Even seasoned building professionals and avid gardeners run into composting issues. Nearly every problem boils down to an imbalance in the four key ingredients: C, N, Oxygen, and Water.
Issue 1: The pile smells rotten, rancid, or like ammonia
This is a classic symptom of anaerobic decomposition (lack of oxygen) or too much nitrogen (too many greens).
- The fix: Add a large amount of dry, carbon-rich material (shredded newspaper or leaves) and thoroughly turn the pile to introduce fresh air.
Issue 2: The pile is cold, dry, and decomposition has stalled
This is usually due to a lack of moisture or insufficient nitrogen to fuel the microbial activity.
- The fix: Thoroughly moisten the pile until it reaches the wrung-out sponge consistency, and add a small batch of fresh 'greens' (like coffee grounds or grass clippings) to kick-start the nitrogen supply.
Issue 3: Pest attraction (flies, raccoons, rats)
Pests are attracted to exposed food scraps and items they can smell, such as meat, fat, or dairy, which should never be added. The best defense is a good offense.
- The fix: Use a pest-proof composter (like a tumbler or an enclosed bin with a locking lid). Always bury food scraps deep in the center of the pile and immediately cover them with at least 4 inches (10 cm) of dry brown material or a layer of finished soil.
For more advanced strategies on animal deterrence, especially for garden-damaging animals like raccoons, which are prevalent in North America and other regions, you may wish to read our guide: A how-to guide to stopping crows & raccoons from digging up your lawn.
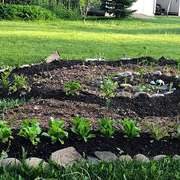
Using your finished compost for maximum benefit
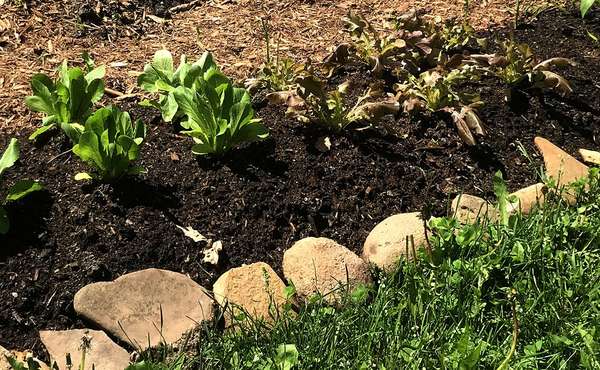
Finished compost is dark brown, crumbly, and should have a pleasant, earthy scent. There should be no recognizable food scraps remaining, though small pieces of wood or twig are acceptable. The final product is a soil amendment, not a soil replacement.
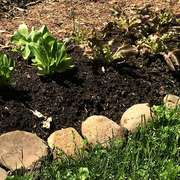
- Soil amendment: Mix compost into garden beds and vegetable patches before planting to improve structure, fertility, and moisture retention. Mix in 1 to 2 inches (2.5 to 5 cm) of compost with the existing soil.
- Top dressing-mulch: Apply a 1 inch (2.5 cm) layer around existing plants, shrubs, and trees to suppress weeds, retain moisture, and provide a slow, steady release of nutrients.
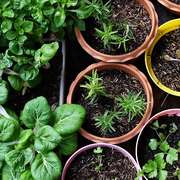
- Potting mix component: Use it as part of a homemade potting mix. Do not use 100% compost, but mix it with coir, perlite, or sand. A typical ratio is one part compost to two parts other ingredients.
- Compost tea: Steep finished compost in water to create a liquid fertilizer rich in beneficial microbes, which can be sprayed directly onto plant leaves and soil.
In brief
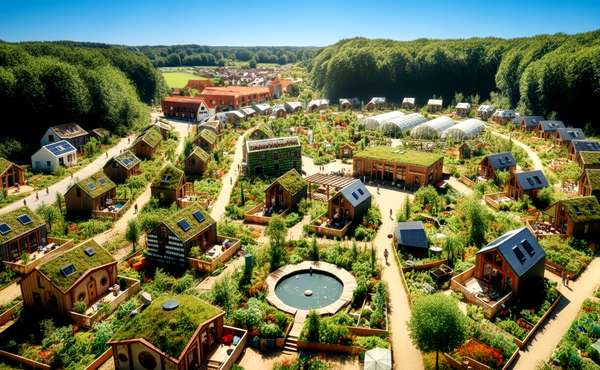
Backyard composting is a simple, powerful step toward a more sustainable home or building site. By mastering the fundamental balance of carbon (browns), nitrogen (greens), air, and water, any homeowner or professional can efficiently convert organic waste into a valuable, high-performance soil resource.
Choosing the right system, whether a three-bay pile for high volume or a tumbler for convenience and pest control, will set you up for success. Remember to use finished compost as a valuable soil amendment to enhance your gardens and landscapes, completing a truly circular, zero-waste system.
Now that you know more about backyard composting, find more info about sustainable waste management & green building techniques in the Ecohome Green Building Guide and these pages below:
-
Disposing of household waste properly - recycling, garbage & toxic materials
-
How to build a backyard lasagna garden (no, it doesn't mean growing pasta)
-
Why coffee grounds are bad for gardens & plants
-
How to build a 4 season greenhouse in a cold climate


Comments (0)
Sign Up to Comment