


How to repair a clogged sink drain
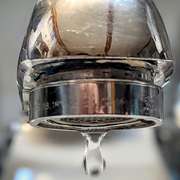
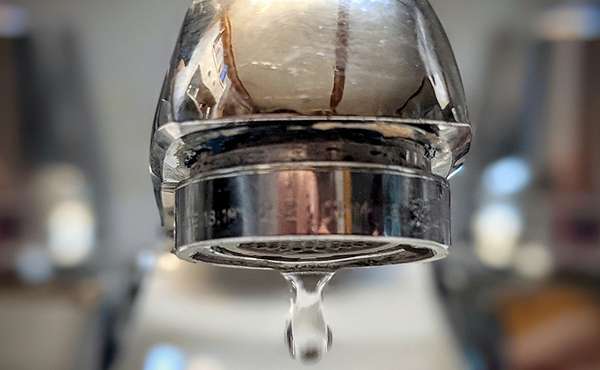
Has your kitchen drain started to drain slowly, or gotten to the point where it won’t drain at all? Food debris from rinsing plates can add up over time until it slows or even stops the flow of water. Hiring a plumber to clear drains is expensive, and possibly avoidable for those that are even just a little bit handy, or wish to become so.
Here I want to go over simple DIY plumbing fixes that can save you money. Homeowner solutions start with emptying the P-Trap, using a plunger (well-cleaned from its previous job hopefully), or some sort of gunk eating solution, be it organic or chemical. Any of those options may work, but if not, the next step may be some rudimentary plumbing repairs, and we can walk you through the diagnosis and implementation of a solution.
What to do first if your sink won’t drain
Under your kitchen and bathroom sink you will see the P-Trap, that's the U-shaped portion that holds water and prevents the odor of sewer gases from entering your home. At the bottom of the P-Trap will be a plug that you can easily unscrew with pliers; do this gently to not crack it and increase the scope of your repair work.

Have a bucket underneath to collect all water and debris from the drain, and if it rushes out quickly with a pile of debris then your problem may be solved. In which case, you can just put the plug back in and run some water to be sure it drains properly and get on with your life.
If you remove the P-Trap plug and water only drips out then you know the blockage is just below the sink. That would be the time to try the plunger again and see if you can’t dislodge whatever’s in there, keeping the bucket in place of course. If not successful, a metal coat hanger wiggled around might do the trick.
After these tests and when you've replaced the P-Trap plug, run the water. If the sink starts to fill up immediately then you know the blockage is beyond the P-Trap and you need to work further down the line to solve the problem. At this point, try a drain solution, and we would advocate using an organic one first.
If a drain clearing solution doesn't work then the next step is in the basement. Hopefully your plumbing drains are exposed or easily accessible. But first give the drain cleaner the proper time to work, here is how:
How to use organic enzyme drain cleaners
Powdered organic drain cleaners that are poured into sinks and toilets have natural enzymes and bacteria that digest materials like hair, food particles and any organic solids blocking your drain. They break down materials into water, carbon dioxide and other harmless particles, and that may be all it takes to loosen the blockage.
As a note – there is nothing wrong with using these products, they are harmless for municipal treatment facilities as well as home septic systems and can create a colony of bacteria that help prevent future blockages. So it can even be a smart regular maintenance strategy.
To use drain cleaners effectively, whatever scoop-sized amount is recommended by the brand should be mixed with warm water (not hot), then poured into your sink (or toilet) and left overnight to work. Longer is better to give it more time to work its magic.
Granted, they do take longer to work than chemical solutions, but the world is already chock full of chemicals so unless you’re in a super rush its always great to take a more natural route.
What to do when drain cleaners don’t work
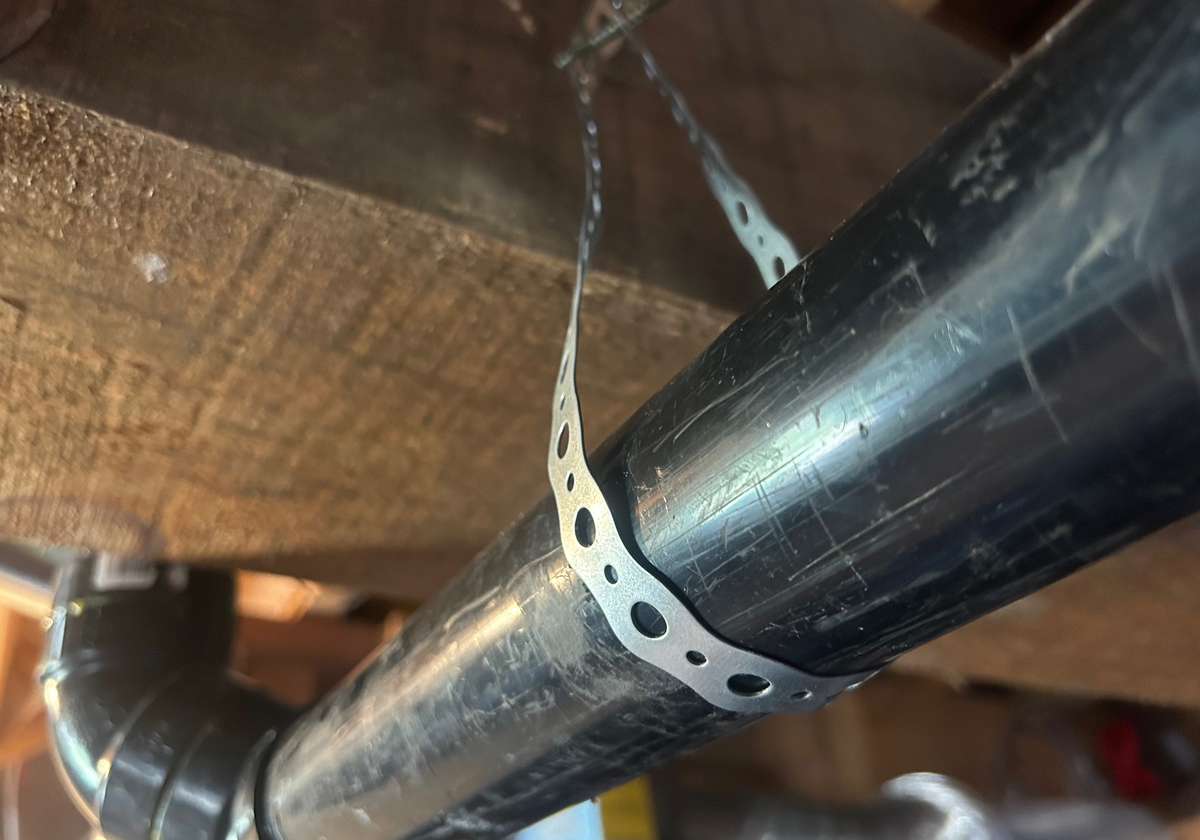
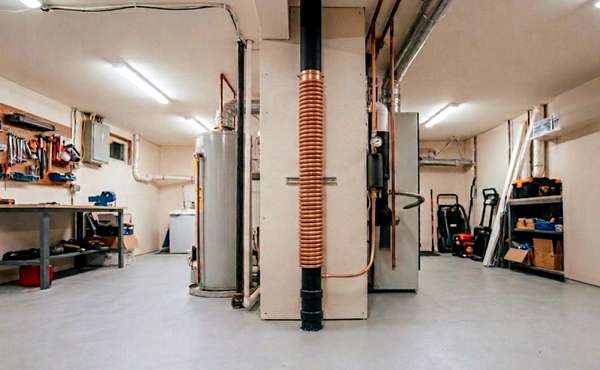
If you cleaned your P-Trap and tried a drain cleaning solution but it’s still blocked, the next thing to determine is if the entire pipe is jammed solid. If you have exposed drains in your basement your job will be a lot simpler than those pipes hidden inside of a finished basement ceiling. So let’s run with that assumption for the moment and offer a DIY solution.
If you can see the pipe already or maybe get to it by removing a drop ceiling, then push up on a bit to see the weight of it. A plumber would probably sense instantly if it was fully blocked, where a rookie may need to think about it a bit more and mentally calculate the weight of an empty drain to form your conclusion.
So let’s say it is blocked from decades of kitchen waste and perhaps an improperly sloped drain. That may have let tiny food particles build up over time to the point where it won’t even drain slowly anymore.
Assuming at this point that you can access the drain pipe and it seems full, the solution is pretty easy, but by no means glamourous. Get your old clothes on, have some buckets and rags handy and maybe a clothes pin for your nose.
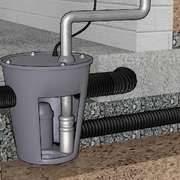
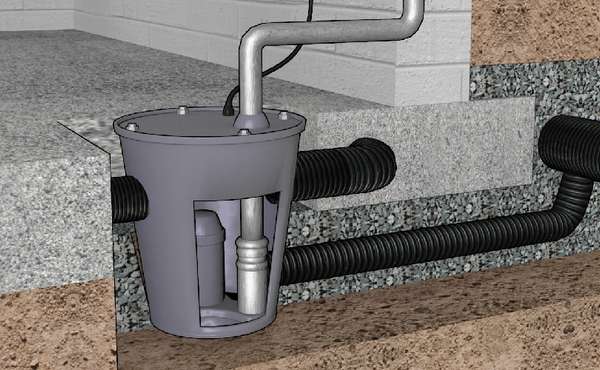
The lucky ones among you may have a cleanout valve that is accessed by unscrewing a stopper just like at the bottom of your P-Trap. If so, get your bucket ready and unscrew it. If an unsightly mess of solids and liquids rushes out that’s great news, as your work may be done. If not, you can put a plumbing snake in there to loosen the offending blockage.
If the snake doesn’t do much, then the next step is to remove a section of pipe.
How to remove and replace ABS sink drains
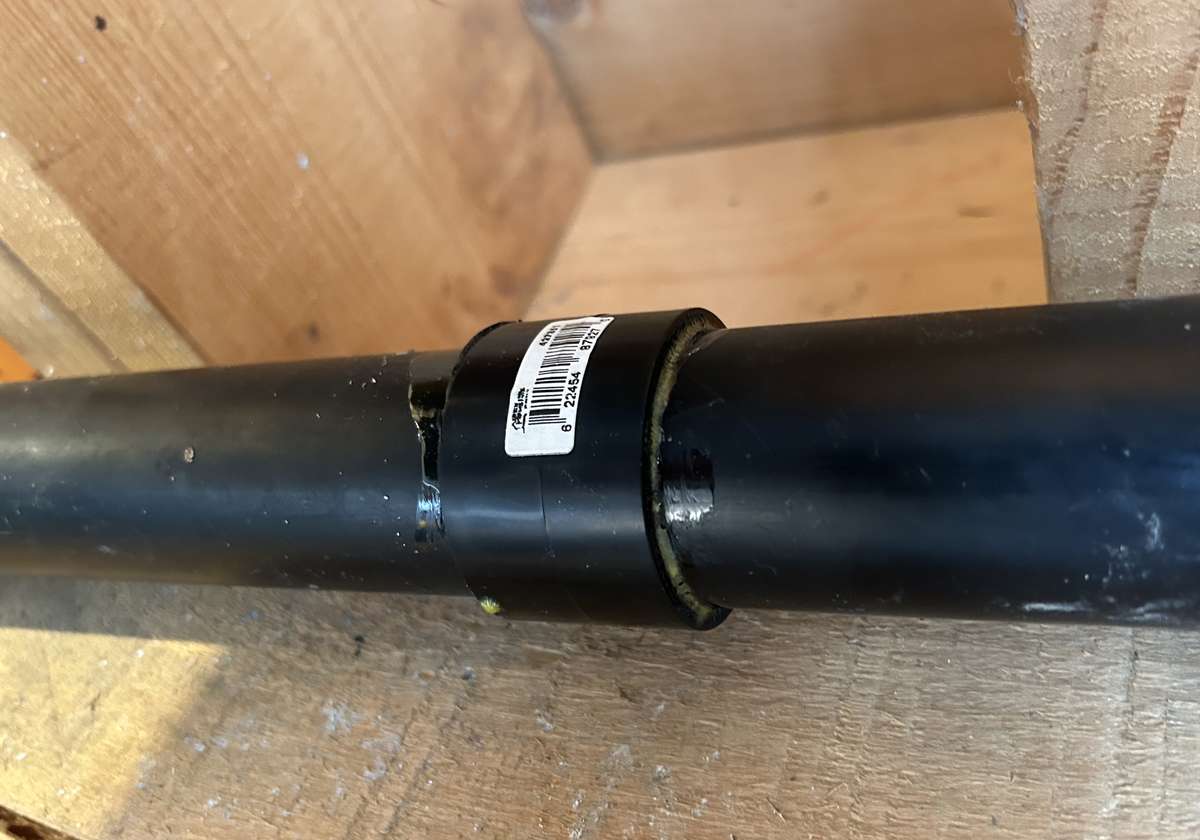
With a bucket below your work area, take a saw and cut the pipe at the low point of the drain portion you’re removing. Leave the bucket there and go to the other end of the suspect section with another bucket at the ready and make another cut. You’ll make your life easier if you have a straight run without elbows and as lengthy as you can manage. Be sure to make your cuts at least 2 inches away from any elbow or union joint for doing reassembly.
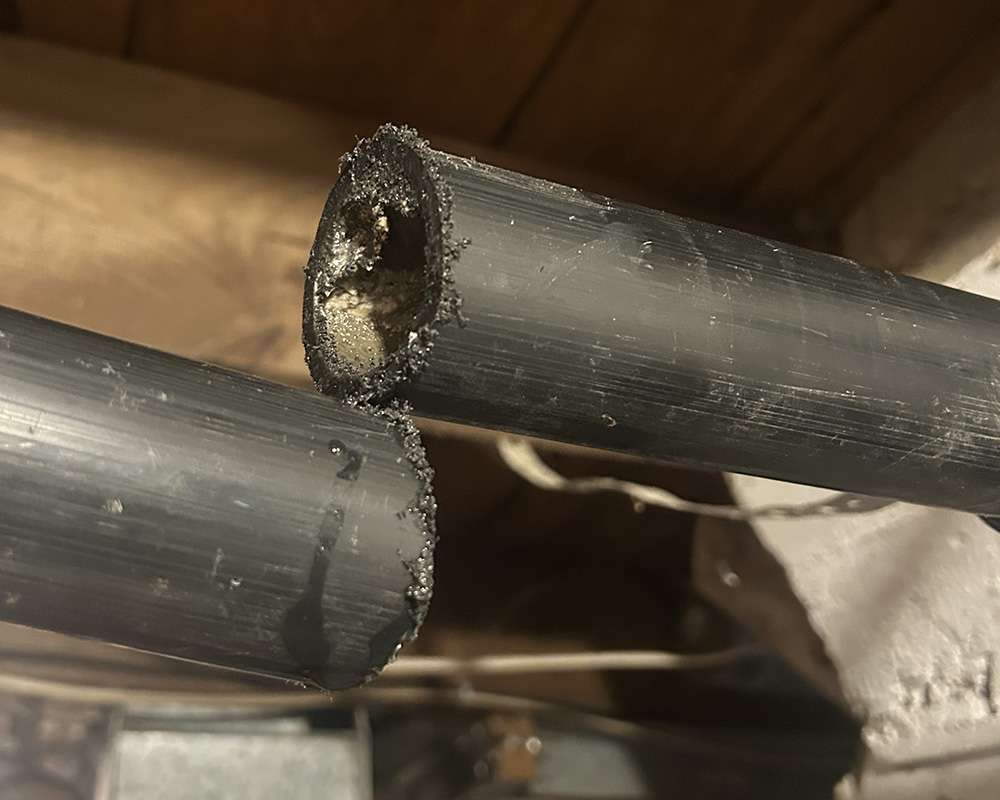
With luck, at this point you would now be holding a length of drain pipe packed full of debris so you at least know you have correctly identified the problem. If it’s not too long, you can take that outside and maybe blast it with a hose to empty it and re-use it.
If that’s the case, all you need are two coupler union joints to put the pipe back in in place. First however, is to make sure the drain flows freely from the sink to where its cut. Keep that bucket right underneath it and go run some water to see if it comes out.
If no water comes out, try the plunger again or put the plumbing snake up the new opening towards the sink. Do that until the point that liquids come out clear, and then you can put the pipe back in place knowing any blockage is further down, or hopefully it’s non-existent.
The portion of pipe after the cut may still be blocked, so you can run the snake down there as well; you will likely have much more success as you’ve solved a big part of the problem with the other section you removed.
DIY basic plumbing drain installation
Assembling basic ABS plumbing drains is very simple to do and requires little more than a hand saw, ABS glue and the right connection pieces. The only mildly complicated aspect is creating the right slope so it drains well. But in the case of a repair such as we are discussing here, the slope has already been determined (and possibly poorly since it jammed), but you are just replacing a section.
The parts and tools you need to replace your clean pipe:
- Two union sections for the size of pipe you are dealing with, likely either 1.5-inch or 2-inch pipe.
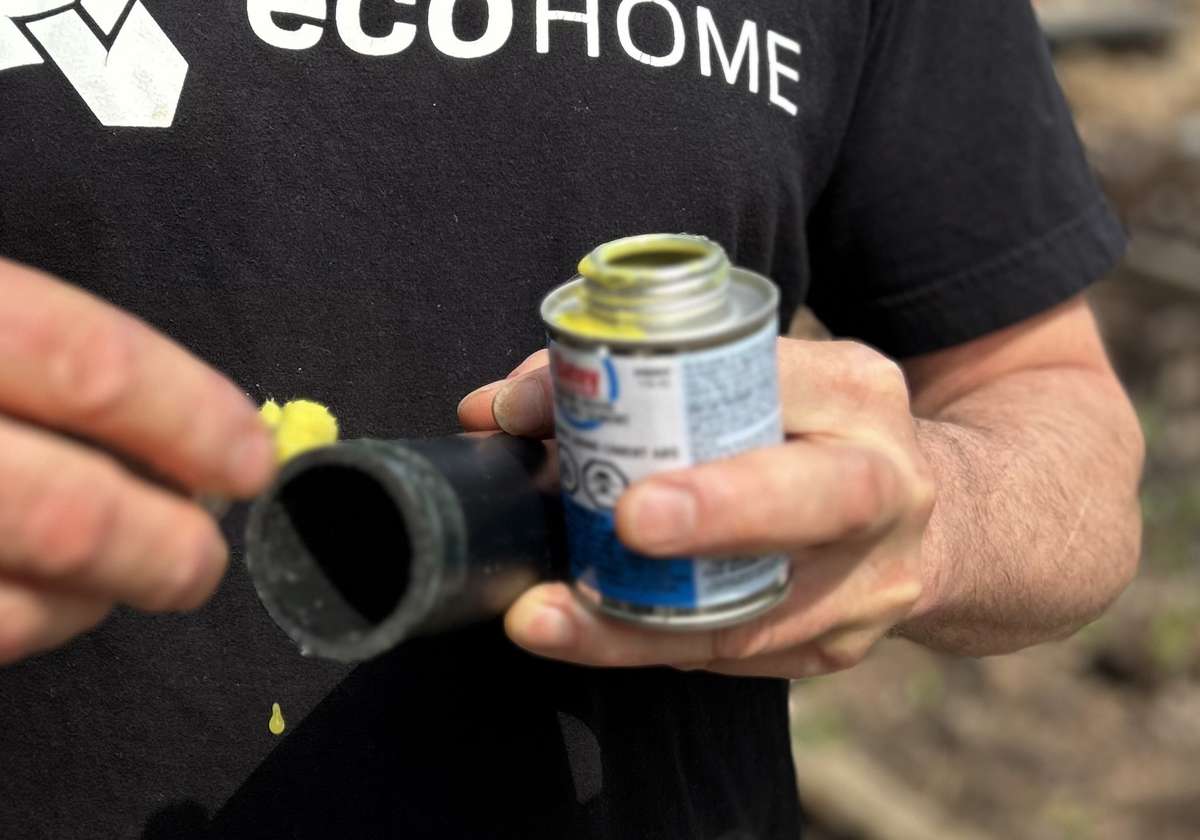
- The smallest can of ABS glue you can find, as you barely need any.
- Gloves and safety glasses.
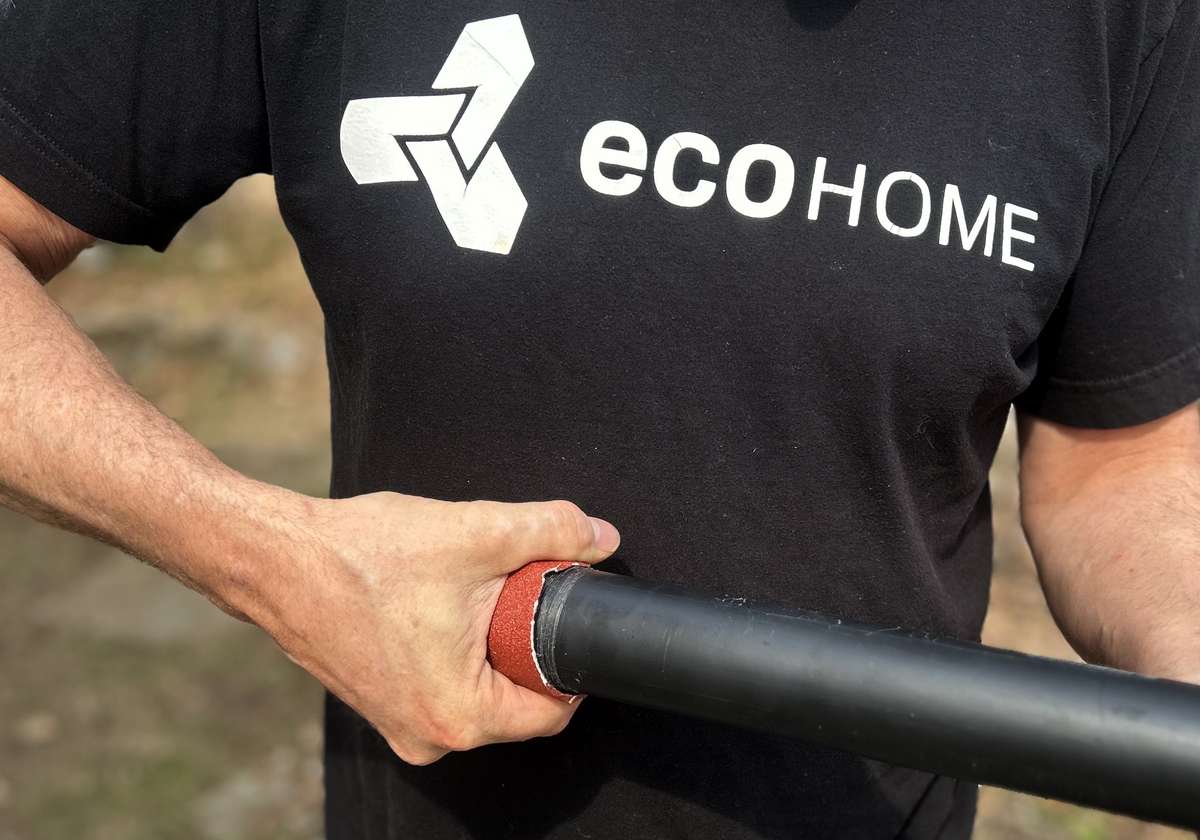
- Sand paper.
- A hand saw.
- Plumbers strapping.
- Metal snips for cutting strapping.
- A level.
- A tape measure.
- A cordless driver, or a screw driver if have very strong arms and a lot of patience.
What is the proper slope for a kitchen sink drain pipe?
The proper slope for a kitchen sink drain pipe is ¼ inch per foot of horizontal run. This means for every 12 inches the pipe travels horizontally, it should drop by ¼ inch. This rate of drop ensures wastewater flows smoothly without moving too fast or too slow, either of which can lead to clogs.
To achieve this, measure the total horizontal distance from the sink trap to the main drain or wall connection. Multiply that distance (in feet) by ¼ inch to find the total drop needed.
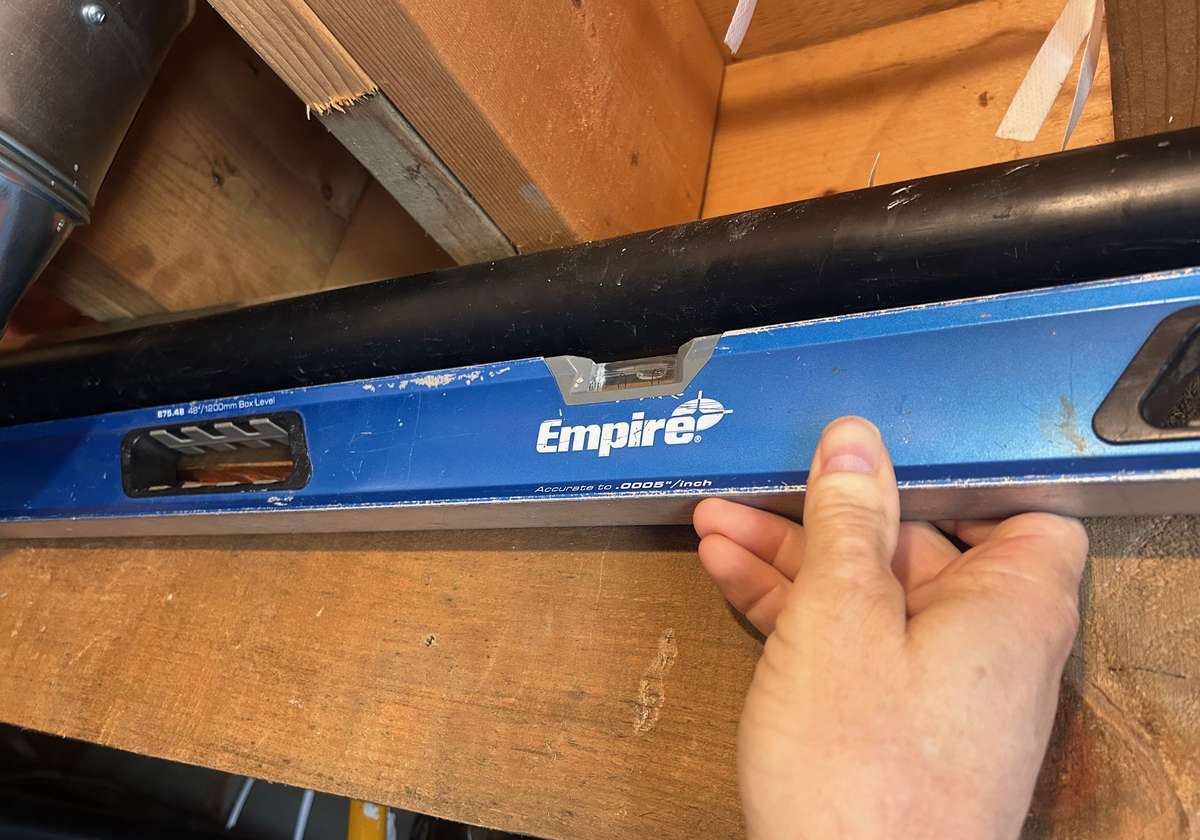
You can use a level with slope markings, a laser level, or even a tape measure if that’s all that’s in your toolbox. From a level surface measure 4 or 8 feet away, make a mark 1 or 2 inches down, and you now have the right slope.
Pipes can be suspended with metal strapping, and secured with screws and a cordless driver. Maybe you can use the strapping that was already there, if not, a small roll of plumbing strapping is cheap. Snag a cheap set of metal snippers when you’re at the hardware store to cut it, or at worst you can bend it to break it by metal fatigue. Unless of course arm fatigue sets in first and you end up back to the store to grab those snippers.
Why does too much slope in a sink drain cause problems?
When a drain pipe is too steep - like more than ½ inch per foot for example - the water flows too quickly through the pipe. While that might sound like a good thing for clearing pipes, too steep of a slope can actually lead to clogs for any of these reasons:
- Solids can’t keep up if water moves too quickly: Food scraps, grease residue and other debris from your kitchen sink need to travel with the water to be properly evacuated. If the water races too far ahead, those solids tend to lag behind letting them settle and build up inside the pipe.
- Trapped debris leads to clogs: Over time, this leftover material accumulates, especially in elbows or any minor dips in the line, leading to nasty clogs and slow drainage.
- Ventilation issues: Excessively steep slopes can also affect the air balance in the drain system, causing gurgling or even siphoning of the P-trap, letting sewer gas coming back up into your kitchen.
So ironically, with plumbing drains faster isn’t always better. While no specific drain slope will make your pipes immune to blockages, that gentle ¼" per foot slope gives you the best odds for keeping water and waste traveling together smoothly.
How to replace ABS drain pipe
To replace the cleaned section of your sink drain, check each end of the ABS pipe in the ceiling to be sure there is a little play in the pipe so you can . If necessary, cut off about a half inch of the pipe you’re holding to allow space for the union joints you’re adding.
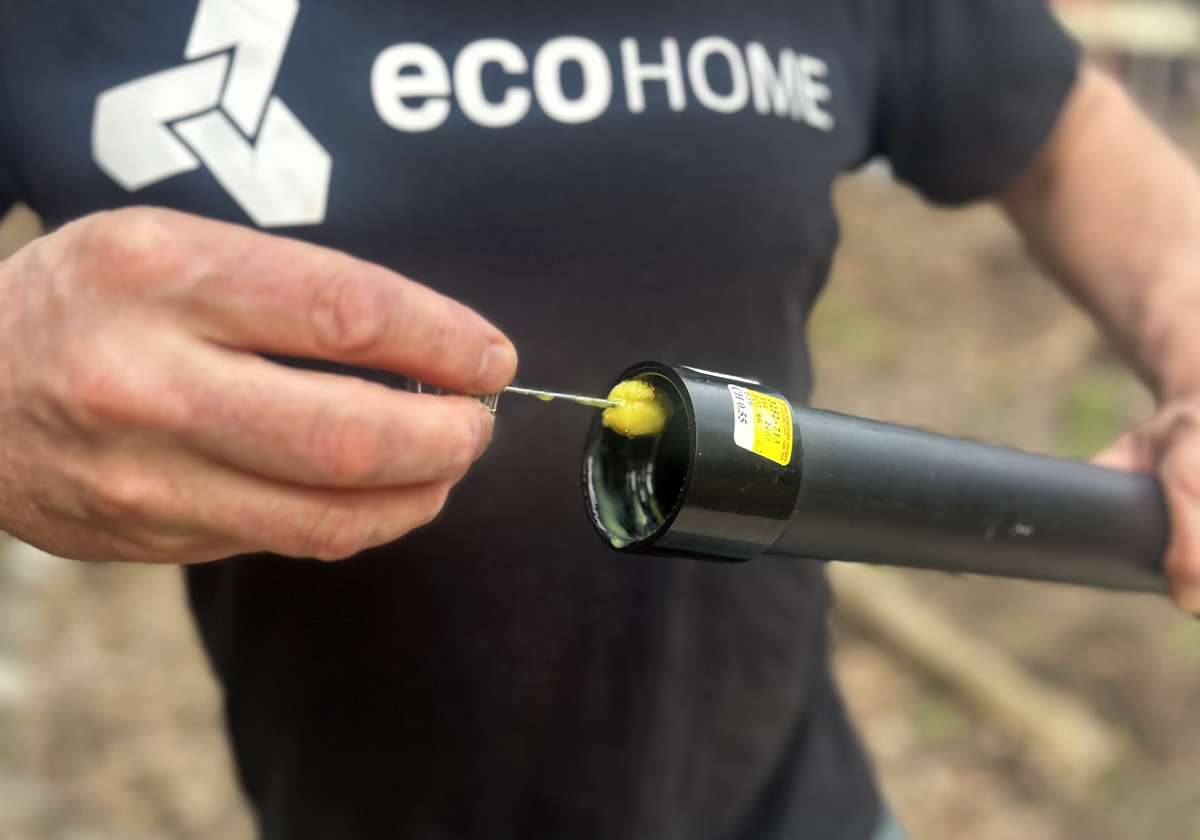
Wearing gloves and eye protection in case of spillage or dripping, swipe all around the inside of one union joint with the glue swab, and the outside of one end of the pipe. Slip the union on as far as it will go, twist it back and forth a bit to be sure full coverage of the glue. Give it two or three minutes to dry.
Do the same thing with the other end of the pipe you are holding; now your pipe is ready to be back in place.
Finally, to deal with the pipe in the ceiling; as you’re holding the cut piece of pipe, swab some glue inside one end of the union joint and the outside of the pipe and twist it on as before. Then do the other end. Be generous with the glue, that helps with the friction to push and twist the pipe and union joint together.
Now run some water and see how it goes; most likely your problem is solved. At worst, if the water drains for a long while then eventually starts to slow, then its up to you if you live with it as is or do the same thing with another section further down. You may go another 10 years or more before it clogs up enough to cause you any grief again.
Now you know more about how to fix a clogged sink and do DIY basic ABS plumbing repairs. Find more pages about home repairs and renovations in these pages :
Find more about green home construction in the Ecohome Green Building Guide pages and if you would like more DIY reno articles like this, then sign up for a free Ecohome Network membership here. |


Comments (0)
Sign Up to Comment