









How to safely deal with lead paint in homes
Lead-based paint is a serious health concern, especially in older homes, and understanding the risks and proper handling is crucial for both homeowners and professionals. While the dangers of lead exposure are well-documented, the good news is that living with lead paint can be safe if it is managed correctly.
This definitive guide will walk you through how to identify lead paint in your home, the health risks it poses, and the appropriate steps for dealing with it, whether that involves professional abatement or safe DIY solutions like encapsulation.
- Understanding the risks of lead paint
- Where is lead paint found?
- How to test for lead paint
- Safe options for dealing with lead paint
- Professional lead paint abatement
- In brief: Lead paint
Understanding the risks of lead paint: is it safe?
Lead paint was widely used in homes, particularly those built before 1978 in North America, the UK, Australia, and New Zealand. While it was once valued for its durability and resistance to moisture, it is now known as a significant health hazard, particularly when it deteriorates.
Lead paint is a serious health hazard when disturbed
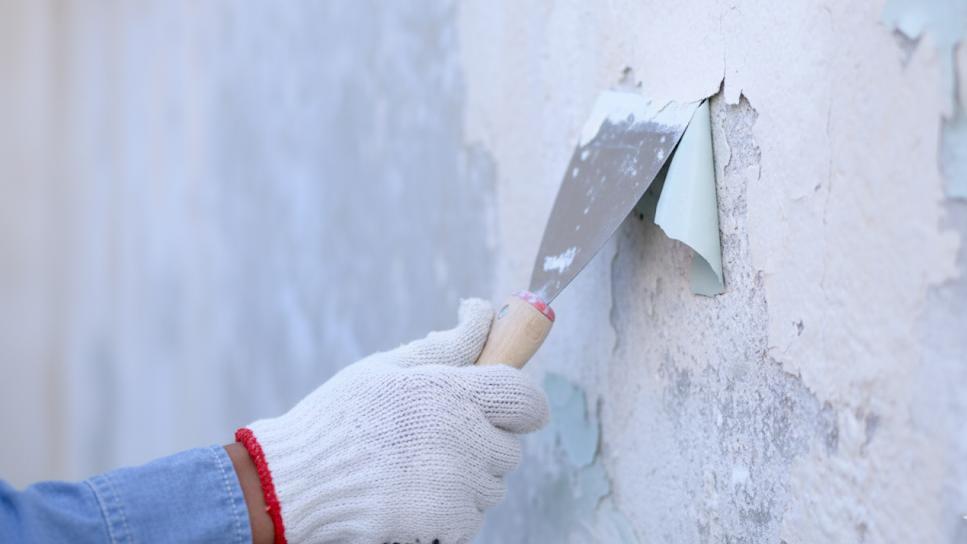
The primary danger from lead paint comes not from the intact paint itself, but from the dust and chips it creates when it is disturbed. Lead exposure can cause a range of serious health problems, especially for young children and pregnant women.
The lead particles, which can be microscopic, are easily ingested or inhaled, leading to developmental damage in children and other severe health issues for adults. It is a non-negotiable health risk.

For professionals, this means taking extreme precautions during any renovation or demolition project in an older home. For homeowners, it means being vigilant about the condition of painted surfaces and avoiding activities like sanding or scraping without proper safety protocols.
Where is lead paint found in a home?
While the use of lead-based paint was banned for residential use in many countries in the late 1970s, it is still present in millions of homes. The older your house, the more likely it is to contain lead paint. Here's where you'll most often find it:
- Exterior surfaces: Windows, doors, and trim, as lead paint was prized for its weather resistance.
- Interior surfaces: Walls, ceilings, and woodwork, particularly in older layers under newer, lead-free paints.
- Friction points: Door frames, window sills, and stairs, where the rubbing of surfaces creates lead dust.
- Older fixtures: Radiators, mantels, and built-in cabinets may also have layers of lead paint.
Lead-based paint may not be immediately visible; it can be buried under many newer layers of paint. A thick, layered look to the paint, or paint that chips in large, 'alligator skin' flakes, can be a visual clue, but a professional test is the only way to be certain.
How to test for lead paint in your home
For a homeowner, the simplest approach is to assume your home contains lead paint if it was built before the late 1970s. For anyone undertaking renovation or repair work, testing is a critical first step.
DIY test kits: a cautionary note
While consumer-grade lead test kits are available at hardware stores, they can produce unreliable results. The U.S. Environmental Protection Agency (EPA) has recognized some of these kits for use by certified professionals, but they may not be accurate for all types of surfaces and may not detect lead in underlying layers. They can be a starting point, but they are not a substitute for a professional assessment.
The professional approach: inspectors and labs
The most reliable way to determine the presence and location of lead paint is to hire a certified lead-based paint inspector or risk assessor. They use advanced equipment, such as x-ray fluorescence (XRF) analyzers, to quickly and non-destructively detect lead on painted surfaces. For a comprehensive analysis, they can also take samples of paint chips, dust, and soil to send to an accredited lab. This provides a definitive answer and a clear plan of action.
Safe options for dealing with lead paint
Once you've confirmed the presence of lead paint, you have a few options. The best approach depends on the condition of the paint and your planned project.
Encapsulation: the safest DIY option
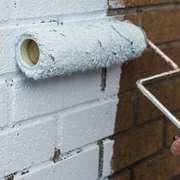
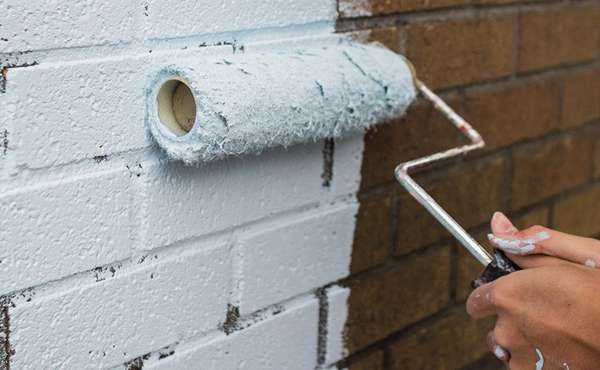
If the lead paint is in good condition - meaning it's not chipping, peeling, or flaking - the safest and most cost-effective option is to encapsulate it. This involves applying a special coating or paint that forms a durable, airtight barrier over the lead paint, sealing it in. You must use an encapsulant specifically designed for this purpose, not a regular latex or oil-based paint. For homeowners, this is the ideal solution for intact surfaces.
We have a detailed guide on choosing safe paints for your home. To read more about choosing low VOC and non-toxic paints, see our comprehensive guide here.
Removal: a last resort for professionals only
Lead paint removal is a highly hazardous process that should never be attempted as a DIY project unless you are a certified professional. Methods like sanding, scraping, or using a heat gun create toxic lead dust and fumes that can contaminate your entire home. The dangers of improper removal far outweigh the risks of leaving intact paint in place.
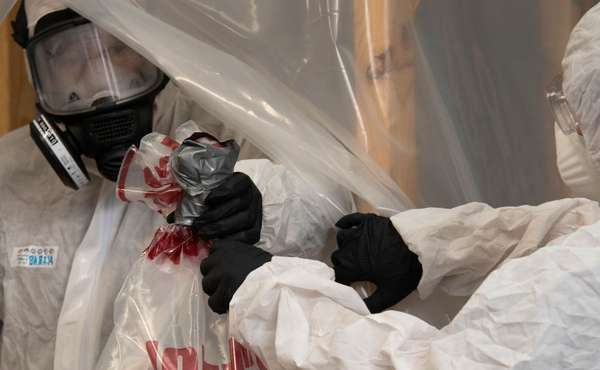
If removal is necessary, you must hire a certified lead abatement professional. They are trained in strict safety protocols to contain the work area, properly dispose of the waste, and ensure the safety of your family and the environment. We have an existing guide that touches on this subject. For more information on the proper handling and disposal of hazardous materials like lead paint during deconstruction, read our guide here.
Professional lead paint abatement: when is it necessary?
Abatement is the process of permanently removing lead-based paint hazards. This is a regulated field and requires specific training and certification for professionals. Abatement is necessary when:
- The paint is deteriorating: Chipping, peeling, or flaking paint on any surface.
- High-friction areas: Paint on windows, doors, and stairs that is subject to wear and creates lead dust.
- Major renovation or demolition: Any project that will disturb large areas of lead-painted surfaces.
- High-risk occupants: Homes with young children or pregnant women may require abatement even if the paint is in relatively good condition, as the risk of exposure is higher.
The cost of professional abatement can be high, often ranging from $8 to $16 per square foot, but it is a critical investment in your family's health and safety. A professional will handle everything from containment and removal to site cleanup and disposal, all while following strict regulatory guidelines to prevent contamination.
In brief
Lead paint is a hazard only when it is disturbed. Intact paint on a wall is generally safe, but any chipping, flaking, or dust from friction points presents a serious risk, especially to children. For homeowners and professionals, the most important steps are to identify the presence of lead paint with a professional test and then choose the right course of action.
If the paint is in good condition, encapsulation with a specialized product is a safe and effective DIY solution. However, if the paint is deteriorating or if you are planning a major renovation, professional lead abatement is the only safe and responsible choice. Never attempt to sand or scrape lead paint yourself, as this can create a far greater health risk.
Now that you know more about lead paint, find more info about home renovations & green building techniques in the Ecohome Green Building Guide and these pages below:
-
Asbestos abatement - how to safely remove asbestos from homes
-
DIY natural pigment paint: how to make it easily at home
-
Choosing safe paints: low VOC, Zero VOC and natural paints
-
Does insulating paint really work to insulate homes or is it snake oil?










Comments (0)
Sign Up to Comment